
INTRODUCTION
Hello, I'm Sebastian Suancha, a 3D artist and content creator from Colombia.
I've been a 3D artist for about 4 years. I started freelance when I was 17, learning from tutorials and some courses, and I'm still training to continue specializing as a 3D artist.
I've worked on different projects and companies in the USA, Mexico, and Colombia. I'm currently working on freelance projects and creating content on social media about Blender and the 3D industry, where I've had a good reputation and recognition from the Spanish-speaking community as well as Latin America.
INSPIRATION
The inspiration for this project was somewhat spontaneous. Lately, I've been enchanted by the world of fashion design, abstract concepts, and neotribal designs.
I was inspired by several artists with cool and interesting concepts, including the streetwear trend in the fashion world. Among them are imdone_1999 and Pasare Alexandru Gabriel.
PROCESS
Hardware
- CPU: AMD Ryzen 7 5700G 3.8Ghz - 8 Cores/16 Threads
- RAM: 16Gb 3200Mhz Armored Ram Memory
- GPU: NVIDIA GeForce RTX 4060
Software
Character Creation
For the creation of this character, DAZ Studio was used, an effective and flexible platform for generating humans. In this software, I started with the customization of the character, from its physical features and anatomical aspects, such as height, age, musculature, and among others. It is honestly surprising the amount of customization parameters that exist.
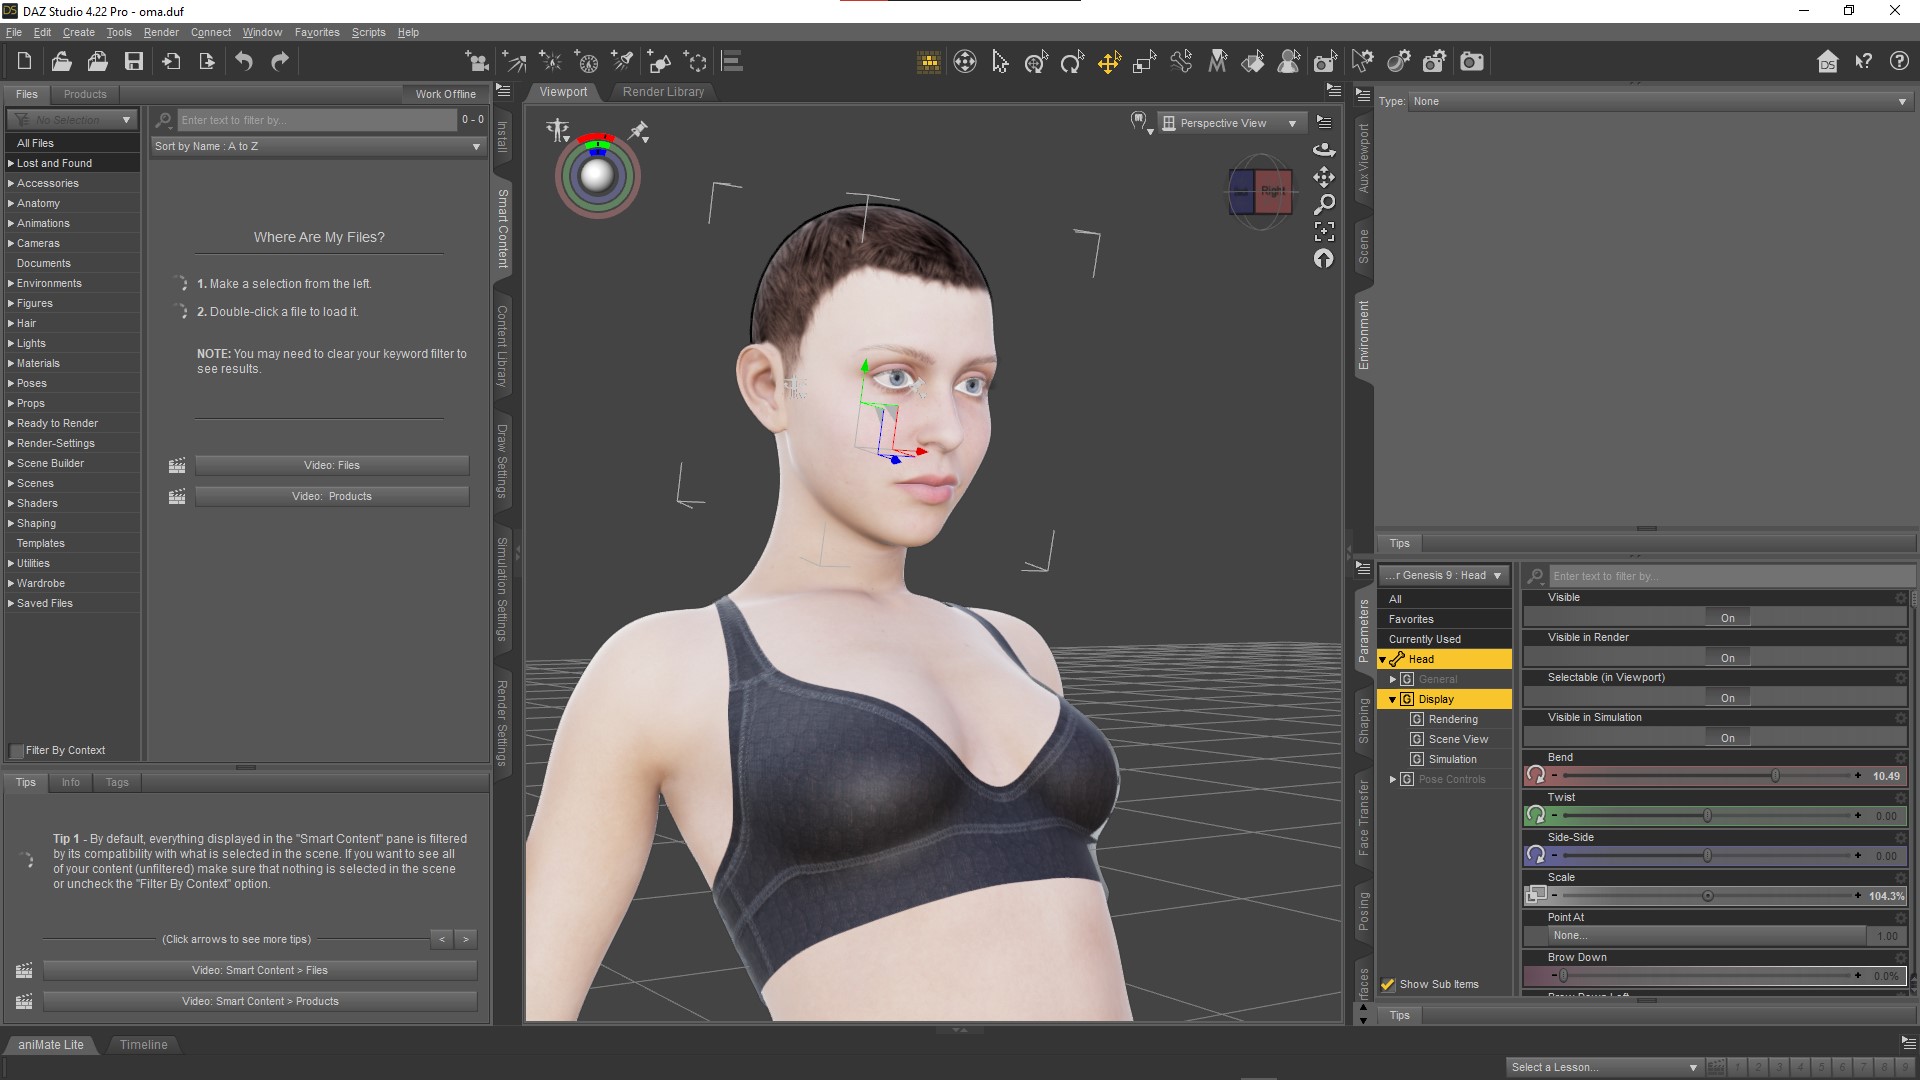
After making the necessary adjustments, the model was exported to Blender 3.6 to improve the textures, since the textures that come by default in DAZ Studio are not of high quality, and so the final scene will end there.
Blender as the Main Tool
Humanity Addon: Once the model was imported, I used this wonderful tool, the protagonist of this art, to give it that touch of realism. It is an addon of realistic skins where you can find different presets and it is also totally modifiable, since everything is within the “Shader Editor.” In this case, I left these parameters for the skin:
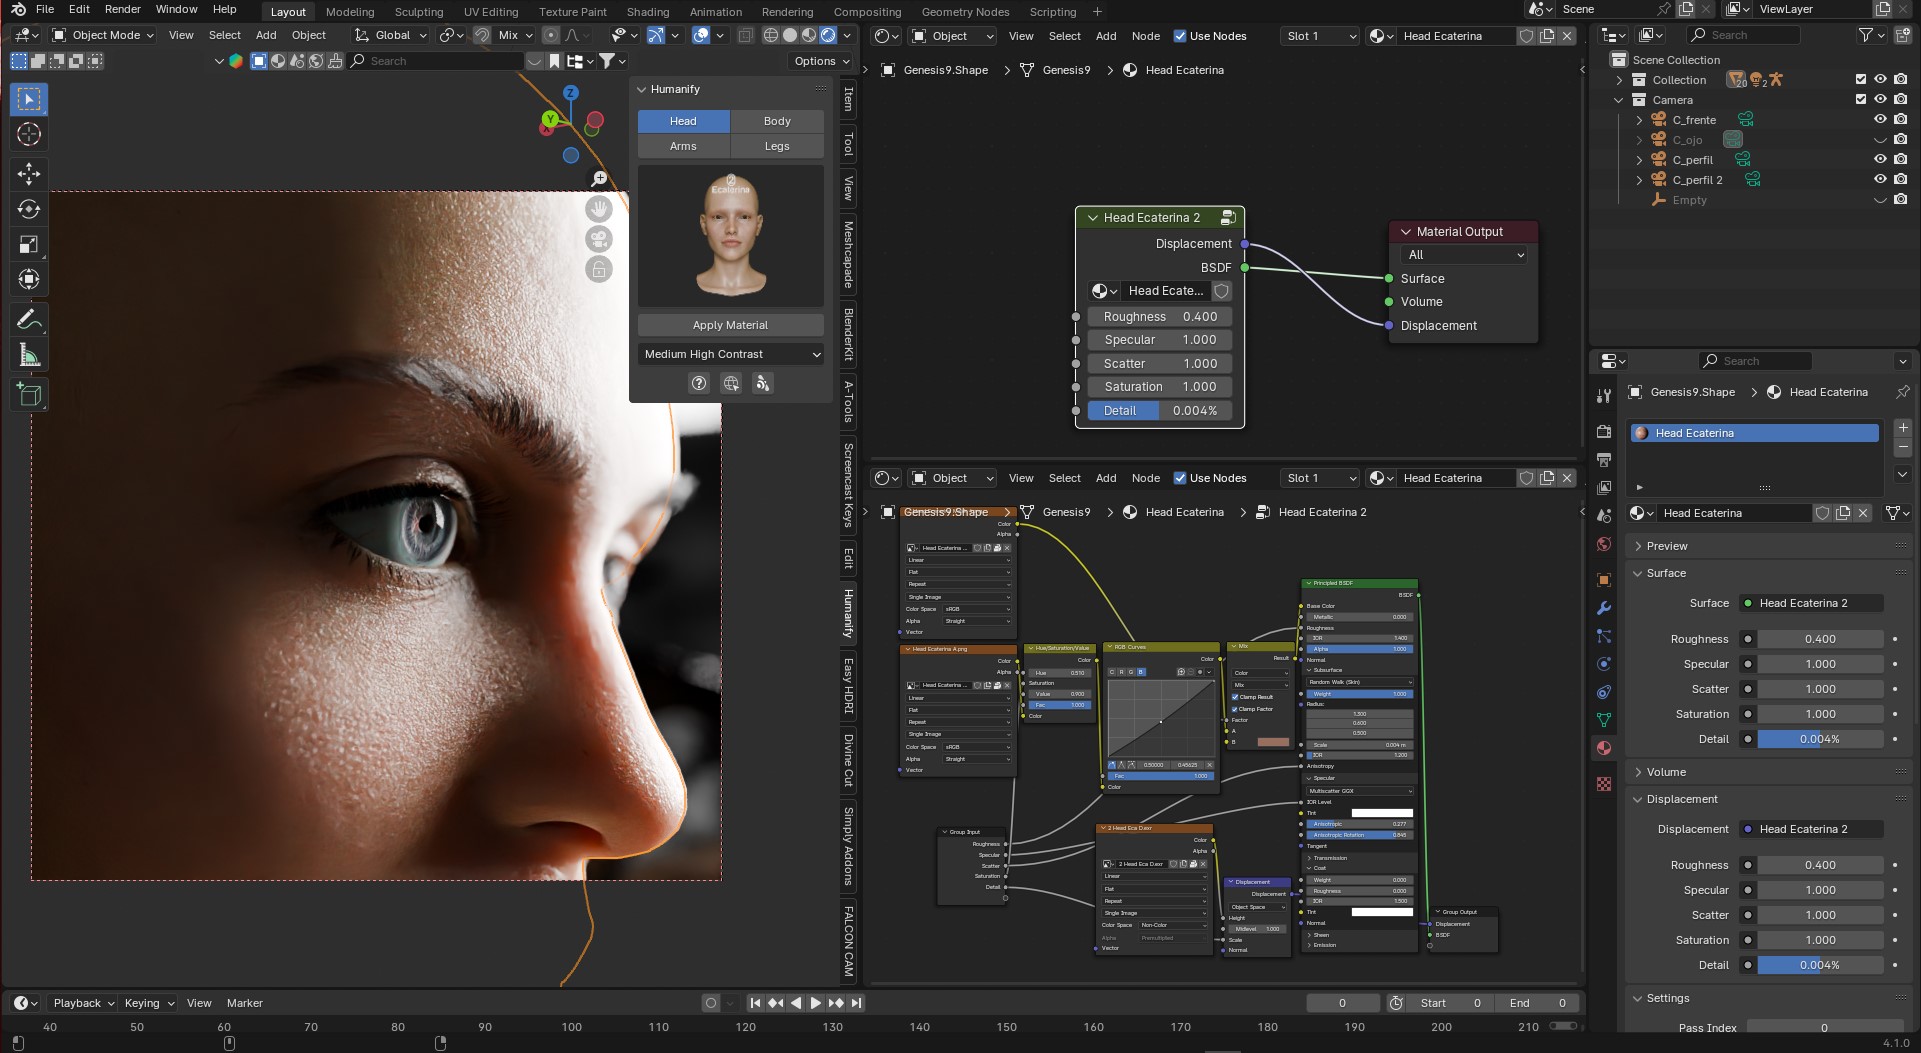
I would like to thank the developers in advance for choosing me to test the first versions of this wonderful addon.
Clothing and Accessories! In this section, I started by modifying the top that comes by default for the character, and then I moved on to creating the clothing simulation of the jacket and hat.
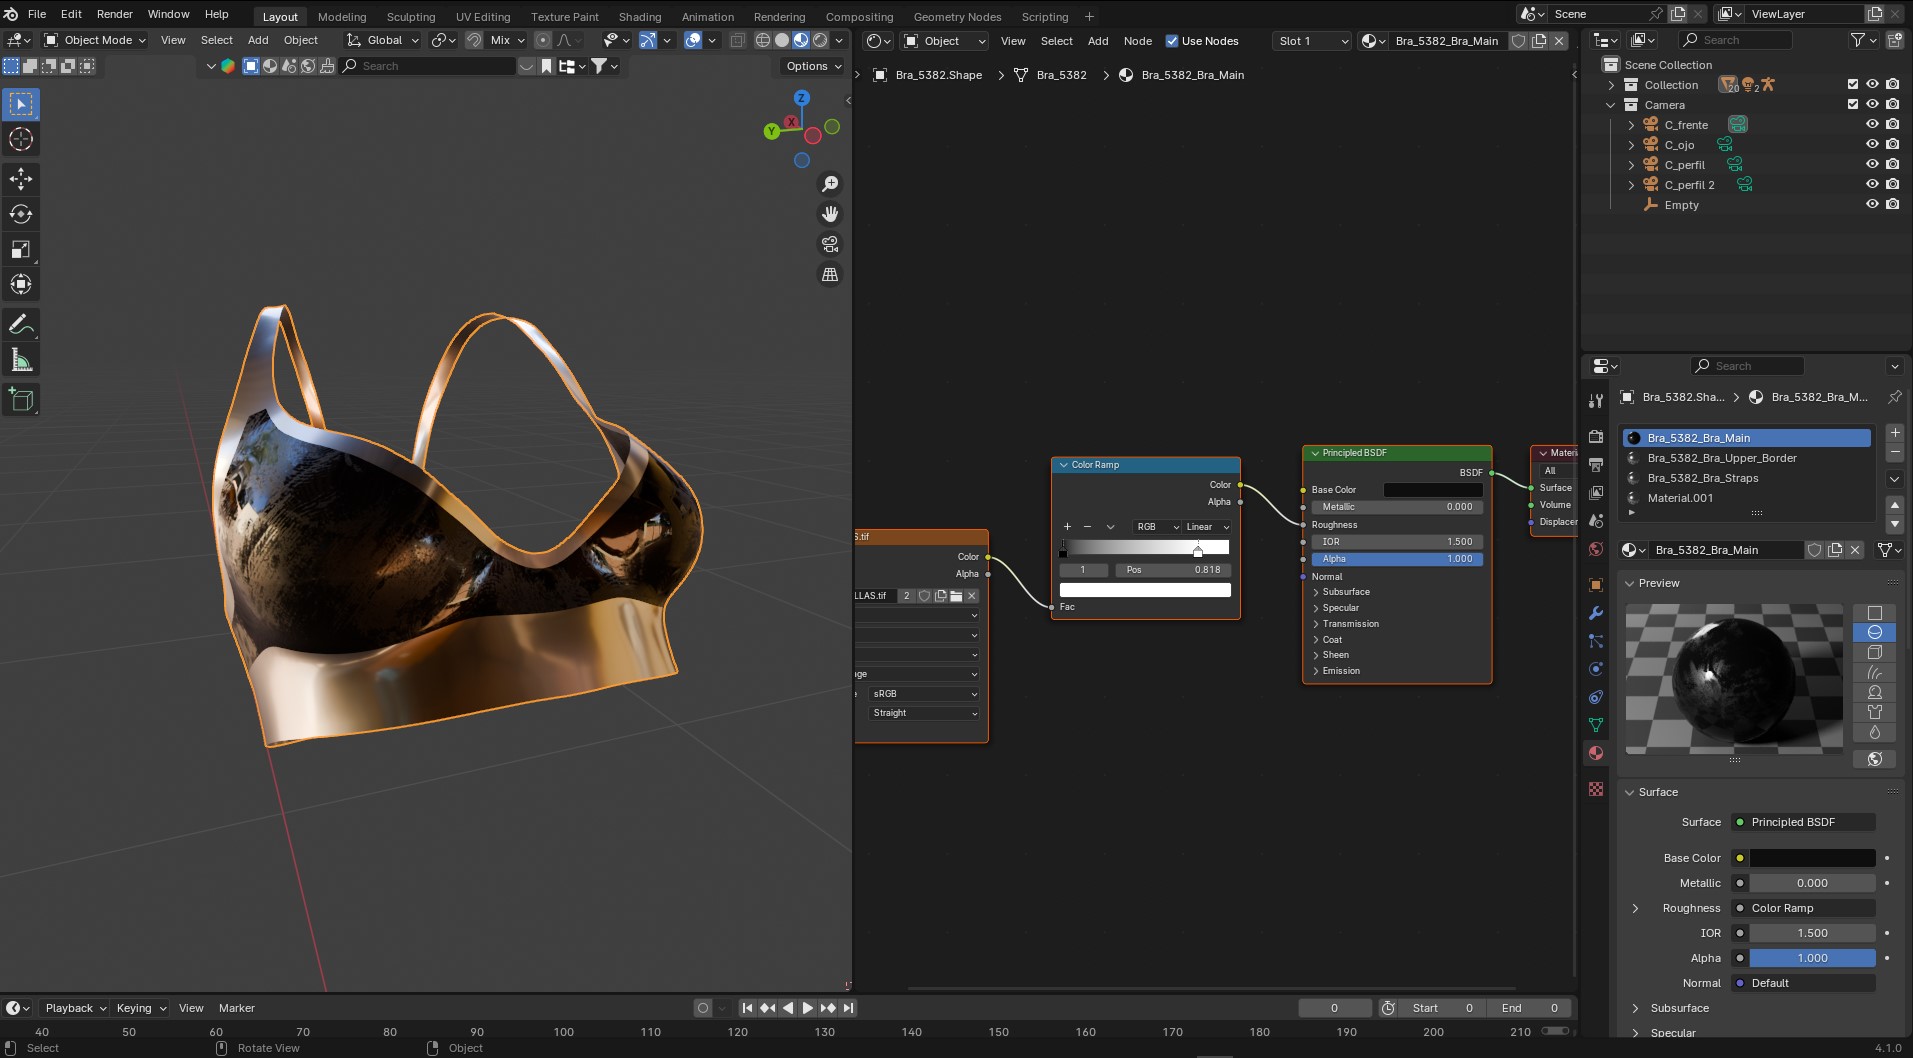
For the jacket, it was simple; I didn't have to do the complete simulation since the character is composed up to the torso. I created some basic figures to shape the jacket and then the simulation was created to give it the shape of a puffer jacket:


Then I converted the simulation to an object to sculpt and fix some details:

For the hat, it was exactly the same process as of creating the jacket, but on this one, a series of chrome accessories were placed:


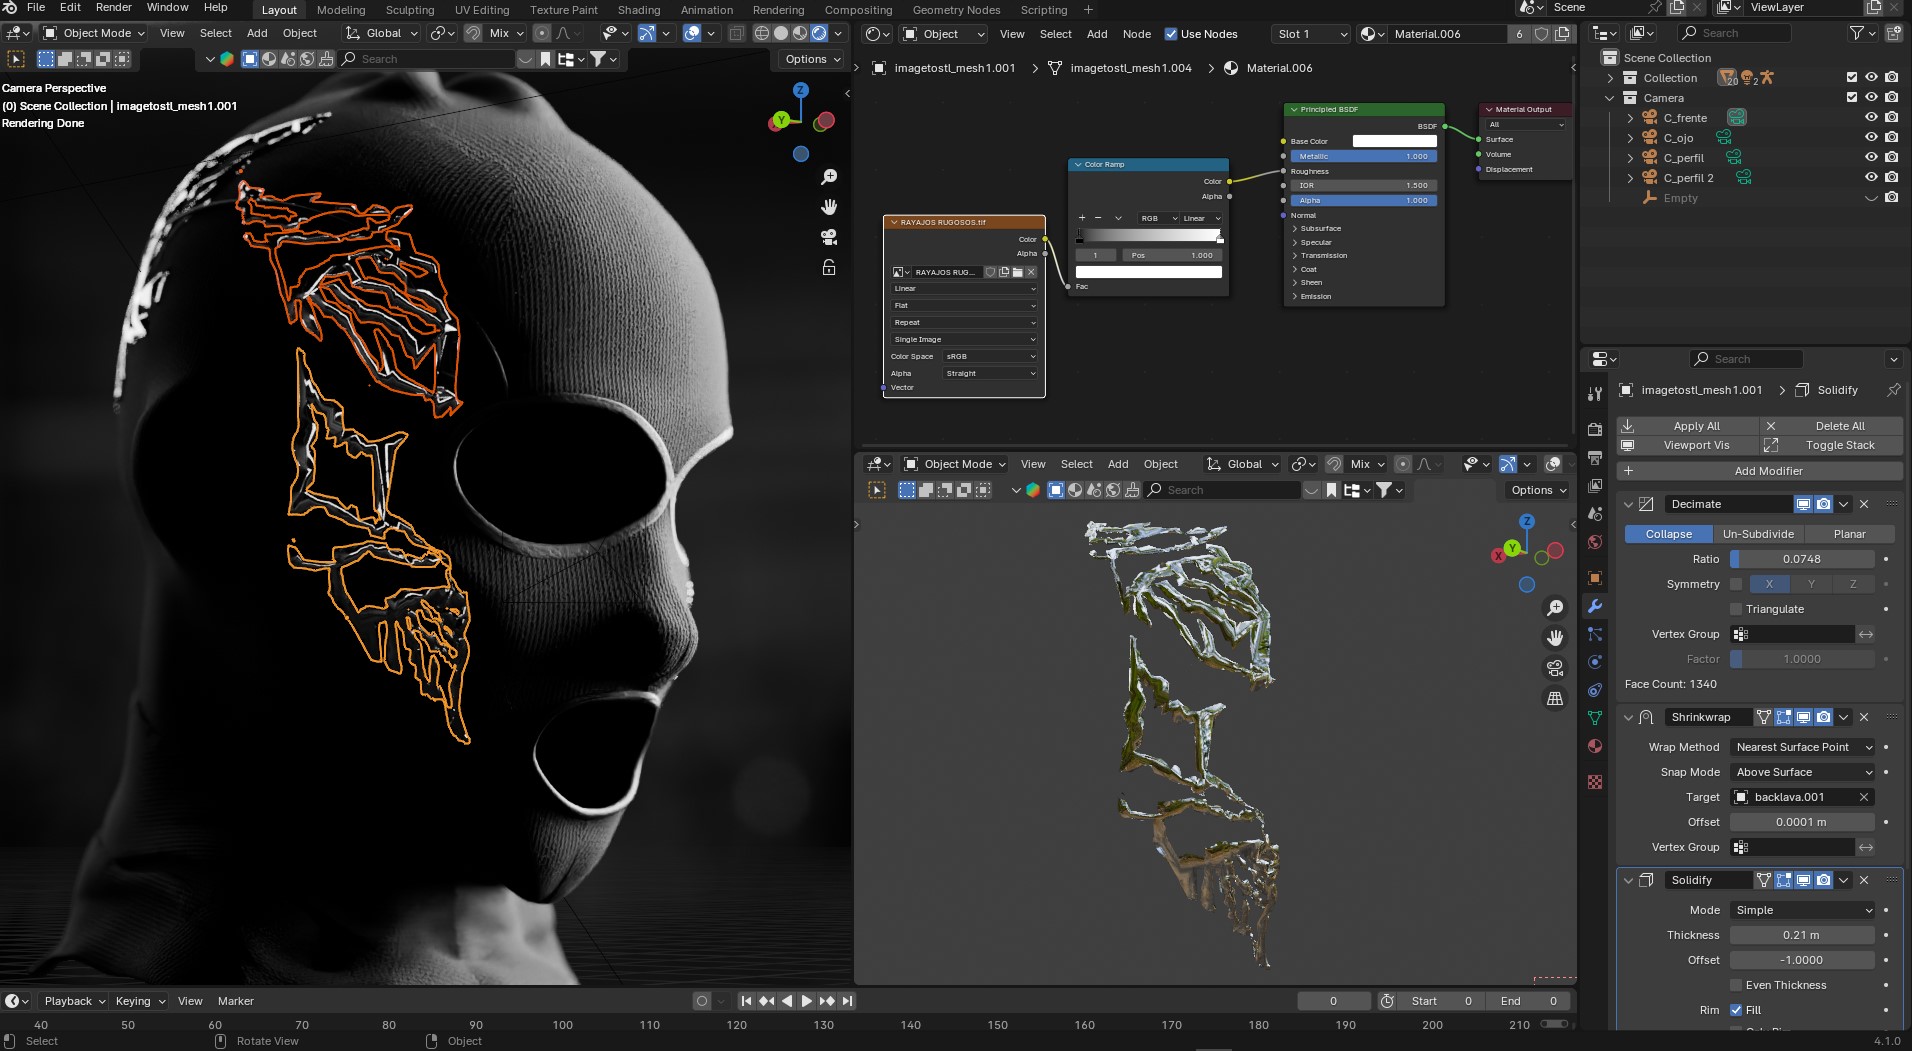
This chrome detail of the hat was made in Photopea by creating a map called ABC which is imported into Blender and remains as an object.

It was improved in sculpted mode and then, I added the Decimate and Shrinkwrap modifiers so that it could be easily added to the hat:
ABC map, created in Photopea. A black background is placed and the relief is painted with a white color.
Shading and Texturing
The creation of the textures and materials for this artwork was very important when developing this project since from the beginning, I wanted to get closer to realism, even more so with a tool like Humanify addon.
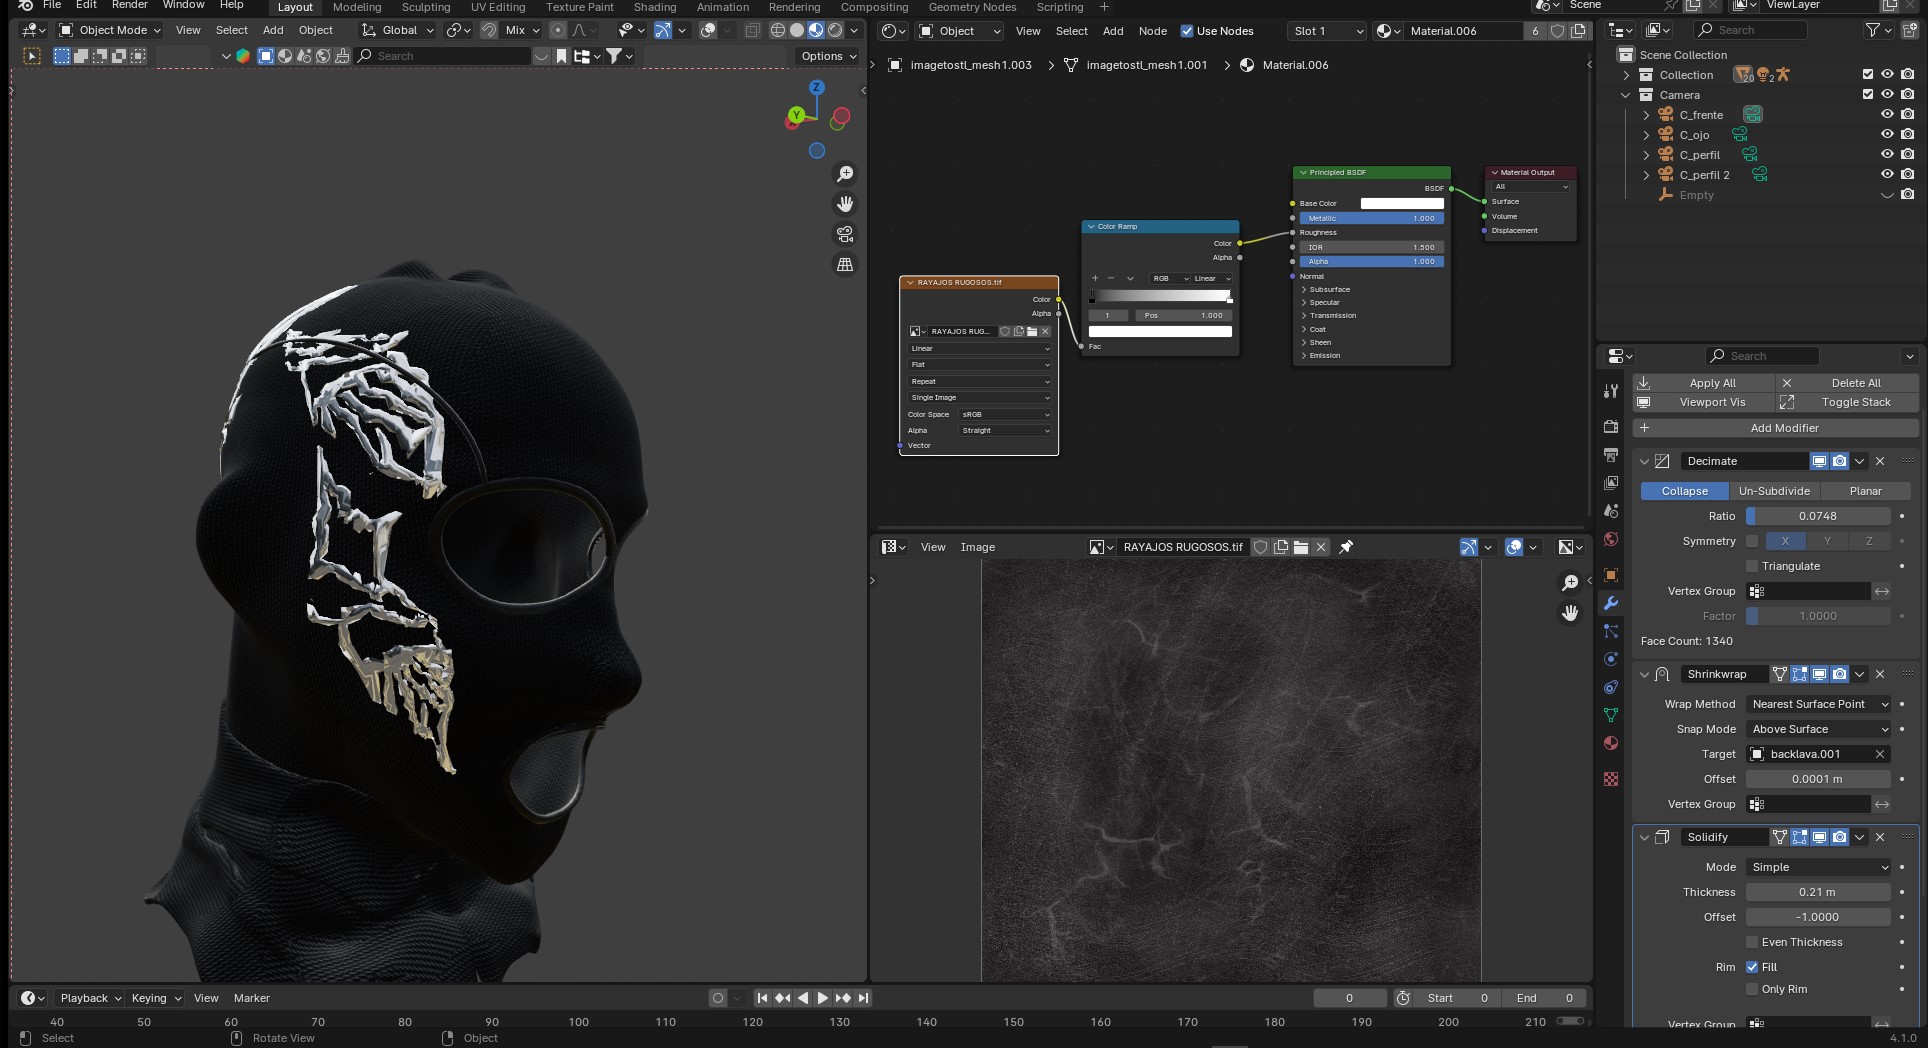
For the hat, I imported a texture downloaded from the 3dtextures, a pretty cool page for PBR textures, then modified it to be able to create different styles and colors using nodes like Color ramp and Noise texture to create interesting designs:


For the chrome effect, the following nodes were added with a basic configuration:
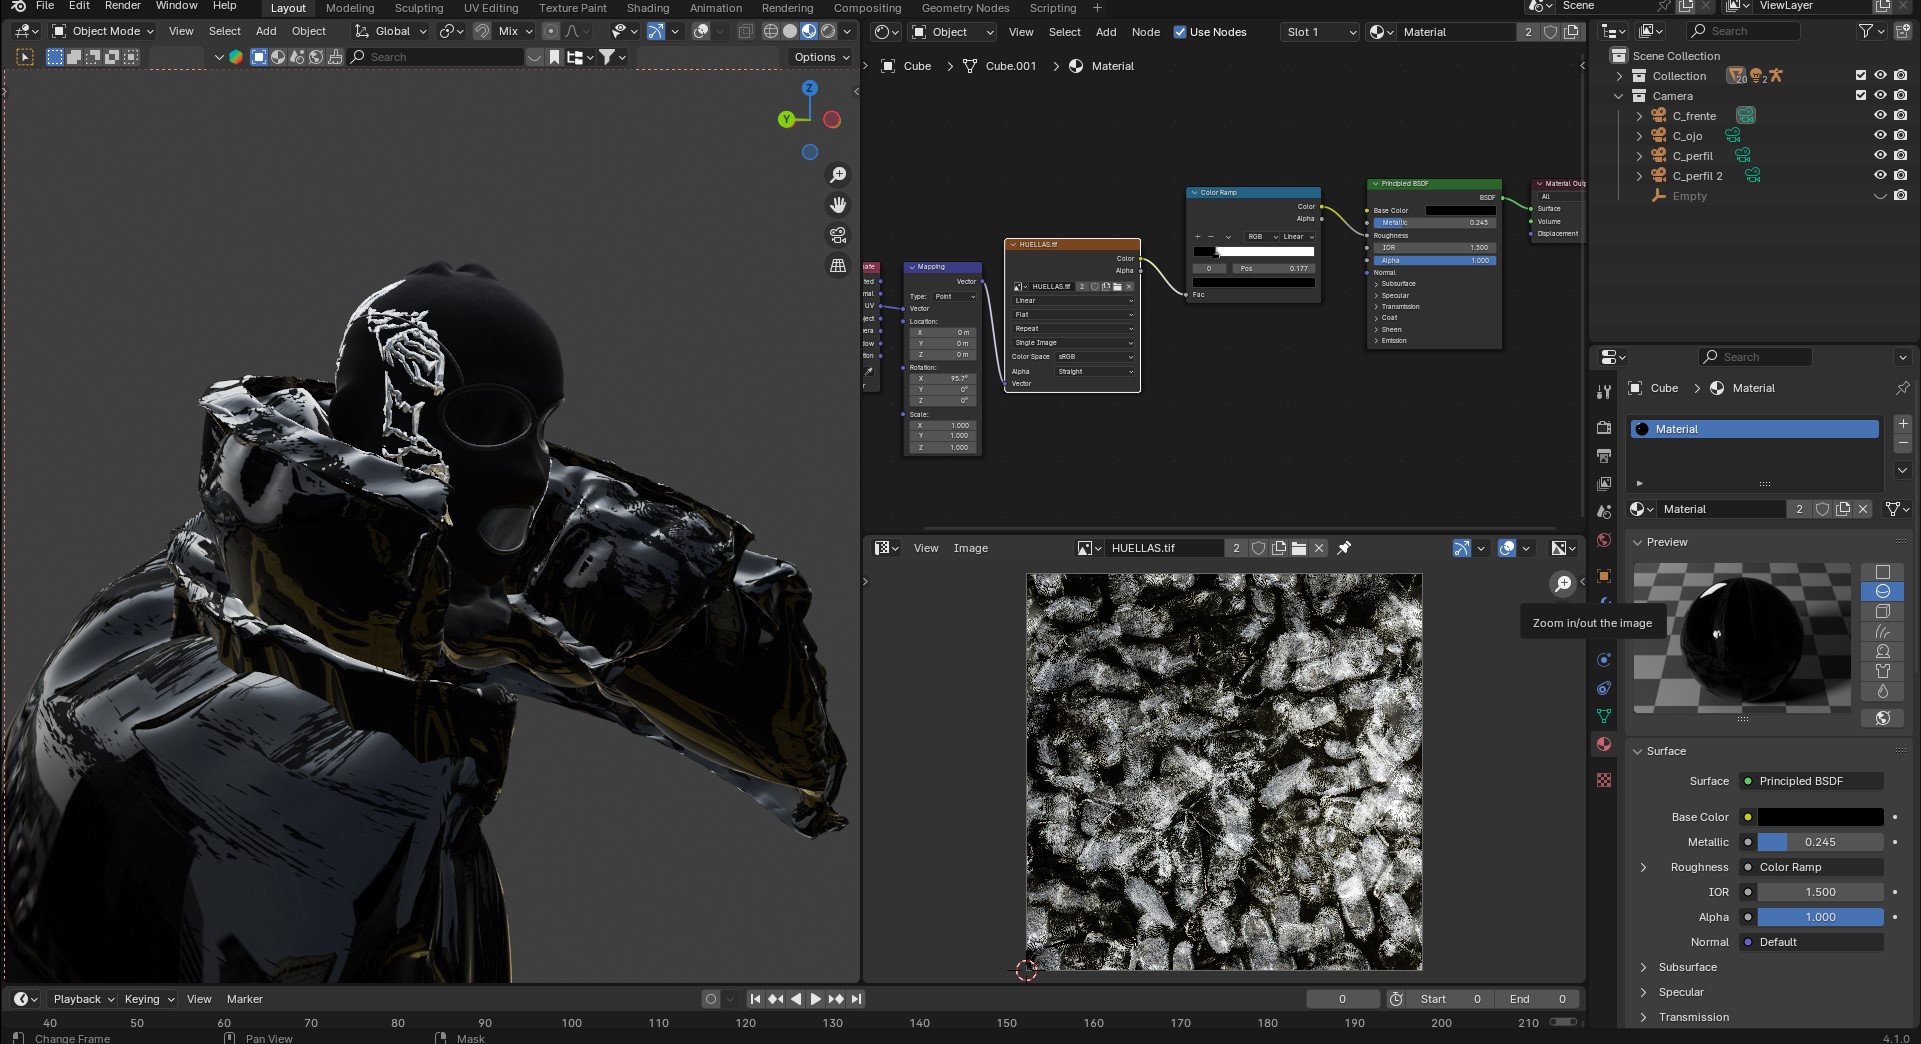
After going through this process with the hat, giving it the last details, I finished with the jacket, adding some textures to give it a different effect of the roughness of the model in addition to doing other processes to create a chrome or shiny material:
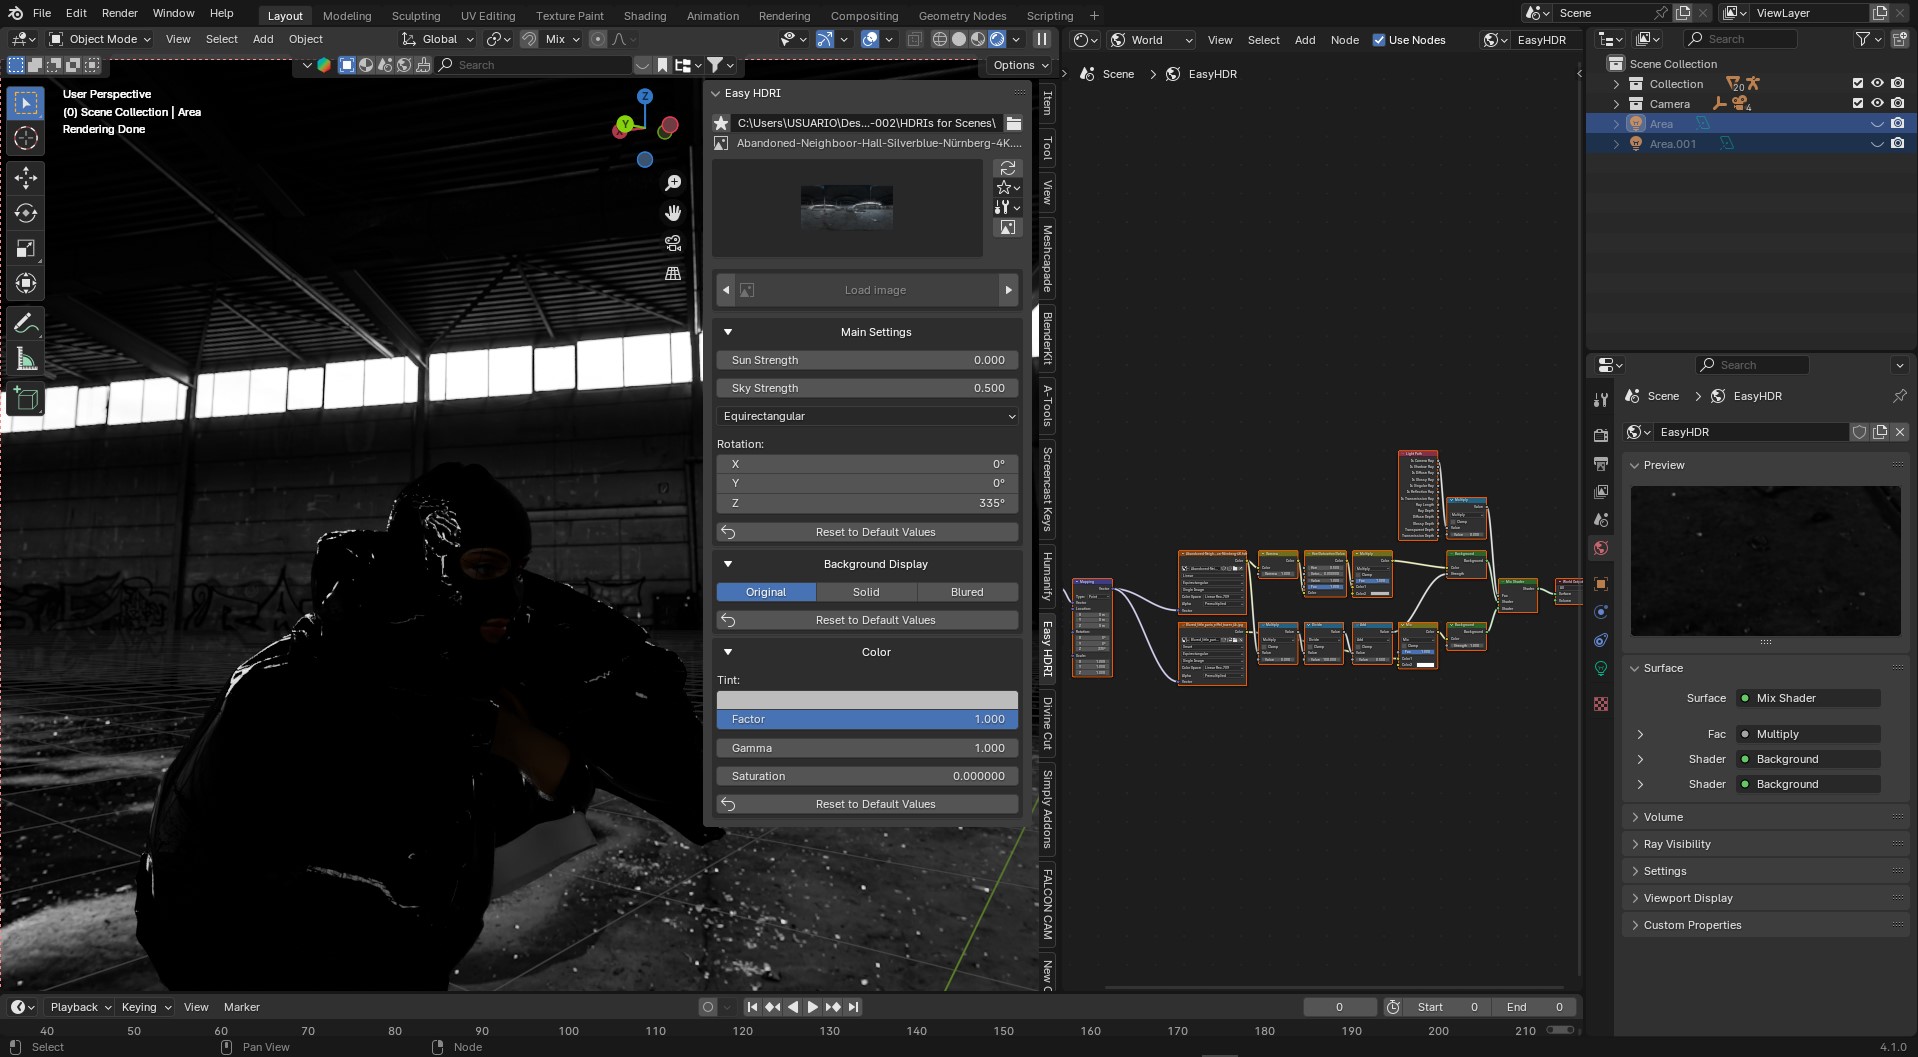
Lighting and Render
In the lighting, I used an addon called EasyHDR, quite useful for lighting and creating realistic environments. The only additional modification I made was lower the opacity a bit to have the character as the main focus, and import the HDRI map, which is from an old, abandoned winery:
Additionally I added support lighting to finish the final scene:

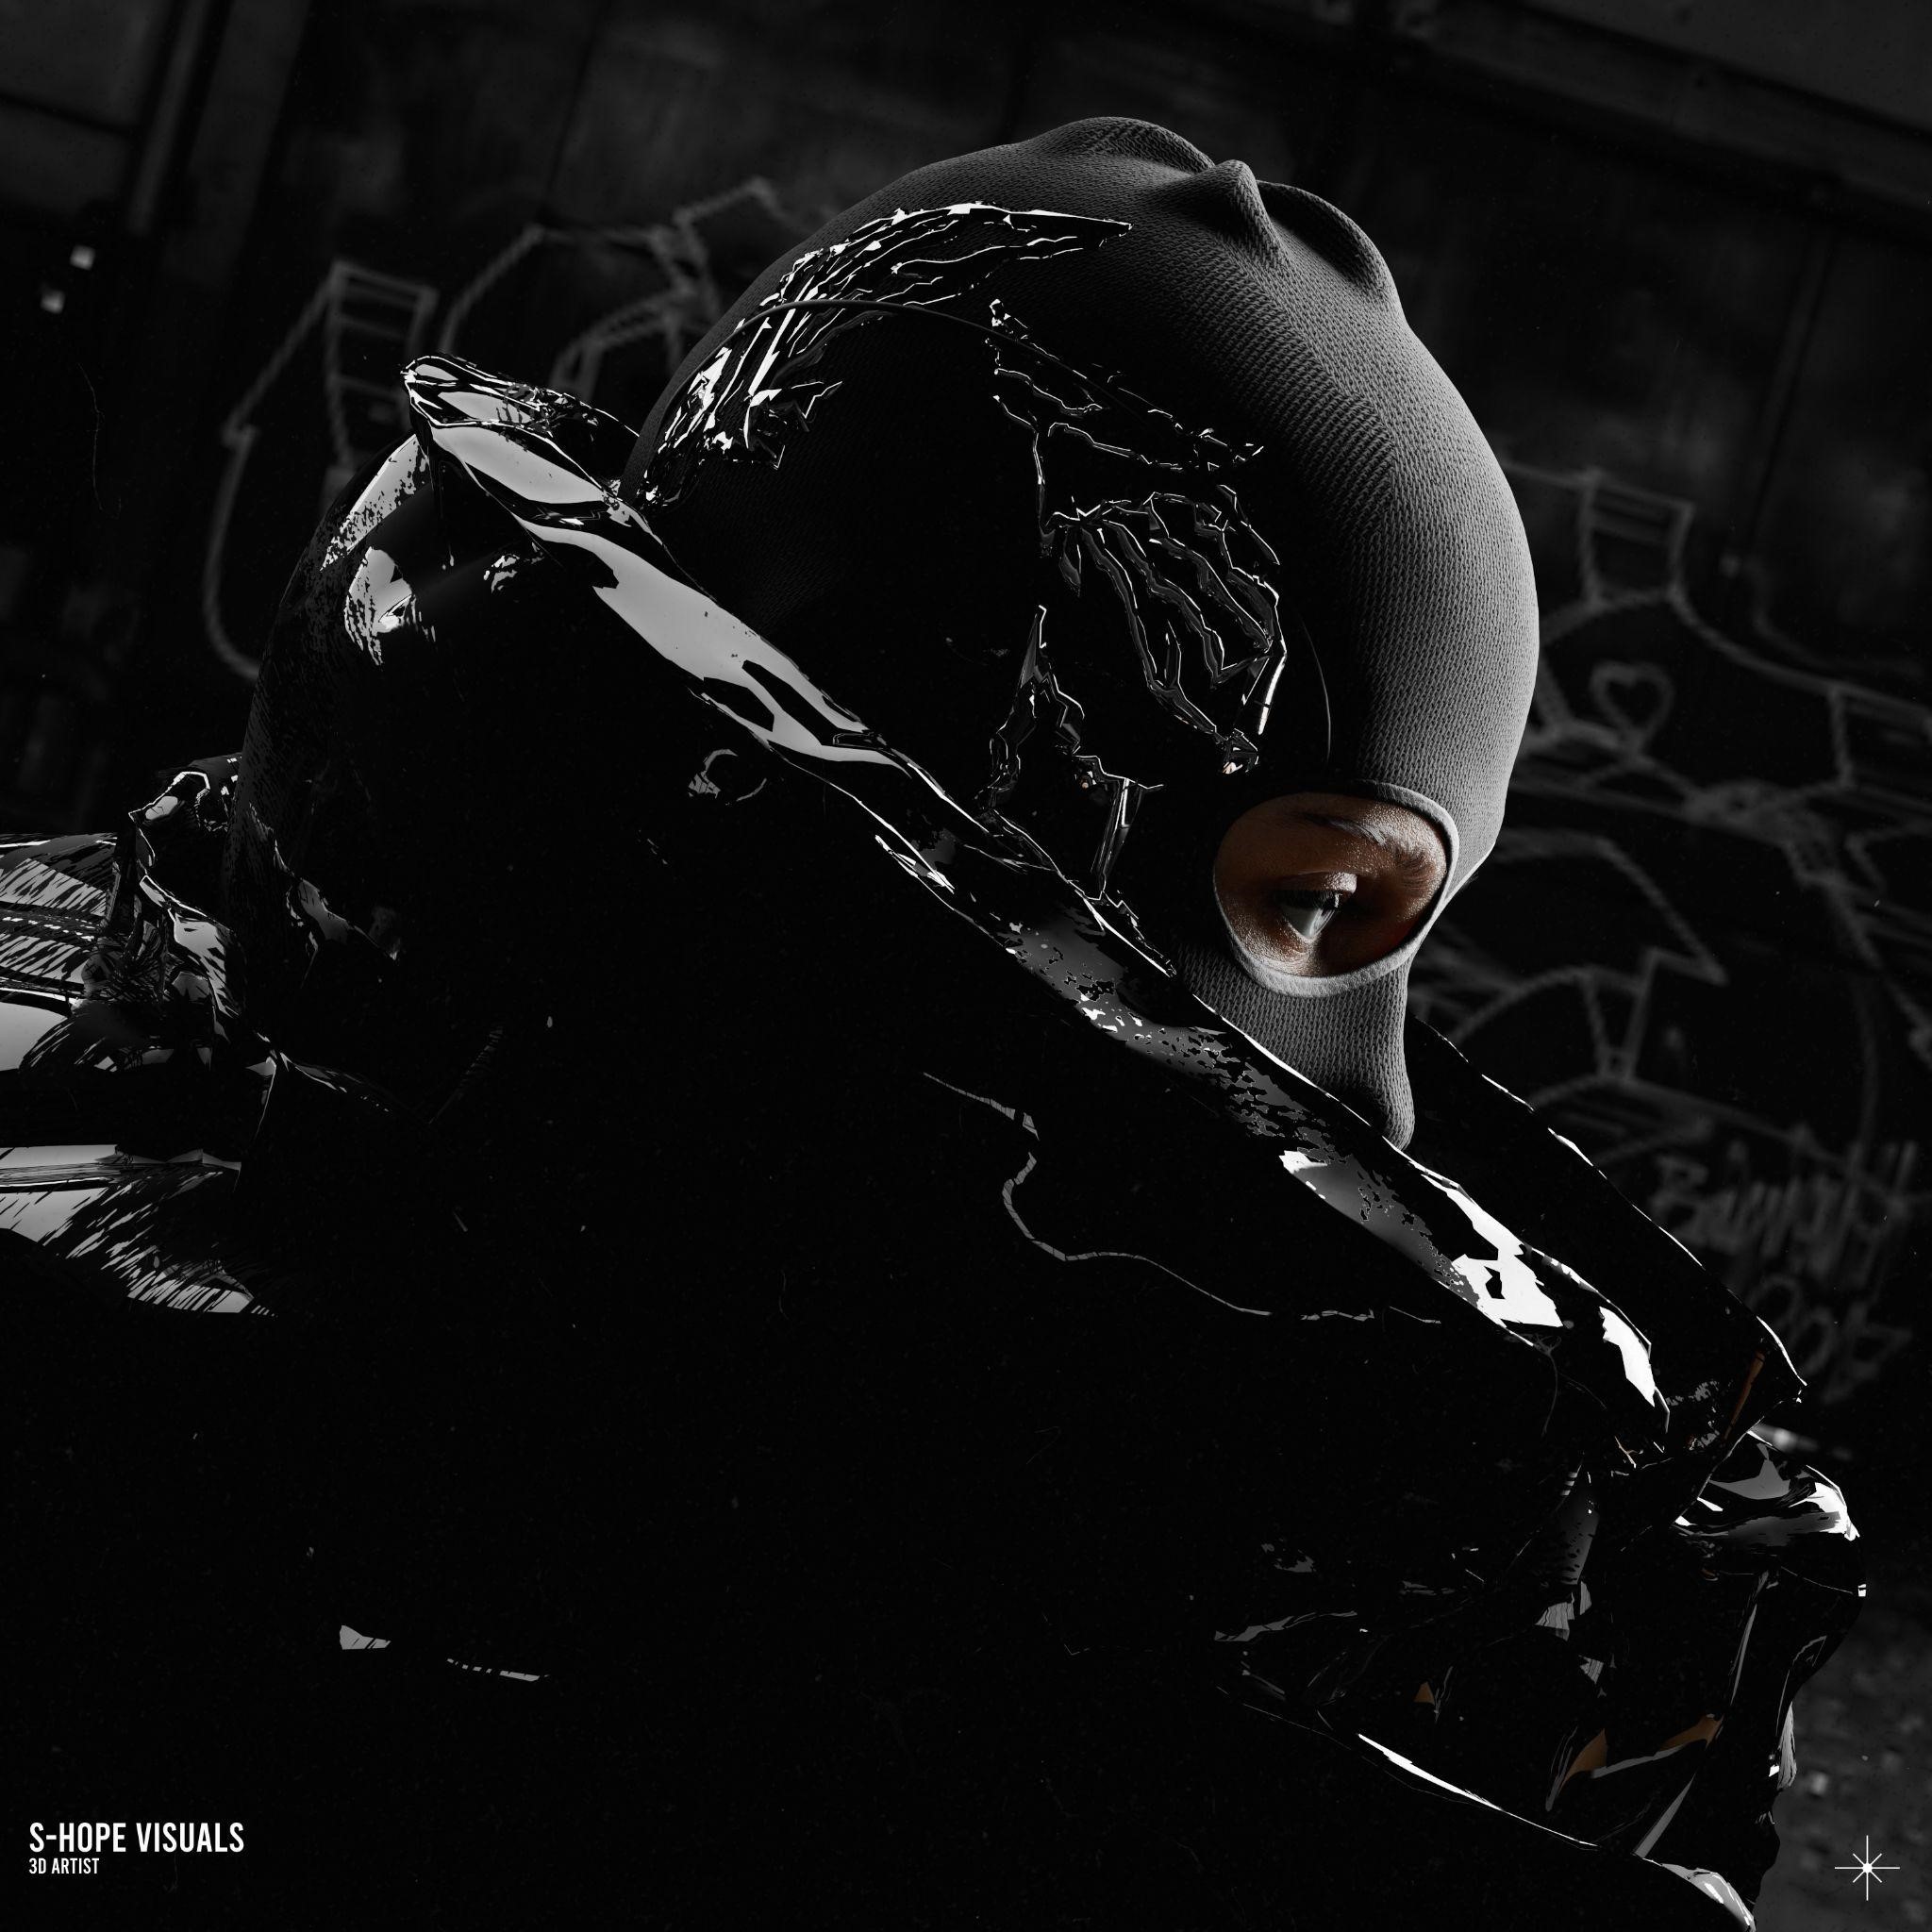
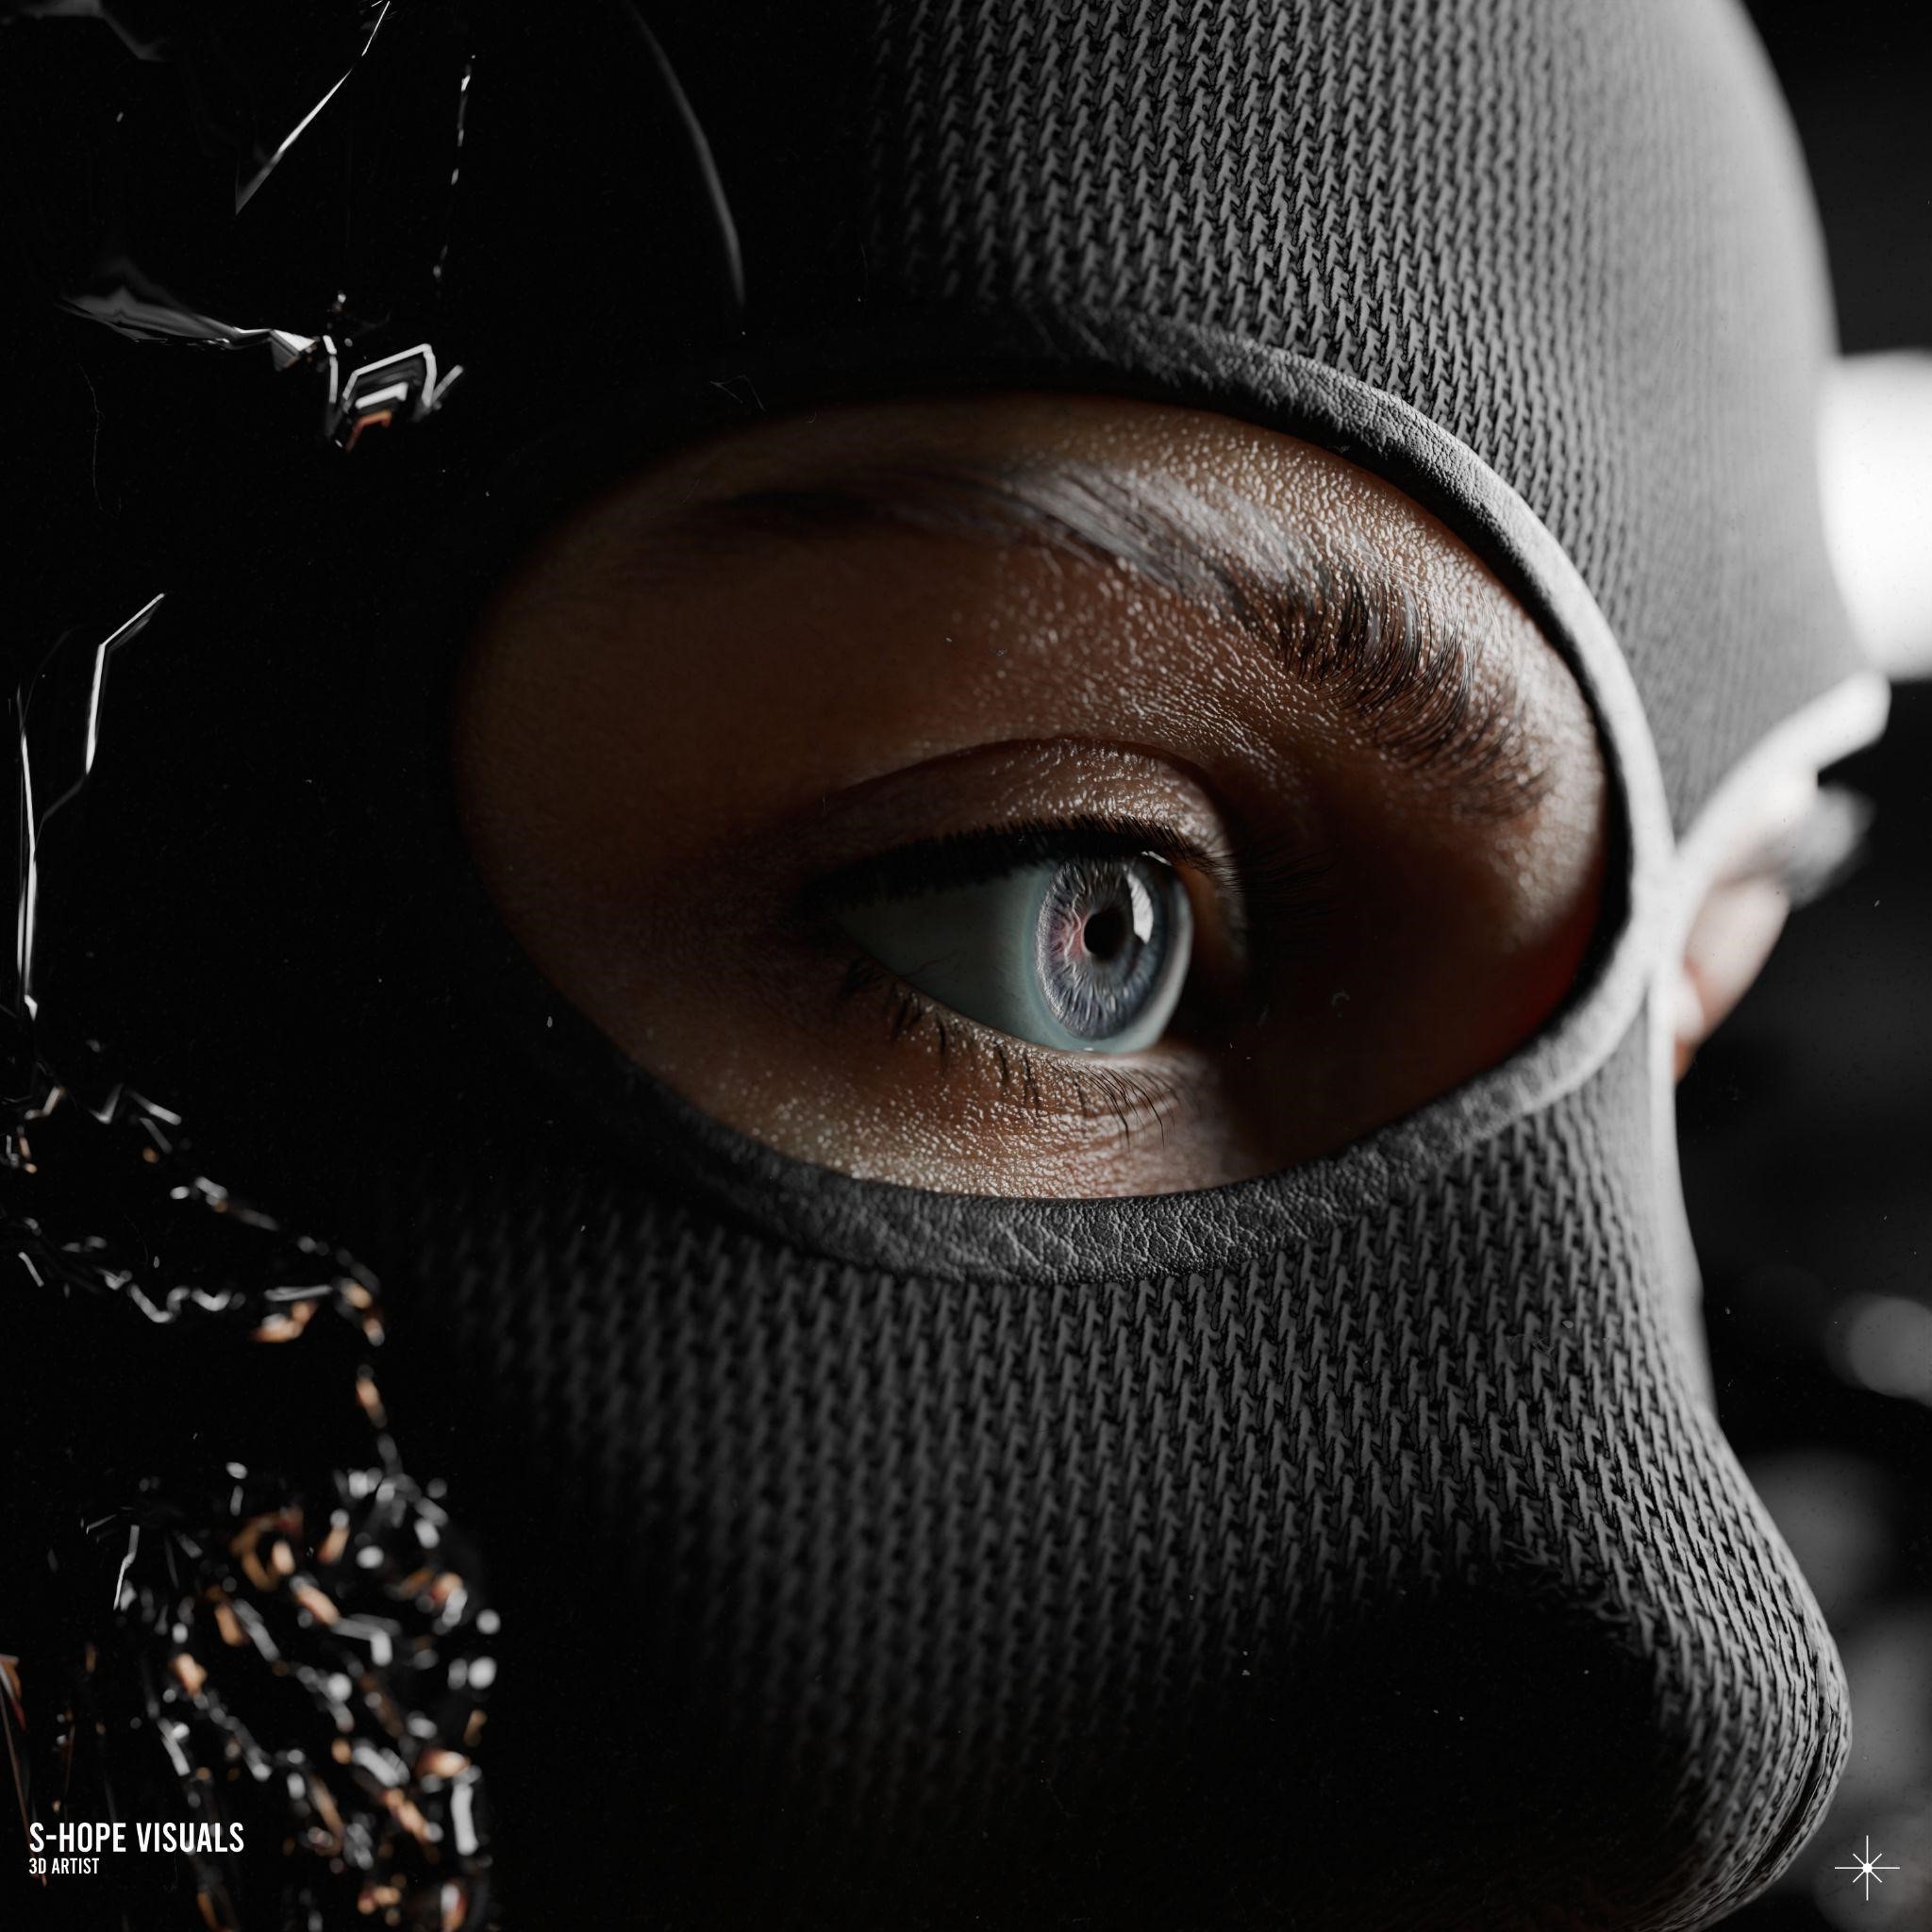
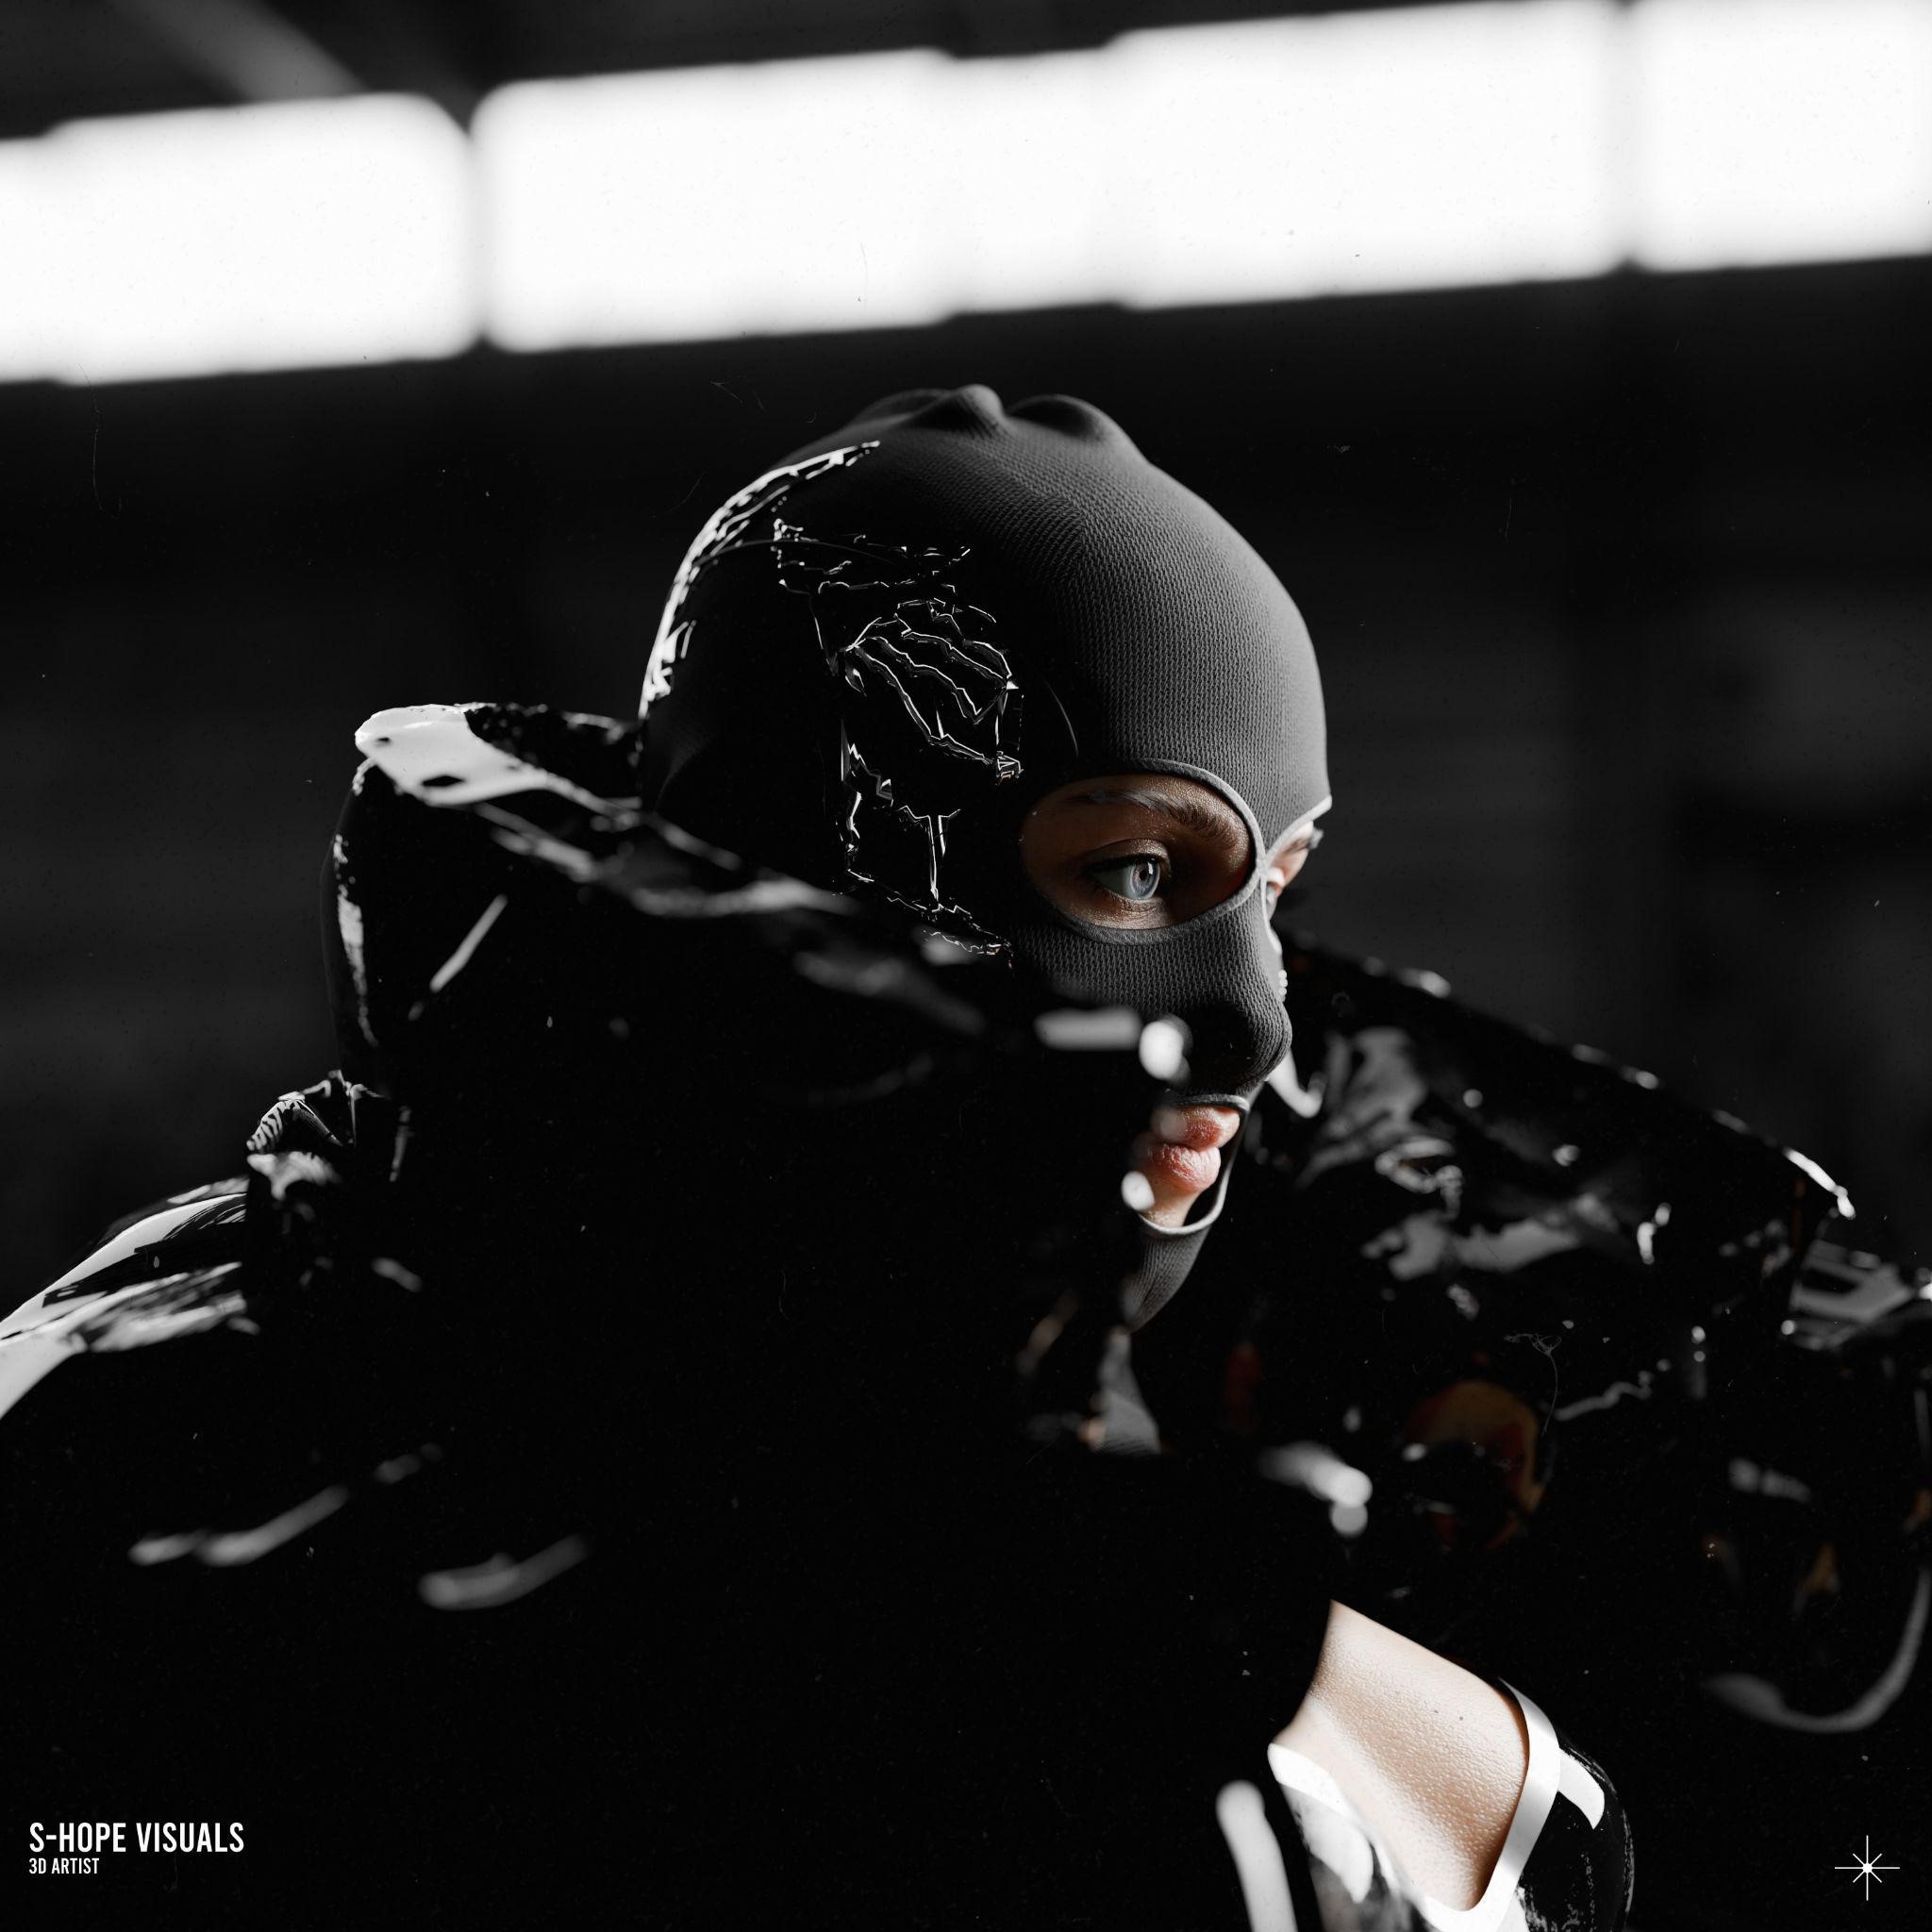
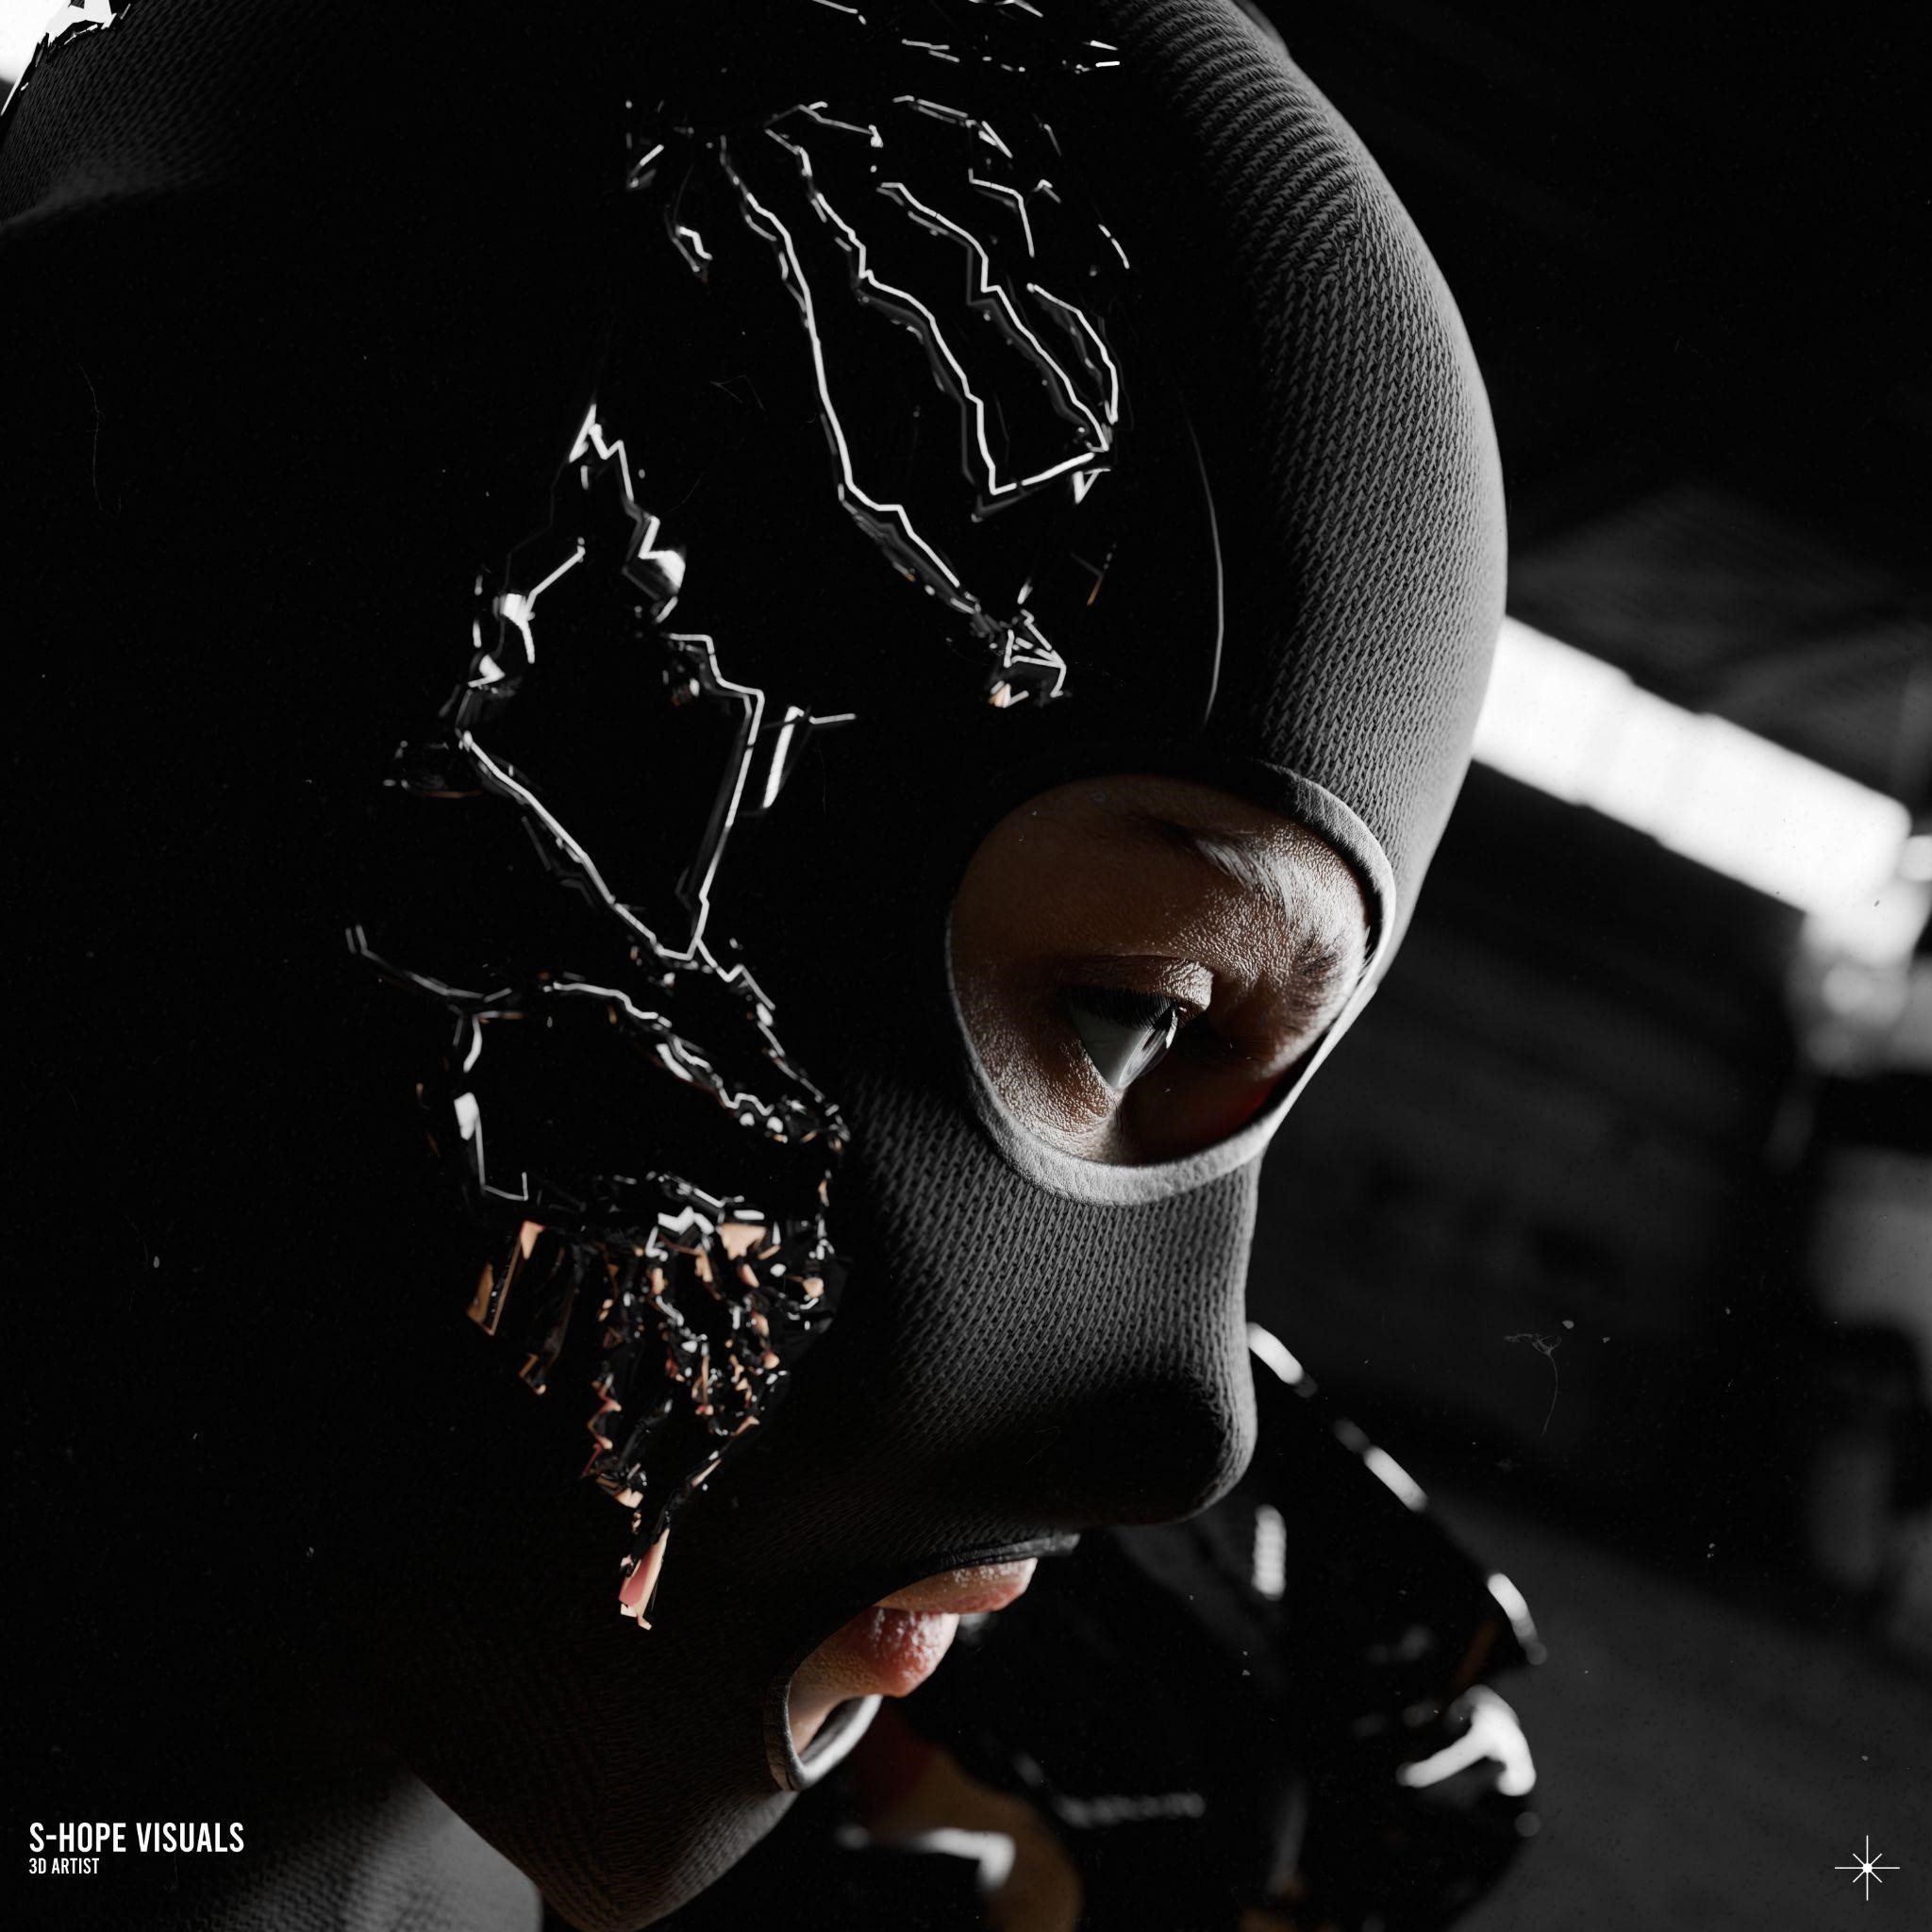
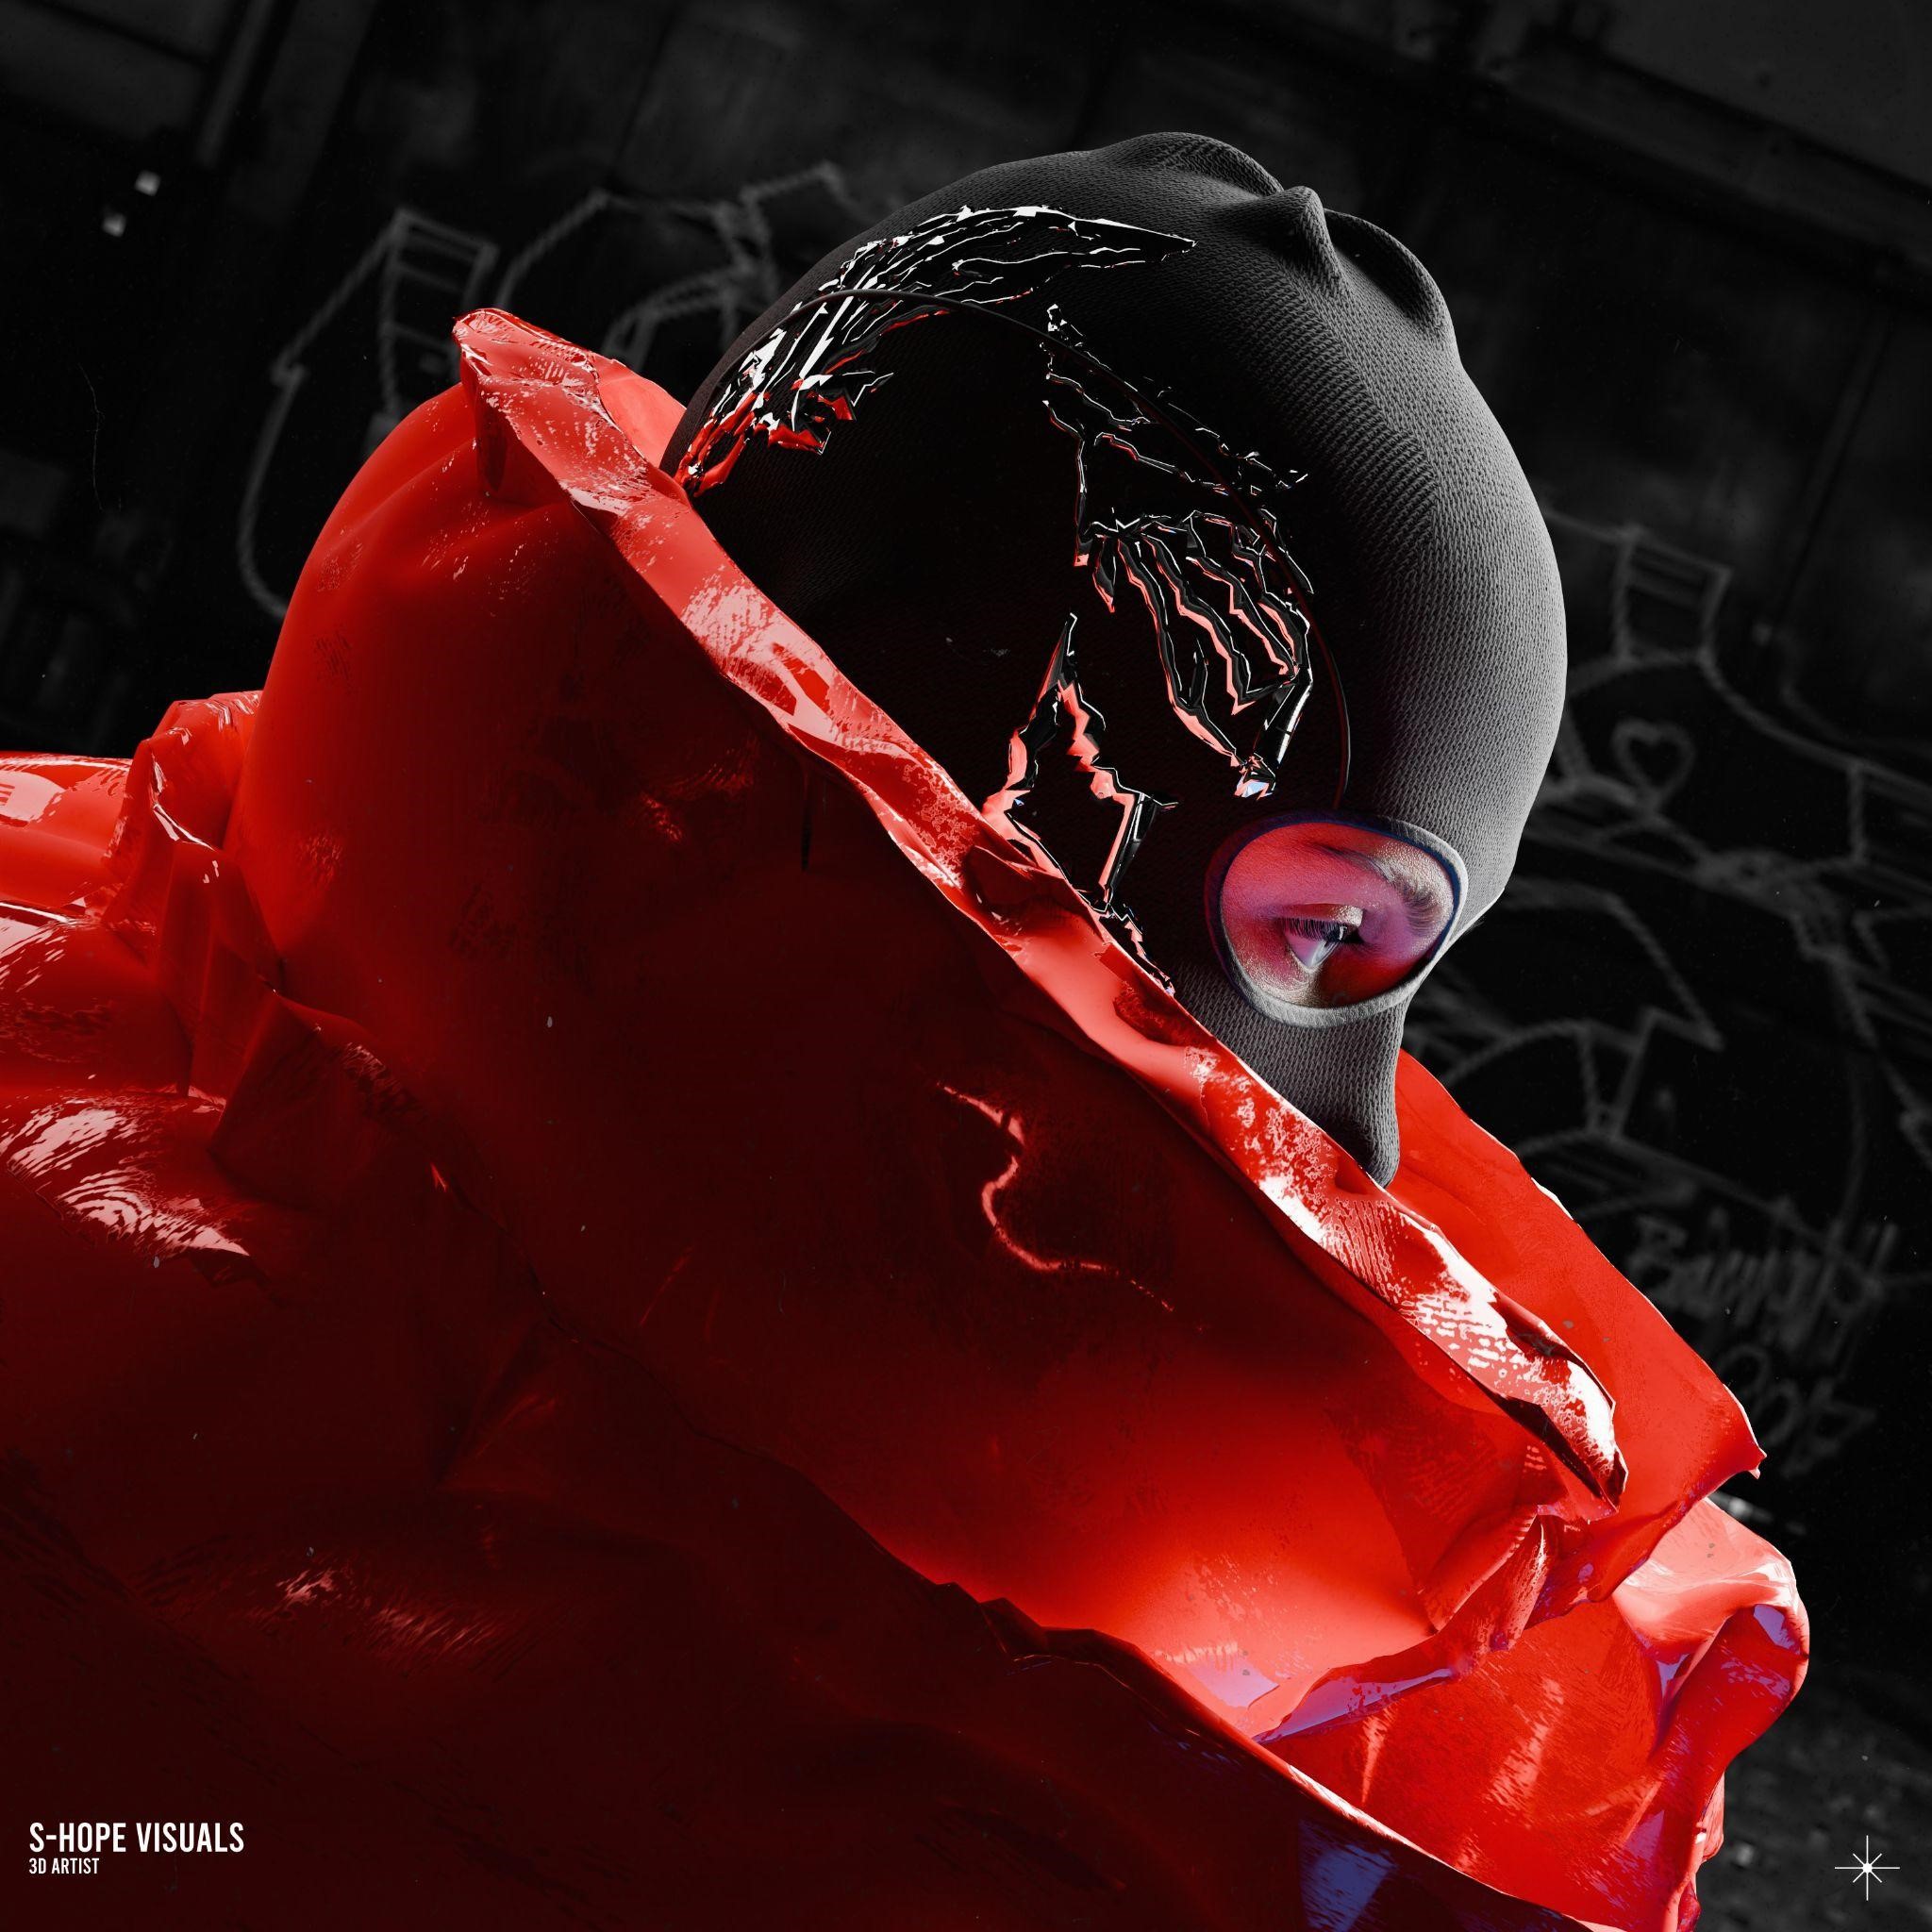
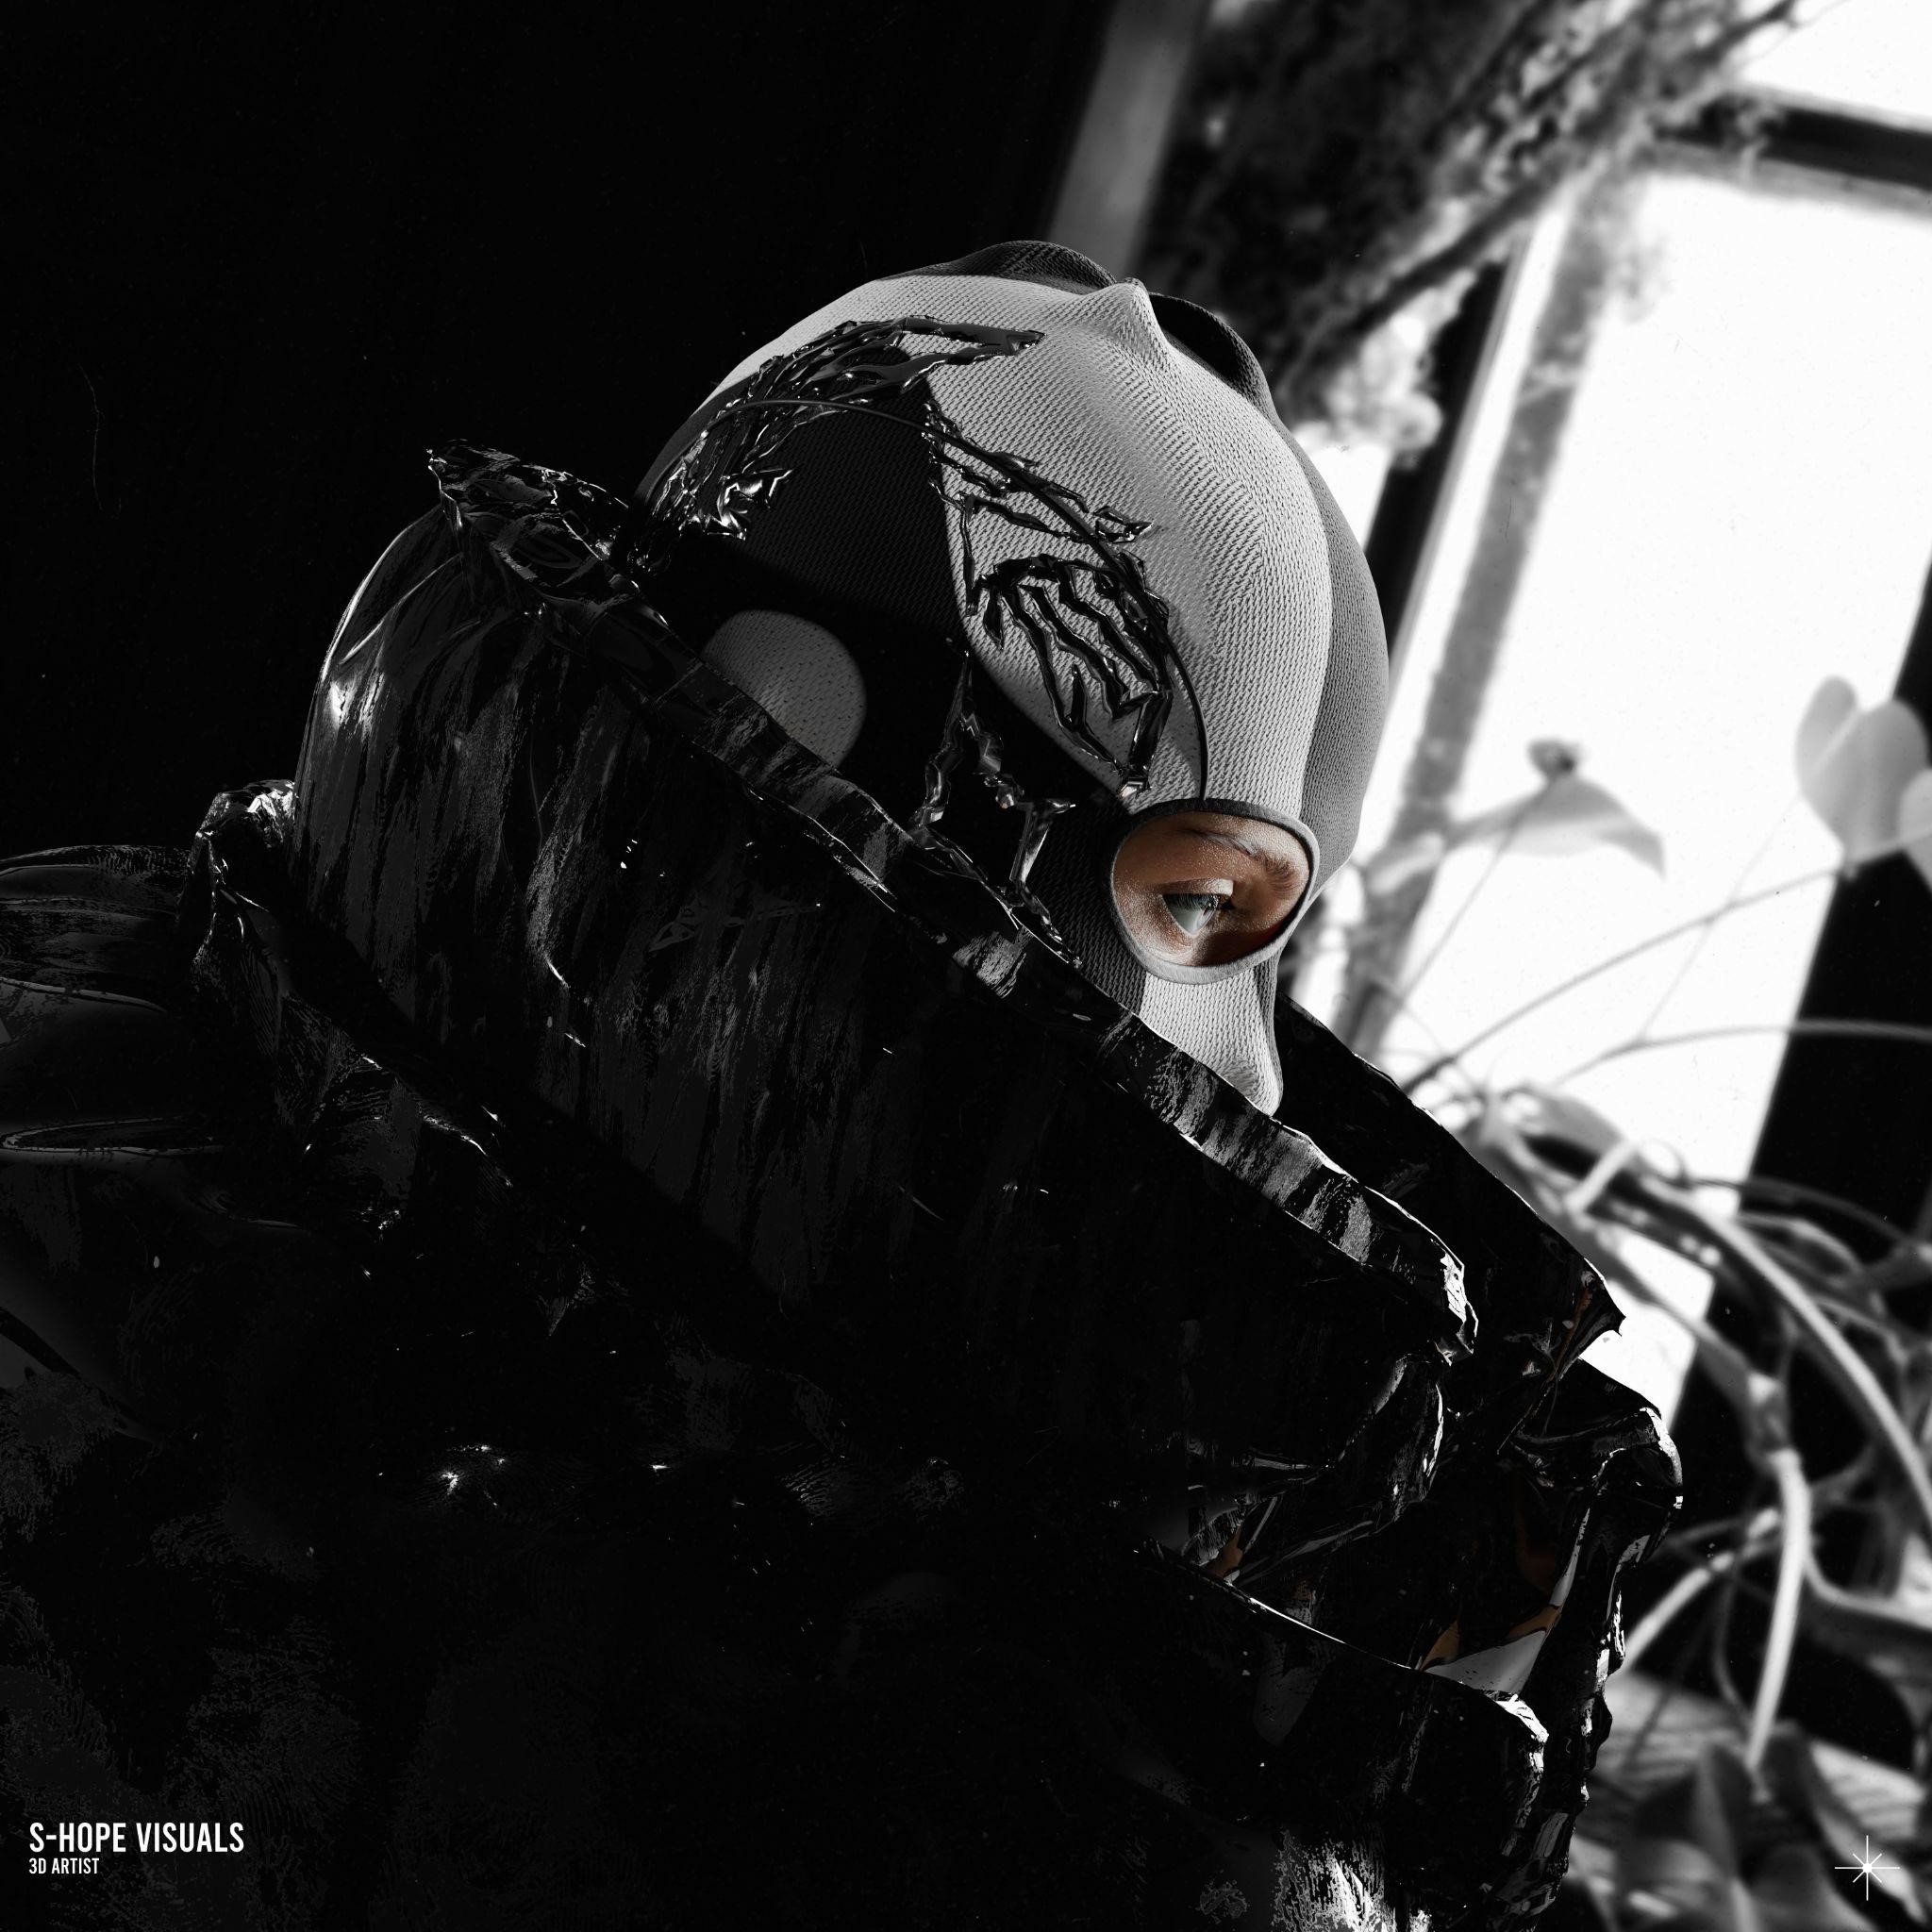
And that was it! Below are the final renders and some viewport renders for reference.
RENDER: C r o m o
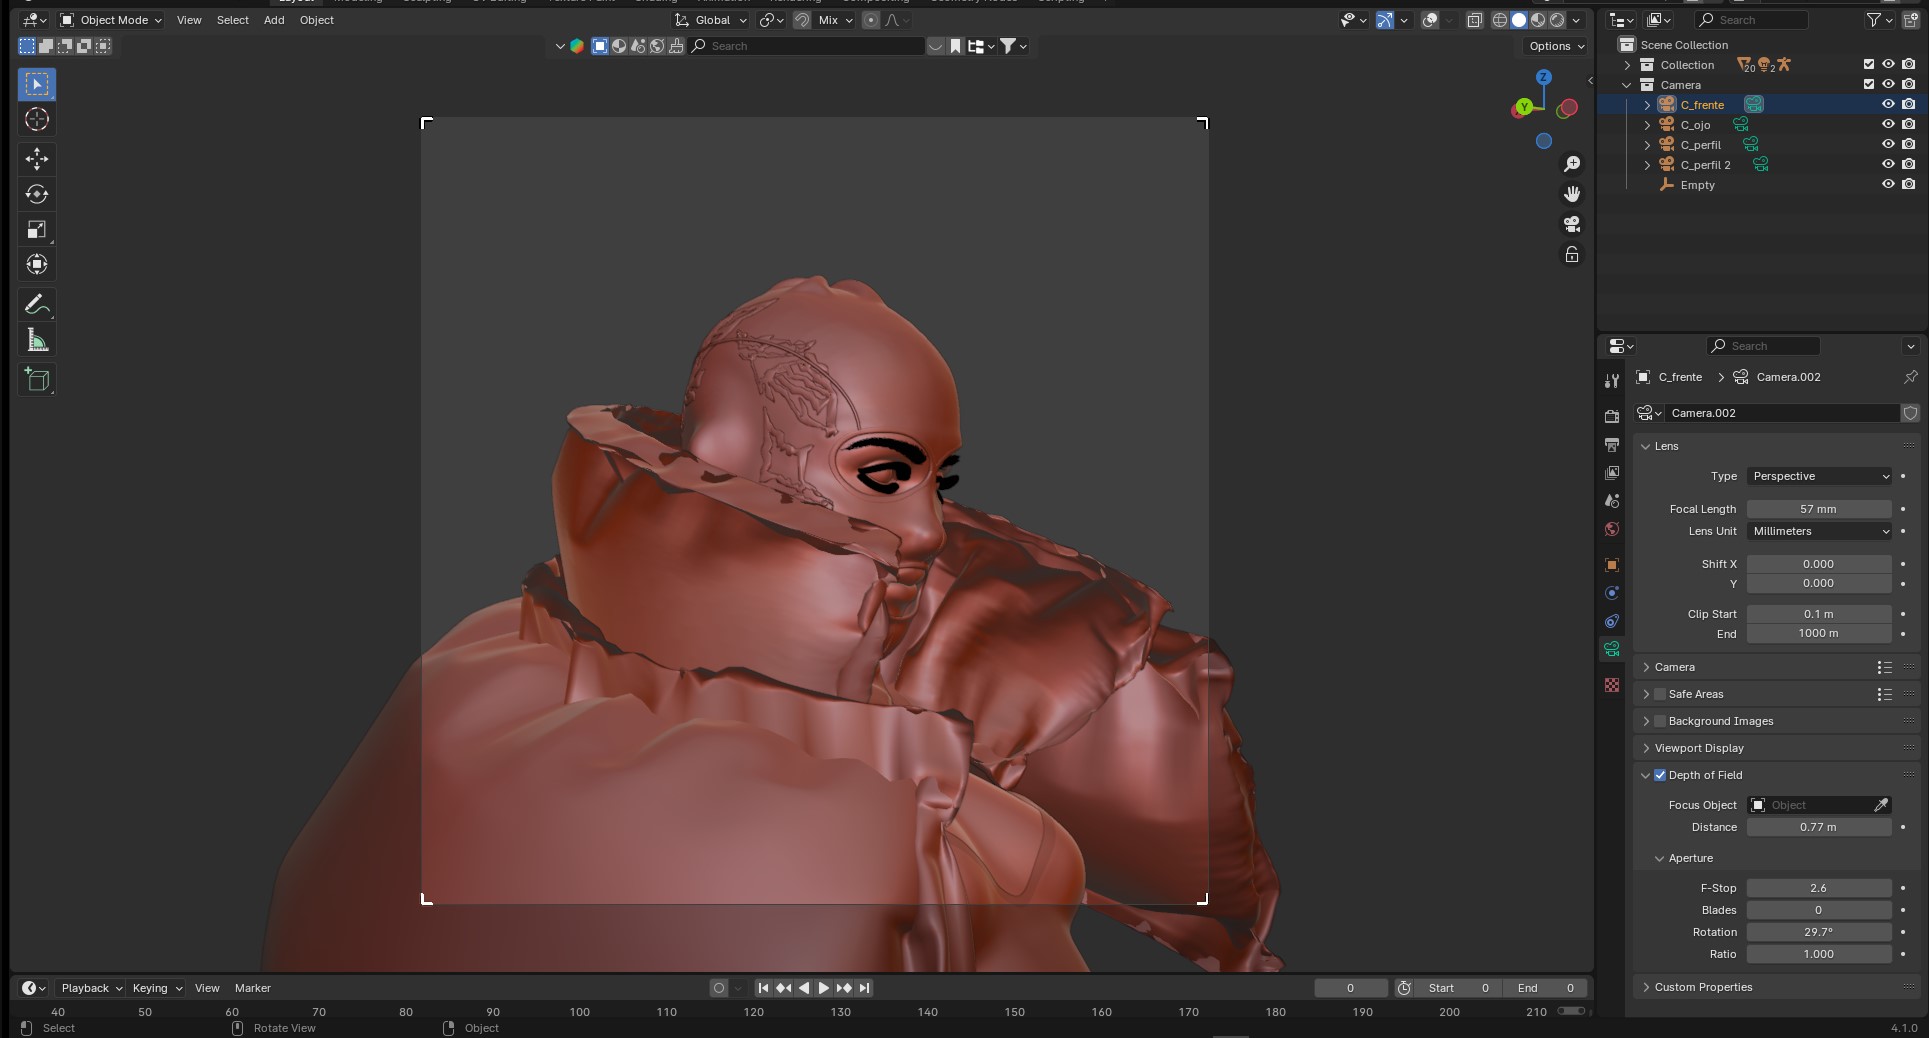
Viewport renders:
Thank you for checking out my article. Don’t hesitate to ask any questions on my social media. Have a great day!
About the Artist
Sebastian Suancha is a 3D artist from Bogotá, Colombia. He currently works as a freelance generalist 3D artist and content creator.