
INTRODUCTION
Hello everyone! My name is Serdar Muhamedow and I'm a freelance 3D artist from Ashgabat, Turkmenistan. Currently, I’m creating low poly game-ready models for 3D stocks. In my pipeline, I mostly use Blender with Substance Painter while I also have some skills with motion graphics and compositing in After Effects.
INSPIRATION
The goal for this work was creating an airplane as a game-ready asset with animation in a dieselpunk style with realistic textures. Dieselpunk is interesting from a shading point of view, which is why I chose this style. I also wanted to improve my skills in texturing, shading, and low poly modeling.
PROCESS
Software:
- Blender
- Substance Painter
Addons:
- Pro Lighting Studio (by Andrew Price)
- Zen UV (by Sergey Tyapkin)
- UV Packmaster (by Łukasz Czyż)
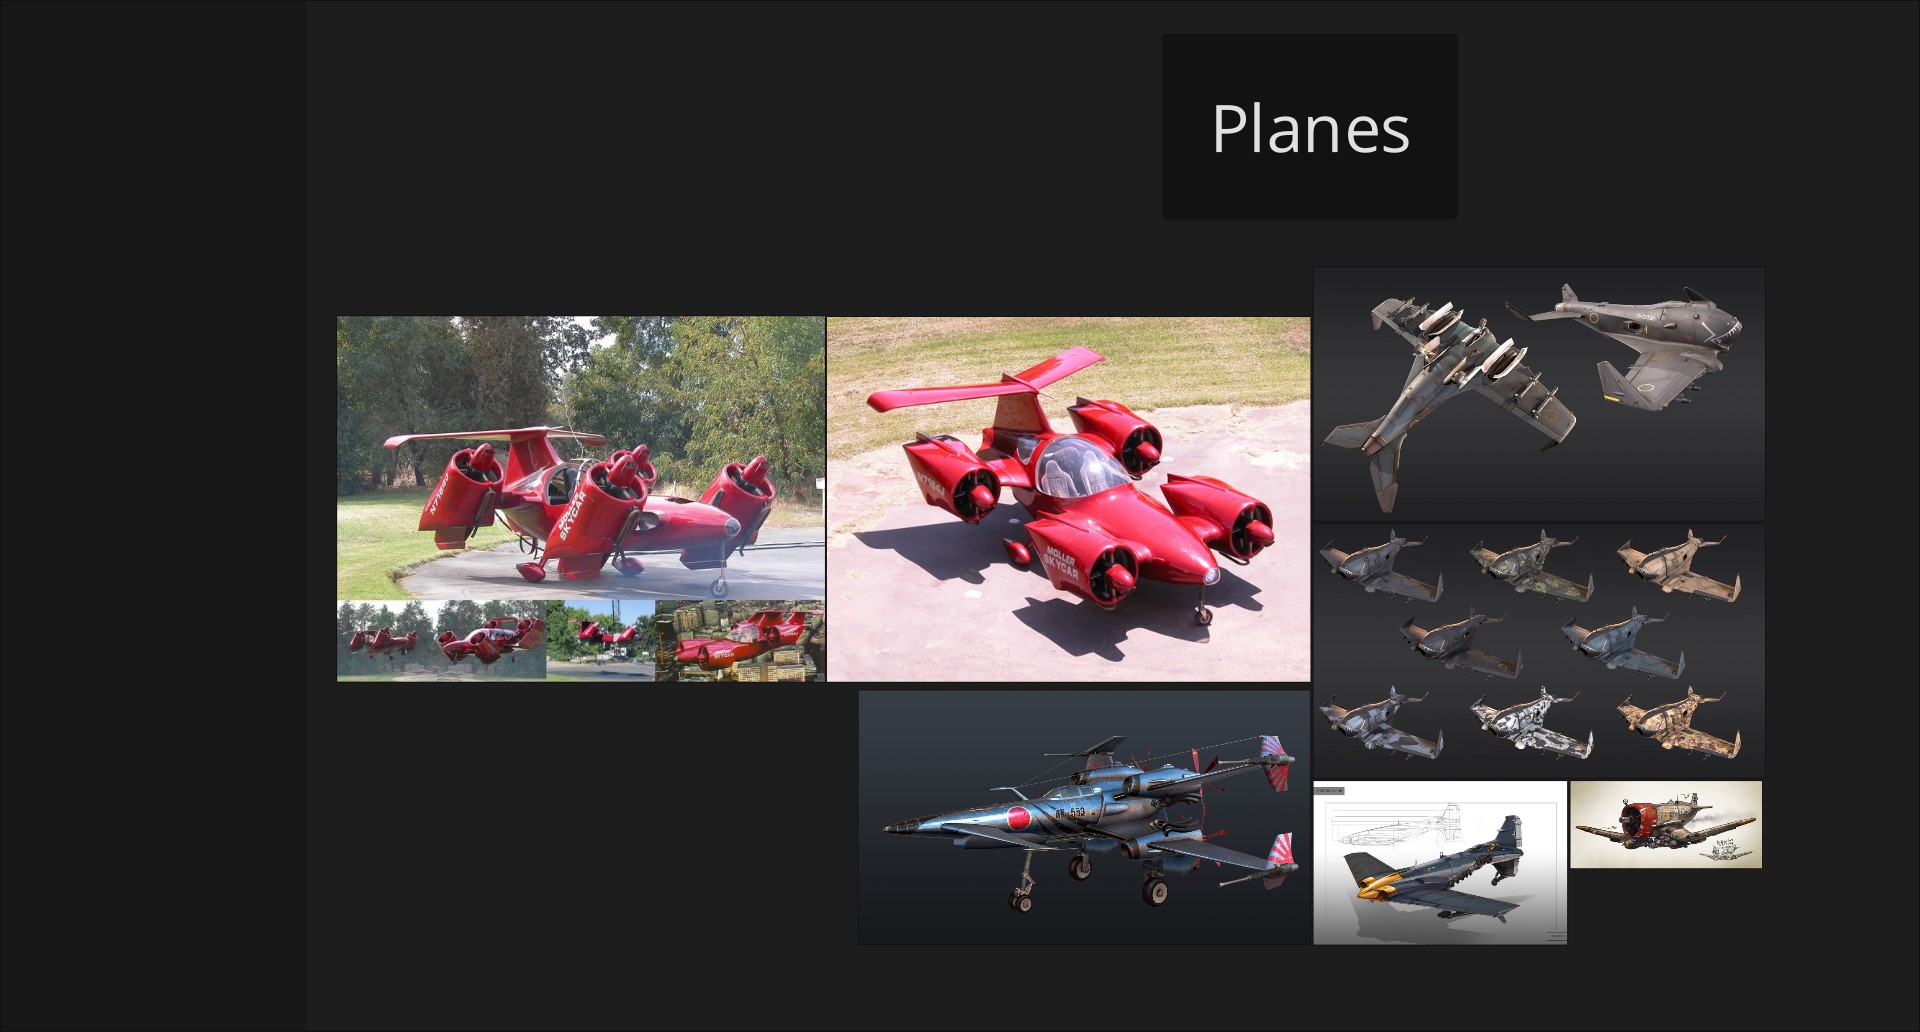
References
On the internet, I looked for interesting dieselpunk airplanes with unusual shapes. I was especially interested in the red Moller Skycar and gathered all the images.
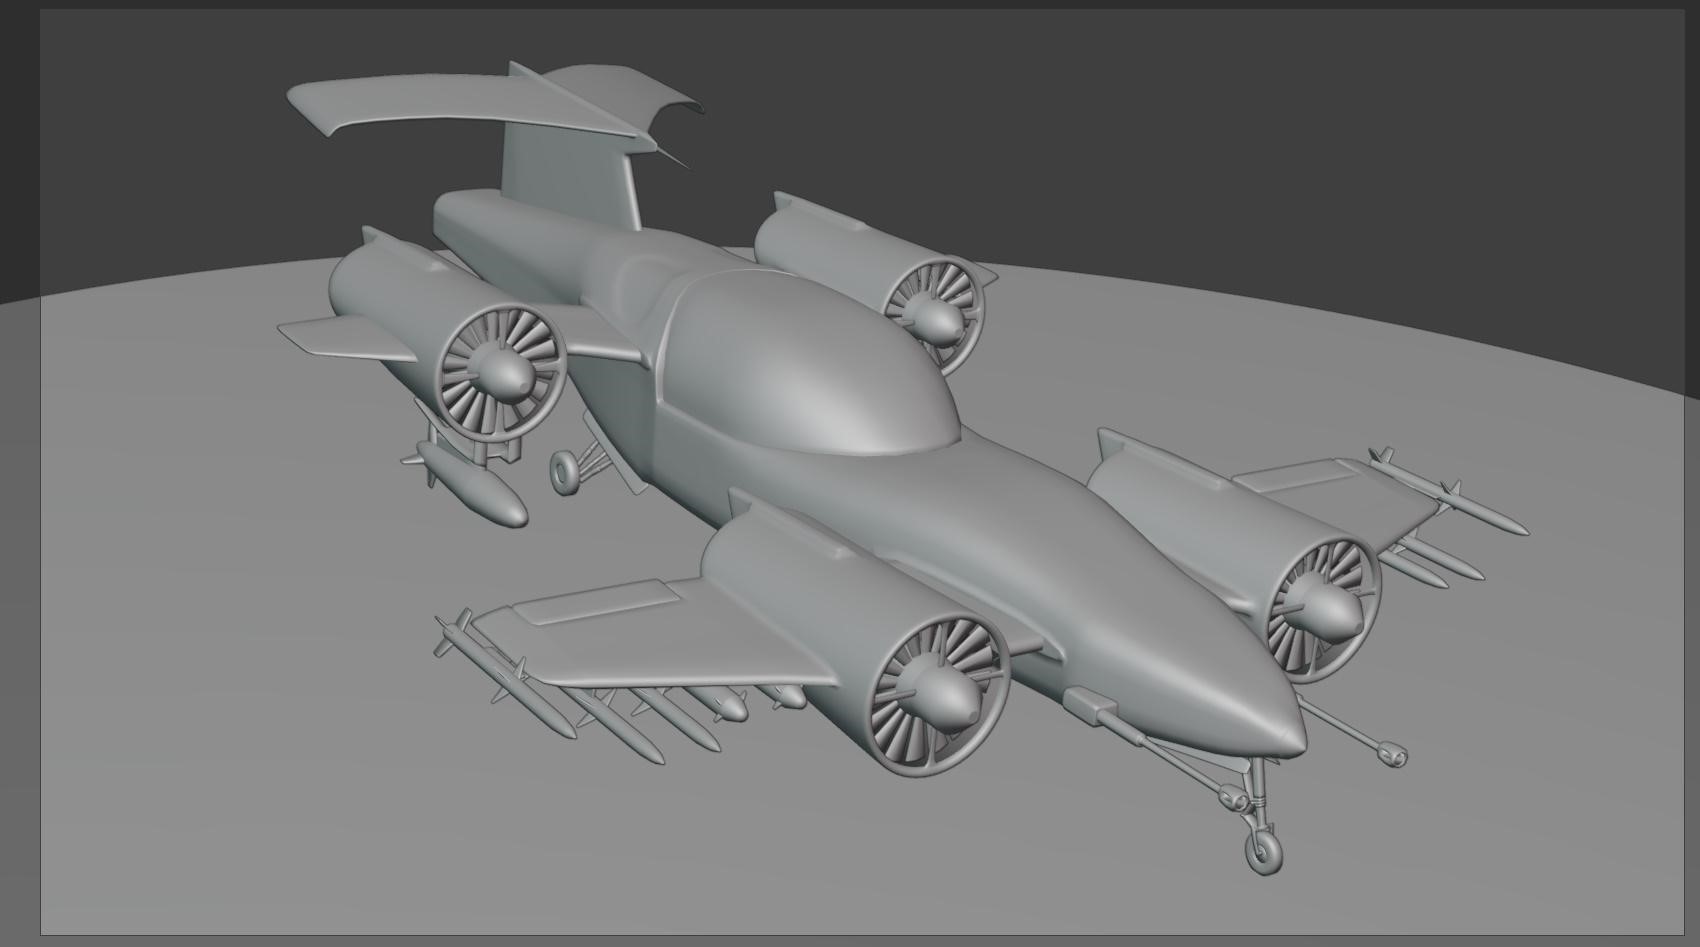
Modeling
Then, I started to model this Moller Skycar.
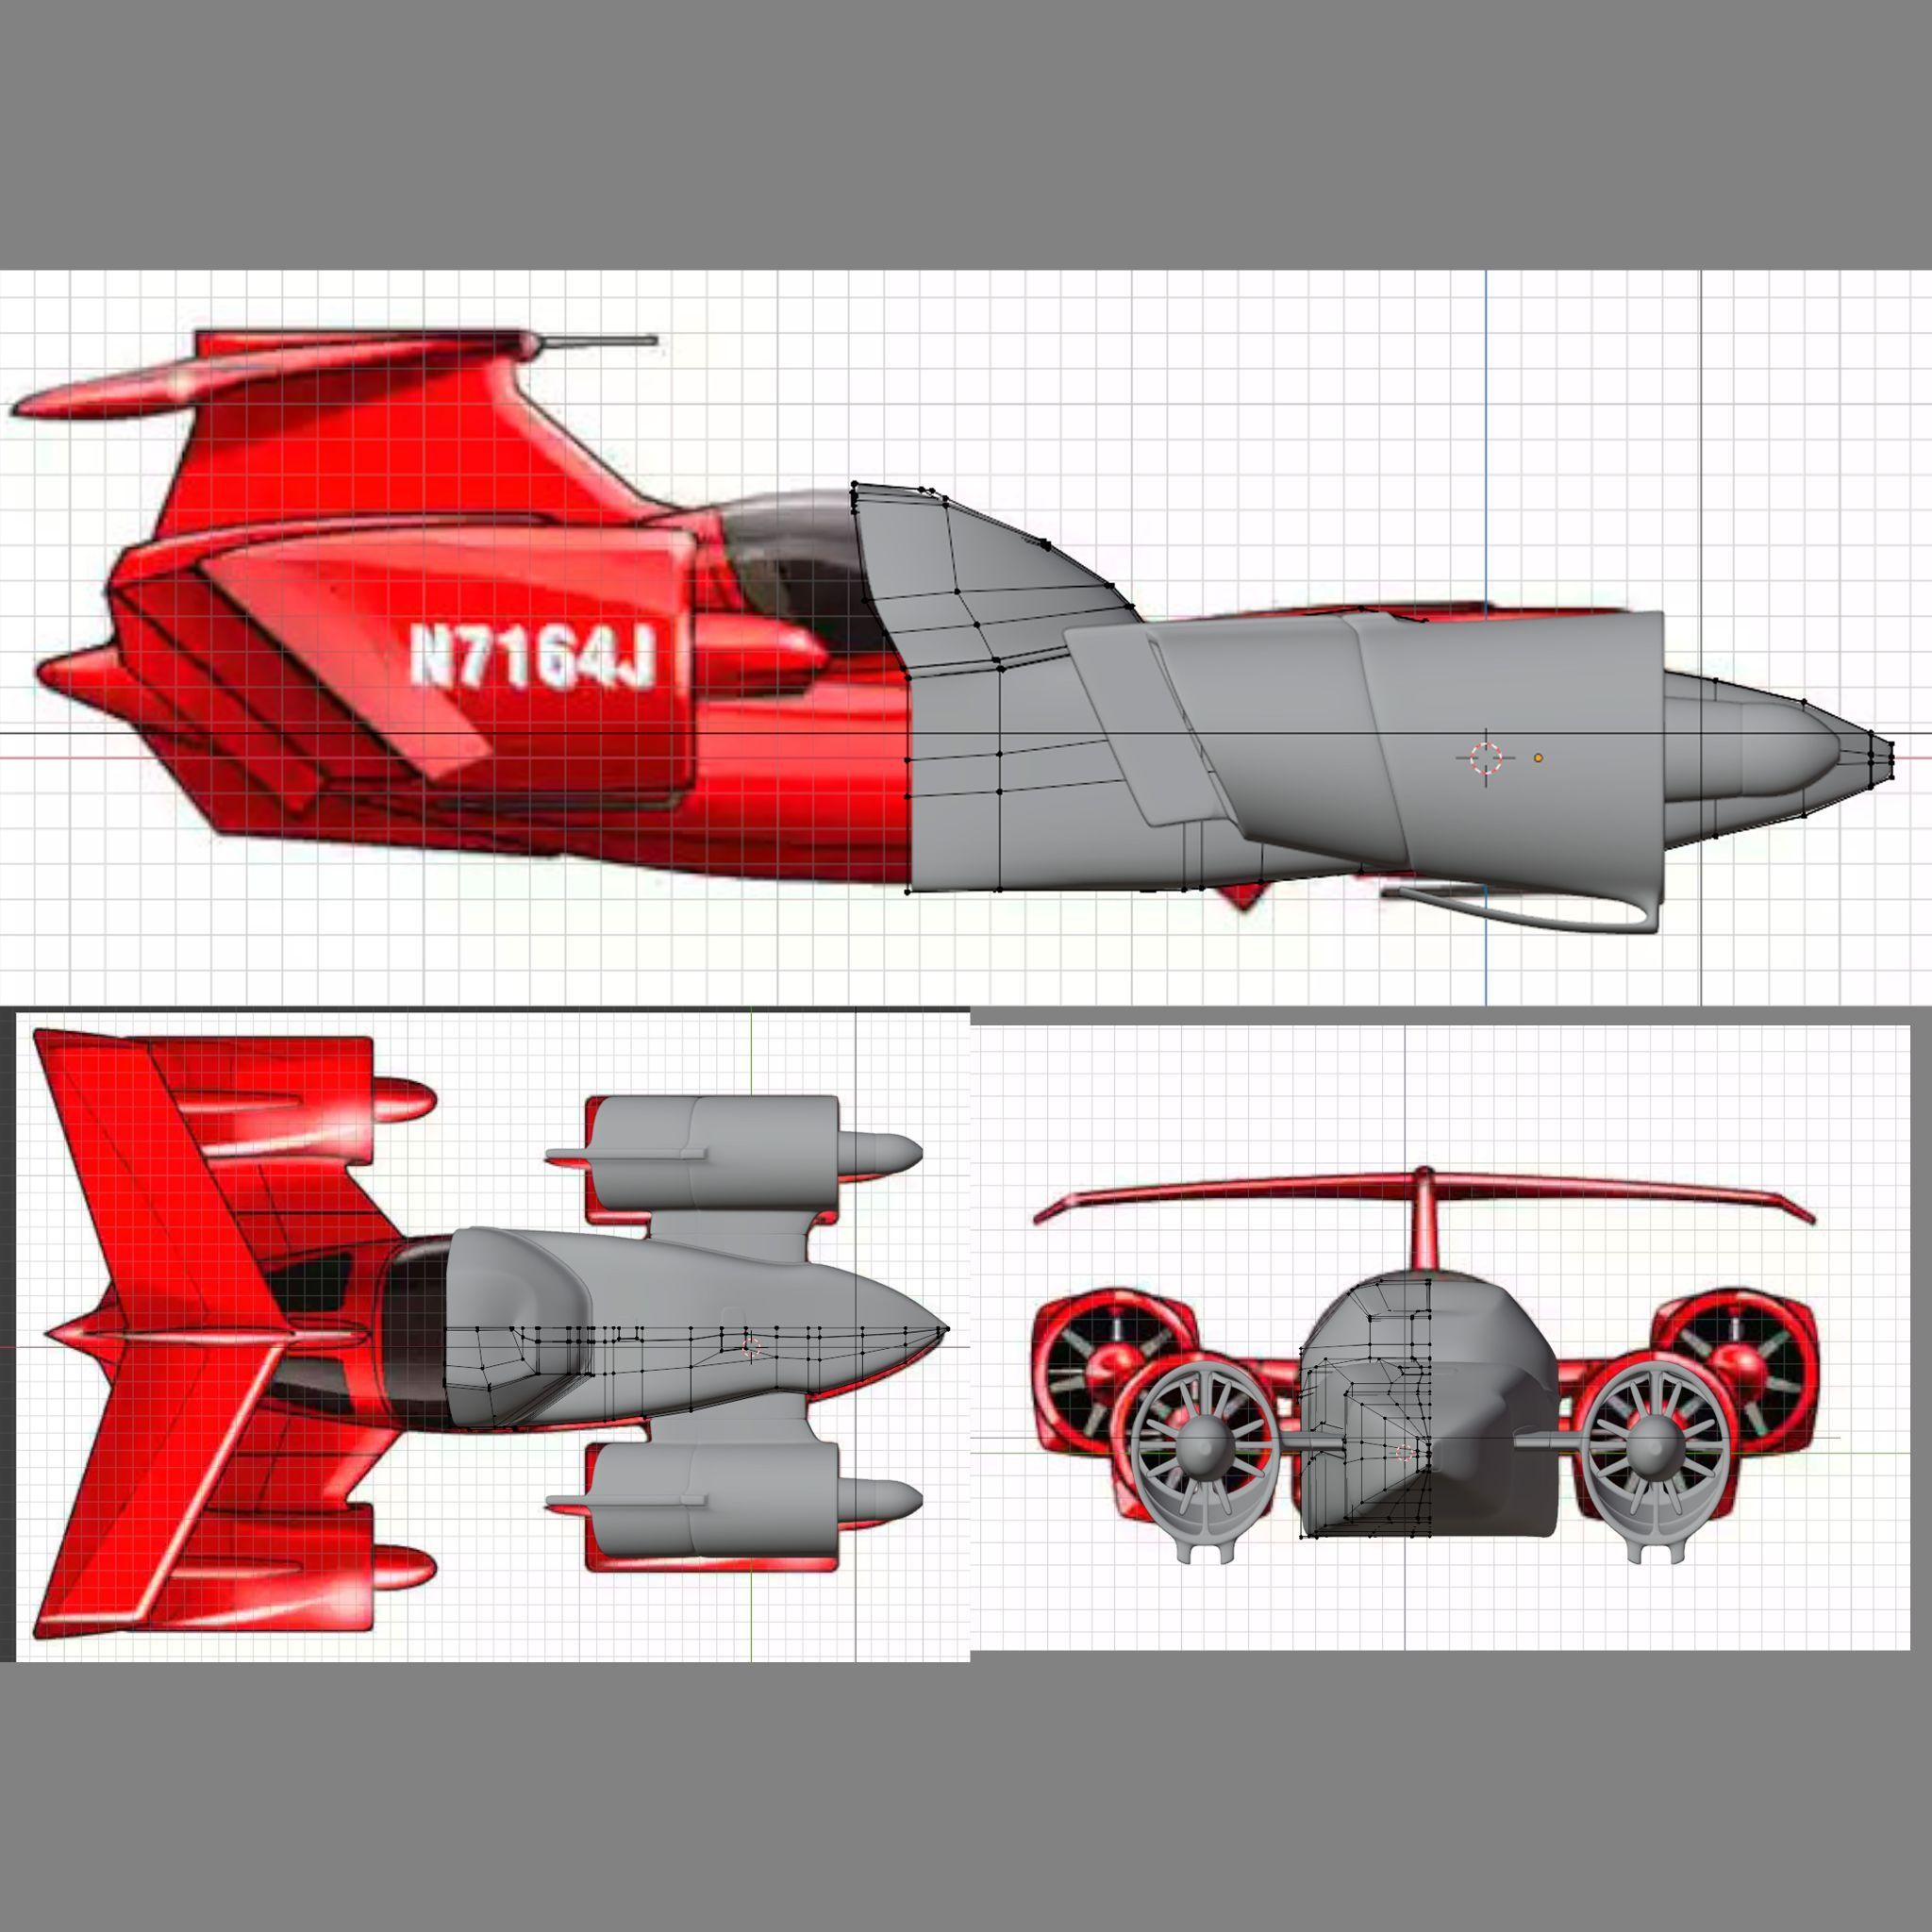
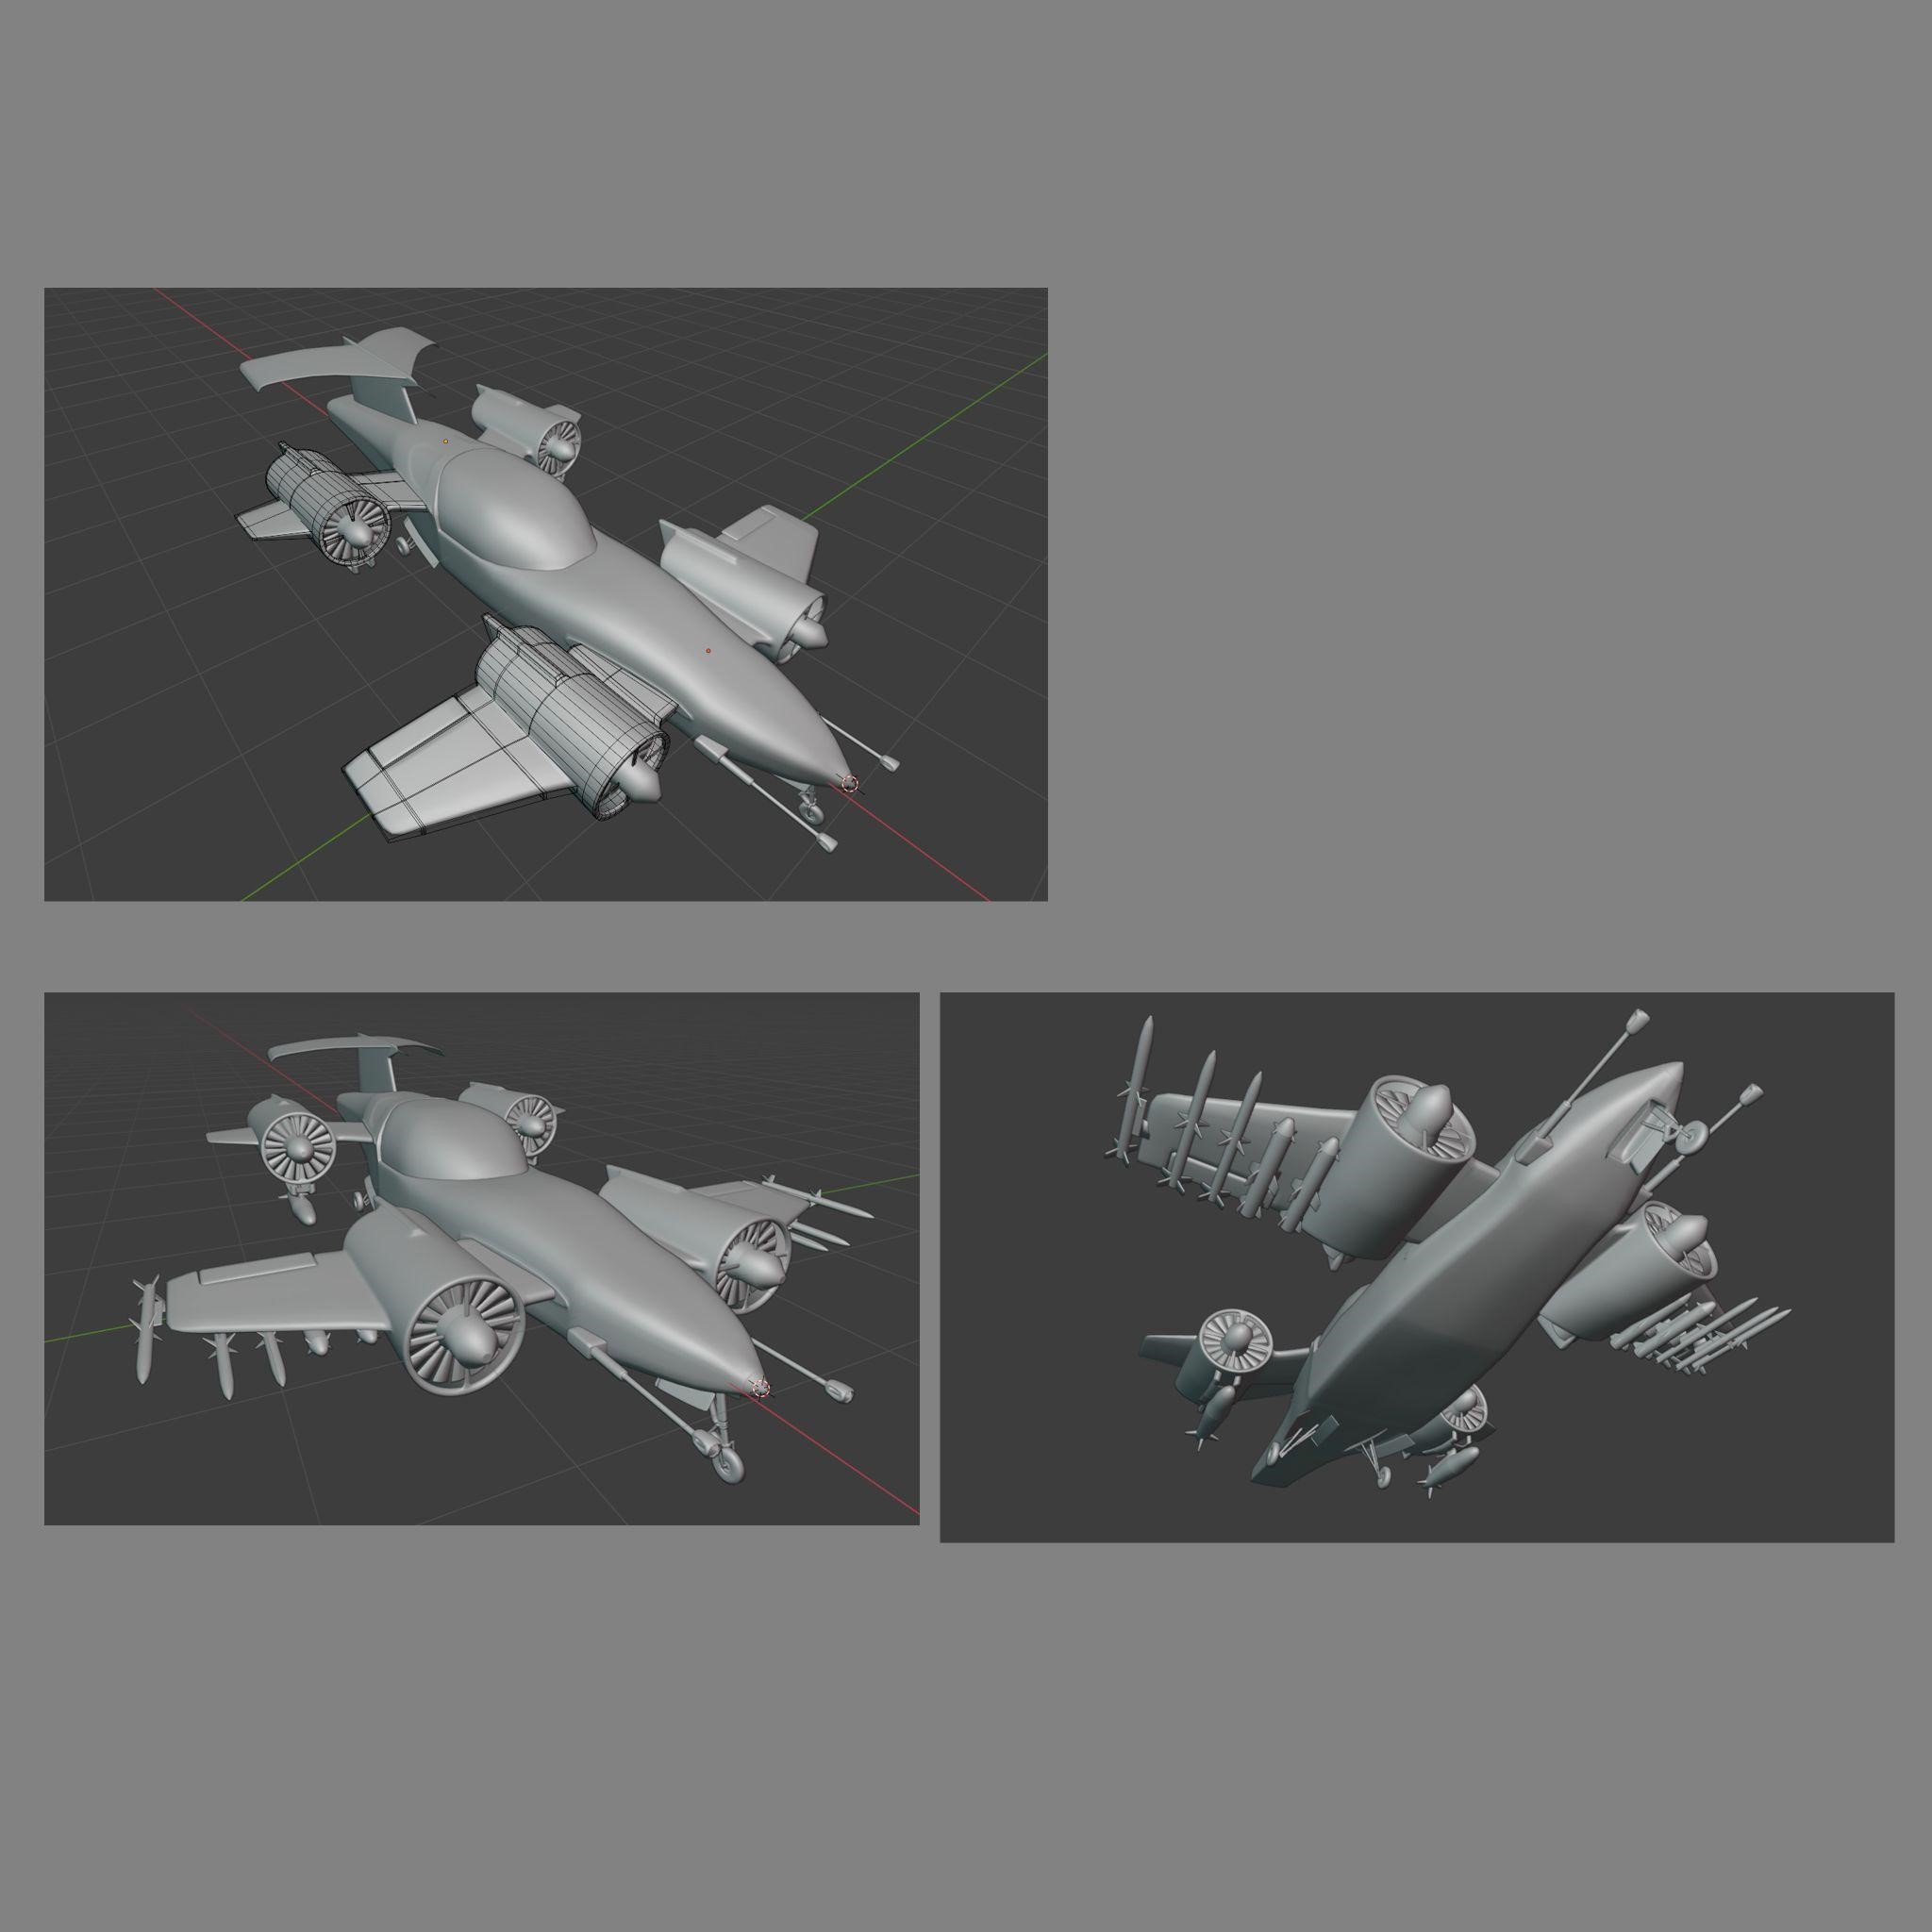
After that, I made a redesign of this model. I changed some length of the main body and added side wings for more aerodynamic efficiency, and then added weapon elements such as missiles, bombs, etc.
Rigging
Then I started rigging it. I added bones for chassis and side turboprop engines to make simple animations for the plane.
UV Mapping
I finished with the modeling and rigging, and then moved on to prepare the texturing. First, I started unwrapping the mesh. To save a ton of time, I just used the great plugins, Zen UV and UV Packmaster. The result looks as such:


Shading
Here began the most interesting part of this project. I exported the model to Substance Painter and started to shade. Initially, I was trying to add the main colors for the model and then the layers with surface wear, color stains, dust, dirt, etc.

Afterwards, I added various details for a more interesting look by using the great path tool, which is very useful for adding seams, lines, and bolts.

Lighting
I approached the last part for this work. The lighting setup was done by the plugin, Pro Lighting Studio (by Andrew Price), which was used for the final render. Here’s the lighting setup:

The other images and turntable video were rendered in Marmoset Toolbag 4.
RENDER: Dieselpunk Plane

Final render


Model turntable:
Wireframe and clay renders:

Thank you for reading my article, I hope you liked it. Have a great day!
About the Artist
Muhamedow Serdar is a freelance 3D artist from Turkmenistan, currently creating models for 3D stocks.