
Discover the creative process behind a stunning 3D model of a Forest Druid by Brazilian artist Marcel Stocker.
INTRODUCTION
Hello everyone, my name is Marcel Stocker, and I'm a 28-year-old self-taught Brazilian artist. I discovered Blender in 2019 and since then, I studied to make 3D modeling my profession.
INSPIRATION
Every art I think about doing, I try to increase the level of difficulty compared to the previous one. It’s a way of feeling challenged to maintain quality and, whenever possible, add something new.
I have a folder on Pinterest where I save images that I think about sculpting one day. For some projects, I put several of them on PureRef (a free program to create reference artboards, but with a donation option) and make a mix of reference elements to create something new. Sometimes I follow the concept, as was the case in this case.
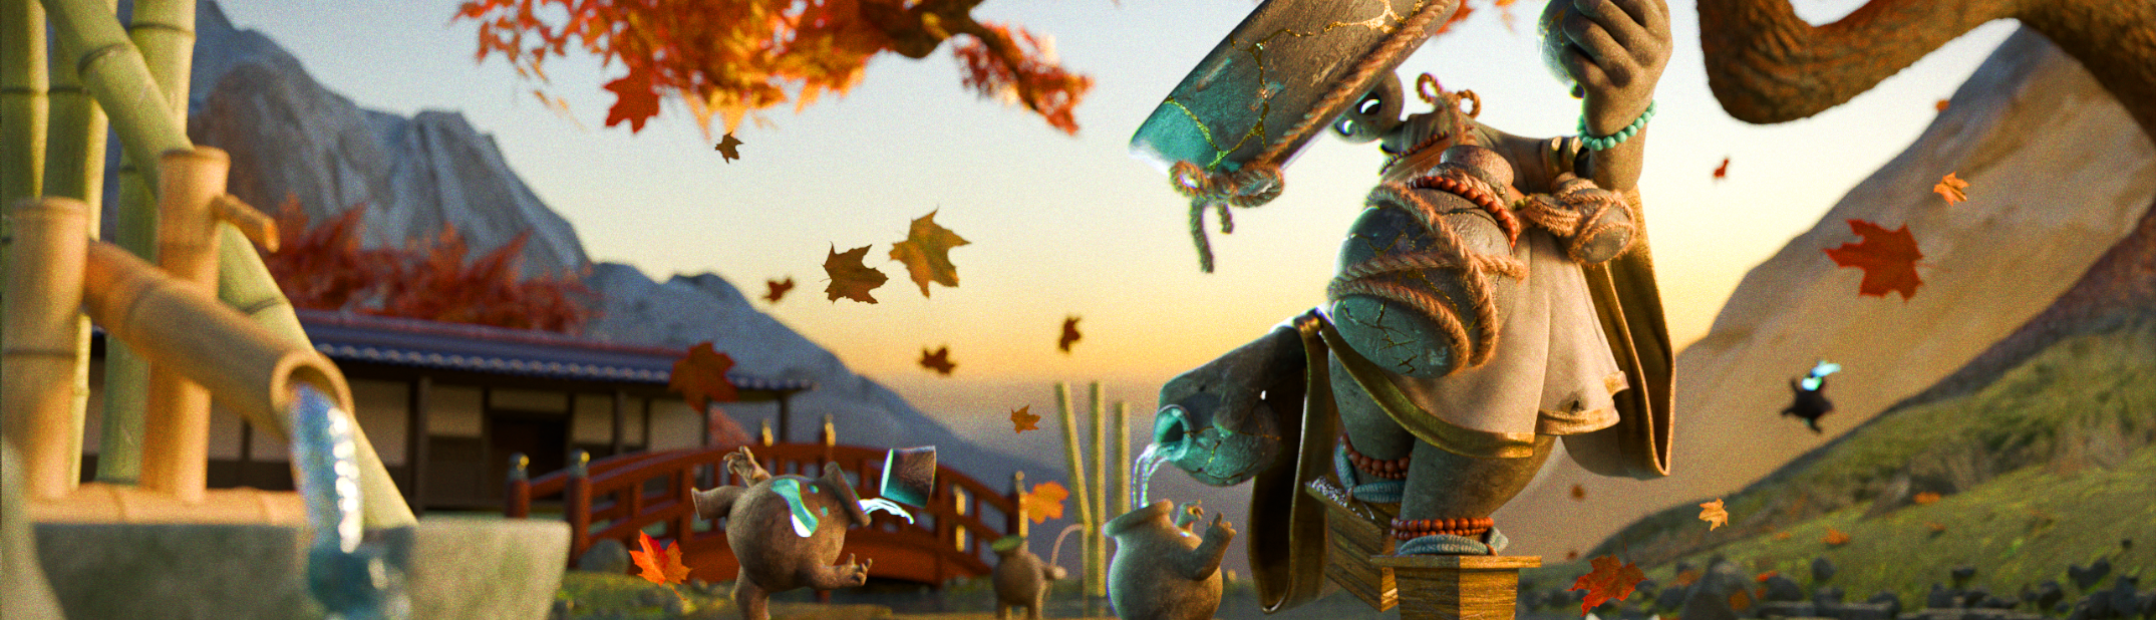
Concept from the artist, “stomachache.”

After choosing the image for the art, I used my artboard in PureRef to help me block the body.
PROCESS
Modeling
I don't use base meshes because I like to train my anatomy skills. A very good and practical tip for blocking humanoid beings is to use the "basic human" from the "Rigify" add-on to have an extra guide for proportions, and then you can take advantage of this armature to generate a rig. The quickest method to achieve blocking is to use the skin modifier and then add volume with the sculpting brushes. The horns follow the blocking pattern with the skin modifier, and the ears were made using a simple spherical mesh.
The add-ons I used I will describe during the process, but there were 3, one that comes standard with Blender, which is Rigify to create rigs for characters, and the other two that are external: Quad Remesher (priced) for retopology and Tiny Eye (free, but with a donation option) for eyes. And for post processing, I used Adobe Photoshop.

As I didn't intend to do the animation and wanted to optimize time, I used the "Quad Remesher" add-on; it is paid, but for those who do quick sculptures, it is worth it, and I recommend it. There is no secret to using it; it depends on your objective and complexity.
As for me, it is something static; I sought a little more resolution. Once the automatic retopology is done, I duplicate the model with retopology (I'll explain why shortly) and use the "Multires" modifier and add all the sculpting details, after that I transfer the details from the sculpted model to the model with retopology with the Shrinkwrap Modifier, to work optimization, if you are interested, search for "Blender - Multires Modifier High Poly to Low Poly" on YouTube, there are dozens of tutorials teaching this technique. For the hair on the legs/feet and neck, I used the snake hook brush with a more pointed falloff, such as sharp.

For the reference pose, I used face sets in sculptures, selecting the "Rotation Origins/Face Sets" option with the "Pose" brush, along with the Rigify rig. In this case, the face sets serve better for the position of the fingers, but it is up to the person working. I didn't worry about accessories or clothes because the movement compared to the blocking is very small, so what accompanied the movement I moved later, the other objects were already in the final position.

I used the "Tiny-eye" add-on for the eyes, which has a variety of material options. The only change I made to make blocking easier is to create a solid color to understand the position of the iris in the viewport. I made a circular mesh for the sparkles and added an emission material. Eyelashes and eyebrows are simple meshes, sculpted to the desired shape.

Hair
For the hair, I used the skin modifier and blocked it to fit the reference. To randomize some loose hair, I used curves/paths with a custom shape in "Bevel." At the end of the blockout, I transformed it into a mesh, did the retopology with the "Quad Remesher" add-on, and sculpted the details with multires (the same technique used on the body). For the painting details, I use the low-poly version of UV Unwrap and paint using texture paint. The same method was used on the staff: blockout with skin modifier, I transform it into mesh, sculpt the details with multires, UV Unwrap, and paint the same method as on the hair.

Clothes
For the clothes, I used the face sets tool in sculptures to create the shape, separated it into a mask and extracted a copy, blocked it in the shape and did the retopology using the quad remesher, and sculpted the details manually.
For the leaves, flowers, and bushes, I made a simple mesh using standard modeling techniques and then replicated it using UV Unwrap and painting with texture paint.

Texturing
For the gradient (Texture Paint), I used the "Gradient" brush, but if you use the "Gradient" option in the Color Picker, just drag the line in the desired direction, and that's it, the gradient will be made. For the vines, I replicated the skin modifier method and the gradient.

For painting the body and/or large prominent objects, I use the following technique: when the model is ready, I duplicate it and apply the "Multires" modifier a few times to obtain resolution, and I do all the painting on this mesh. Then I select the model with the reduced retopology, do the UV unwrap, and bake the diffuse map for the colors inside Blender (check for tutorials on YouTube, but for bakes, it is necessary to use Cycles). For roughness details, I paint by hand when necessary (Grayscale map).

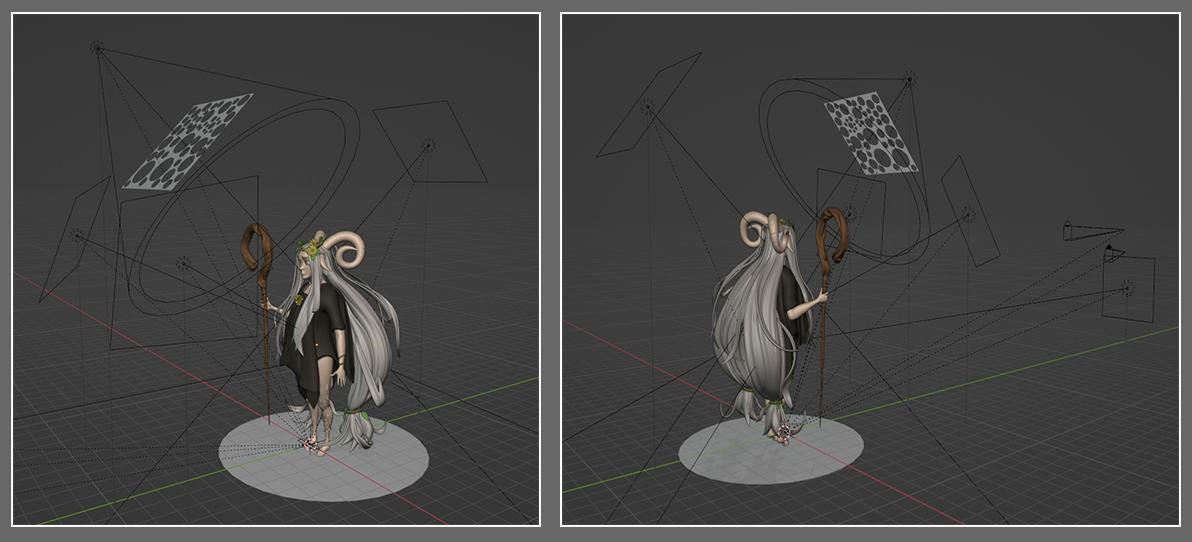
Lighting
For the lights, I use the basic "3 Point Light" setup, but with some modifications. A clear light at the front with a large exposure in the Spot Light format (Key Light), which dictates the main tone of the scene's lighting, with a mesh at the front with some holes for an effect, side lights for support (Fill Light) with light colors, a support light in front for the darker parts in the lower area (which is well away from the camera, just for a subtle detail), and a light behind to outline the character (Rim/Back Light), with a color clear and very strong exposition.
On the ground, I use a mesh to be the "Shadow Catcher." Basically, it is a simple mesh with the standard UV in which I paint in the "Vertex Group" mode a shadow at the central point to simulate the shadow of the contact point of the character with the ground. This technique facilitates editing in layers (which I do in Photoshop).
Remembering that if you render the image with a transparent background (like I did), to avoid interference with the lighting, it is important to set the value to zero (or black) in World Properties. A tip I learned that is very useful for evaluating the light exposure in the scene is in the "Render Properties" tab in "Color Management." Change the default option in "View Transform" to "False color." The closer to blue, the lower the exposure, and the closer to red, the higher the exposure. This is a technique that you will repeat a few times to understand how to fit it into your scene (take into account that dark materials react differently to light; notice the clothes, with the same distance from other objects, but have different incidences of light due to material properties).
Another tip is to test other forms of rendering, such as switching to "AgX" formats to see the color differences and also testing different contrasts in "Look." In my scene, the "Medium High Contrast" option was the best fit. In this case I also made a small edit using the "Use Curves" tool within Blender itself, highlighting the lights and shadows.

Rendering
For the final render, I used the technique of rendering separate layers; for example, the bright light on the top-front of the character I did in Blender, but I rendered it separately. To edit the image, I used Photoshop, in which I added the separate layers and fitted them correctly, in addition to adding the background and sparkles.
The turntable animation has no secret, just the camera rotating around the character. A trick I use is to make the lights rotate with the camera, maintaining "static lighting." For me, it makes it better to follow the details.
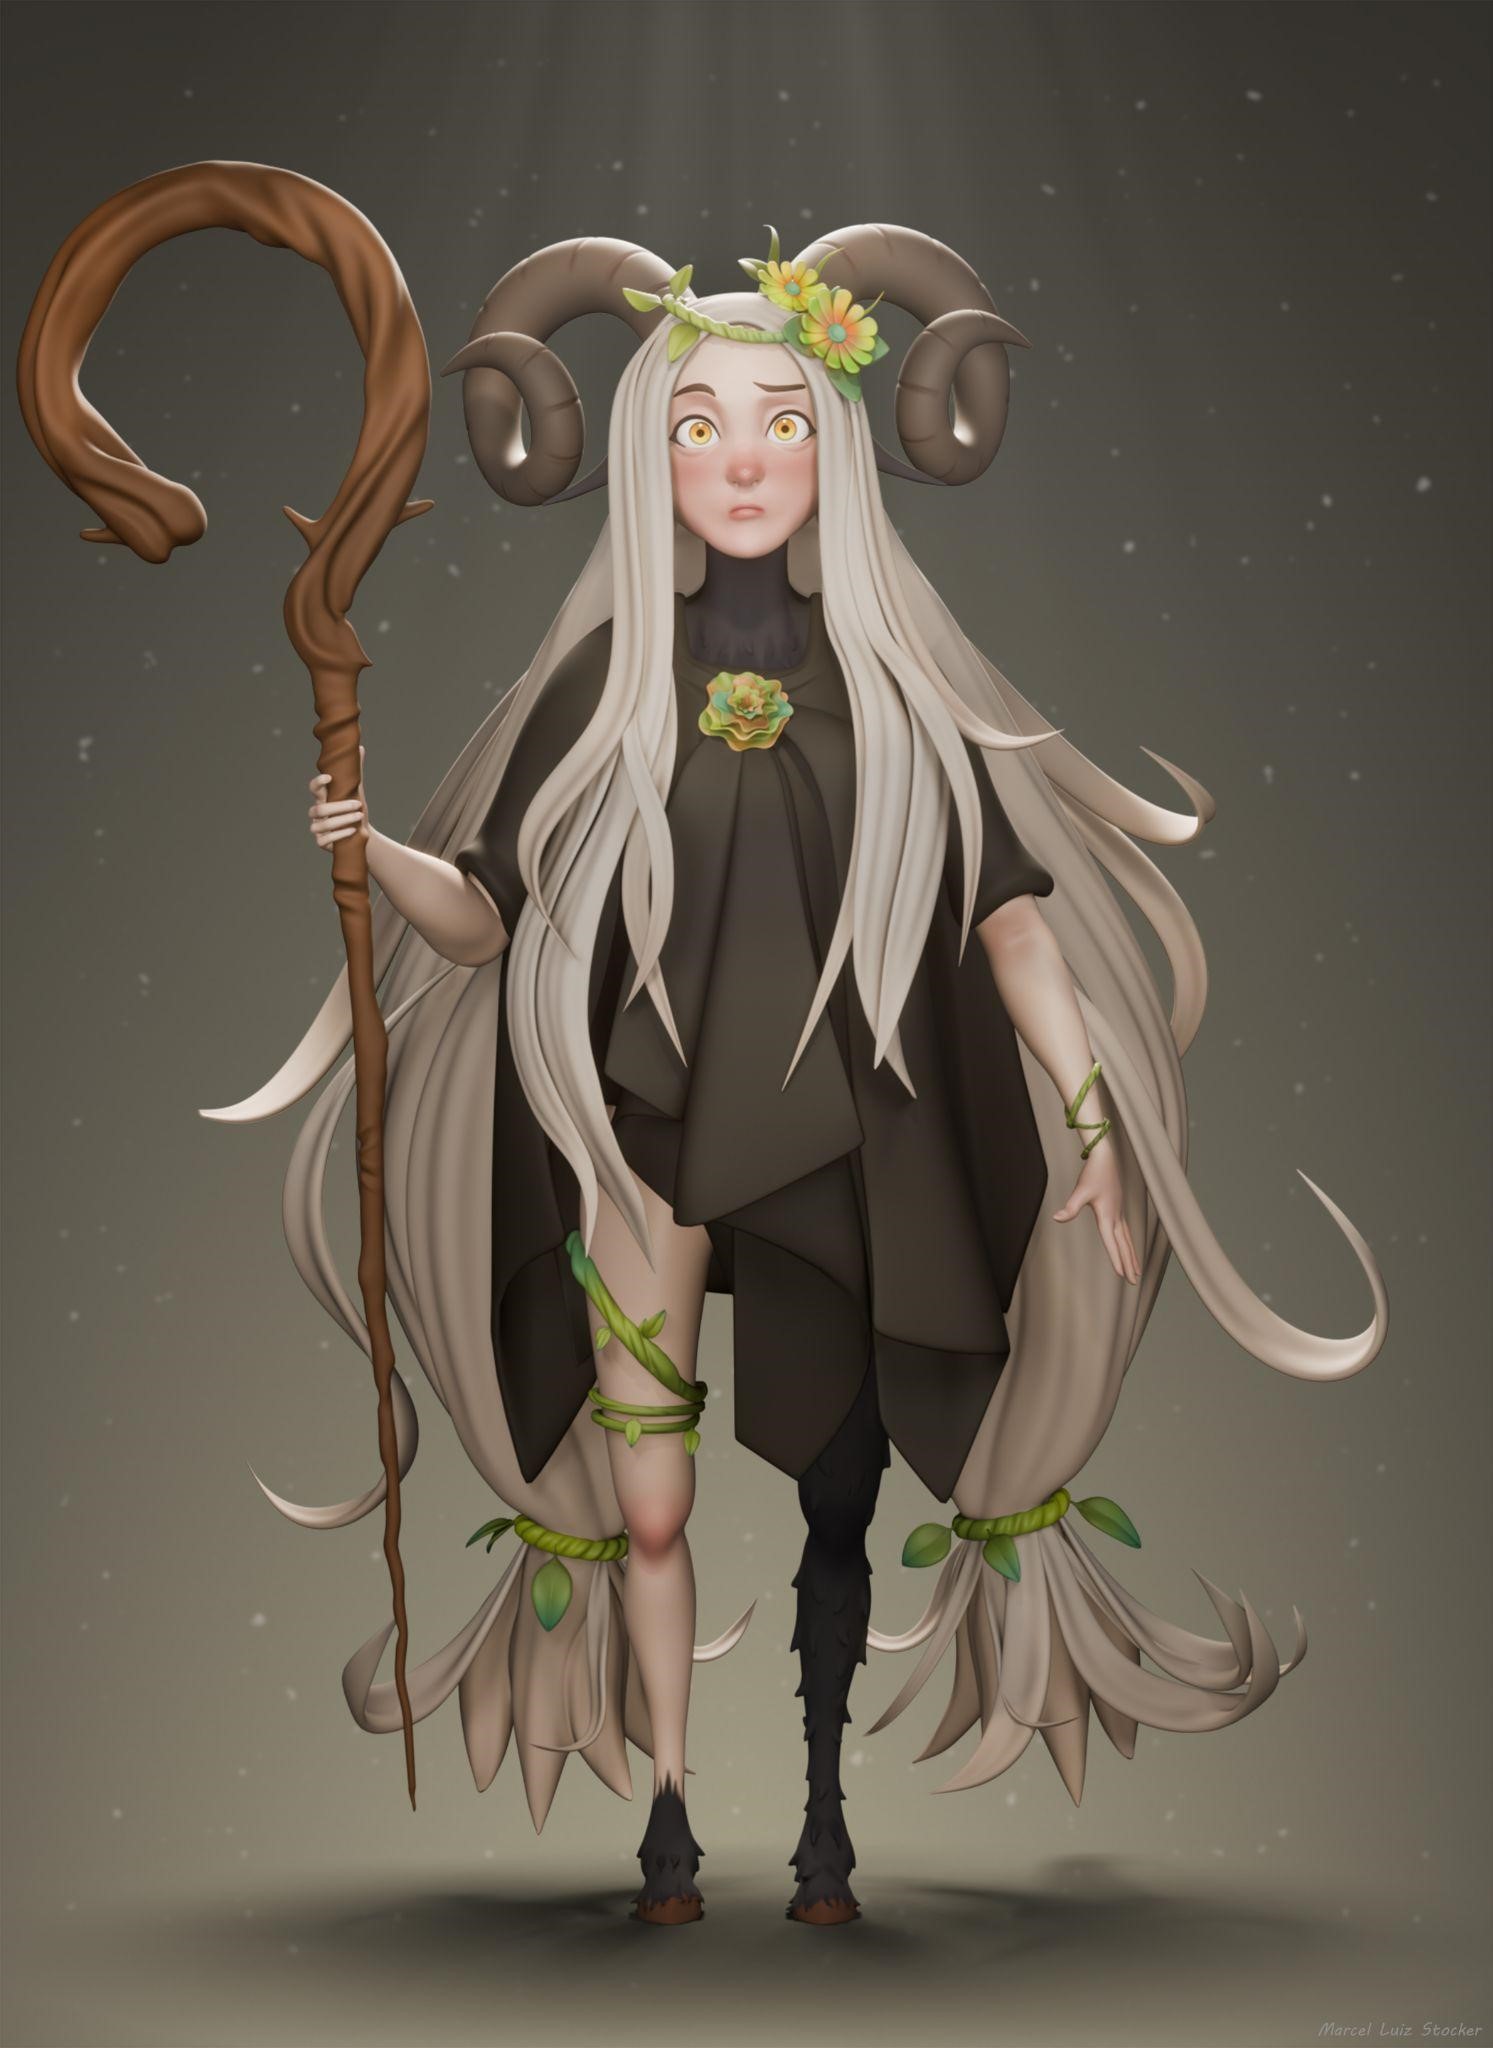
As I wanted to be faithful to the concept, I chose to render using EEVEE, as it gave me a closer result to the colors of the concept, especially in the eyes (I made a comparison render using Cycles; you can see it in the post).
RENDER: Forest Druid


Thank you for reading my article, I hope you liked it. Have a great day!
About the Artist
Marcel Stocker is a 3D artist from Brazil. He is currently working as an independent and freelance artist.