Join Lionel “Lio” Cloërec as he brings his art to life through fun animations. A talented 3D artist and designer, Lio shares his latest project, “MTFKZ,” where creativity and new ideas come together.
INTRODUCTION
Hello! I am Lionel “Lio” Cloërec, a 3D generalist, designer, and animator living in Tournai, Belgium.
My first job, quite naturally (thanks to my qualifications), was creating 3D images for architectural projects. That’s where I learned to handle rendering, among other things. After that, I joined various communication teams for large companies.
In 2012, I founded a creative studio with two friends, and we produce all kinds of motion videos, animated jingles, and more.
At the same time, I teach at the Academy of Fine Arts in Tournai, Belgium.
INSPIRATION
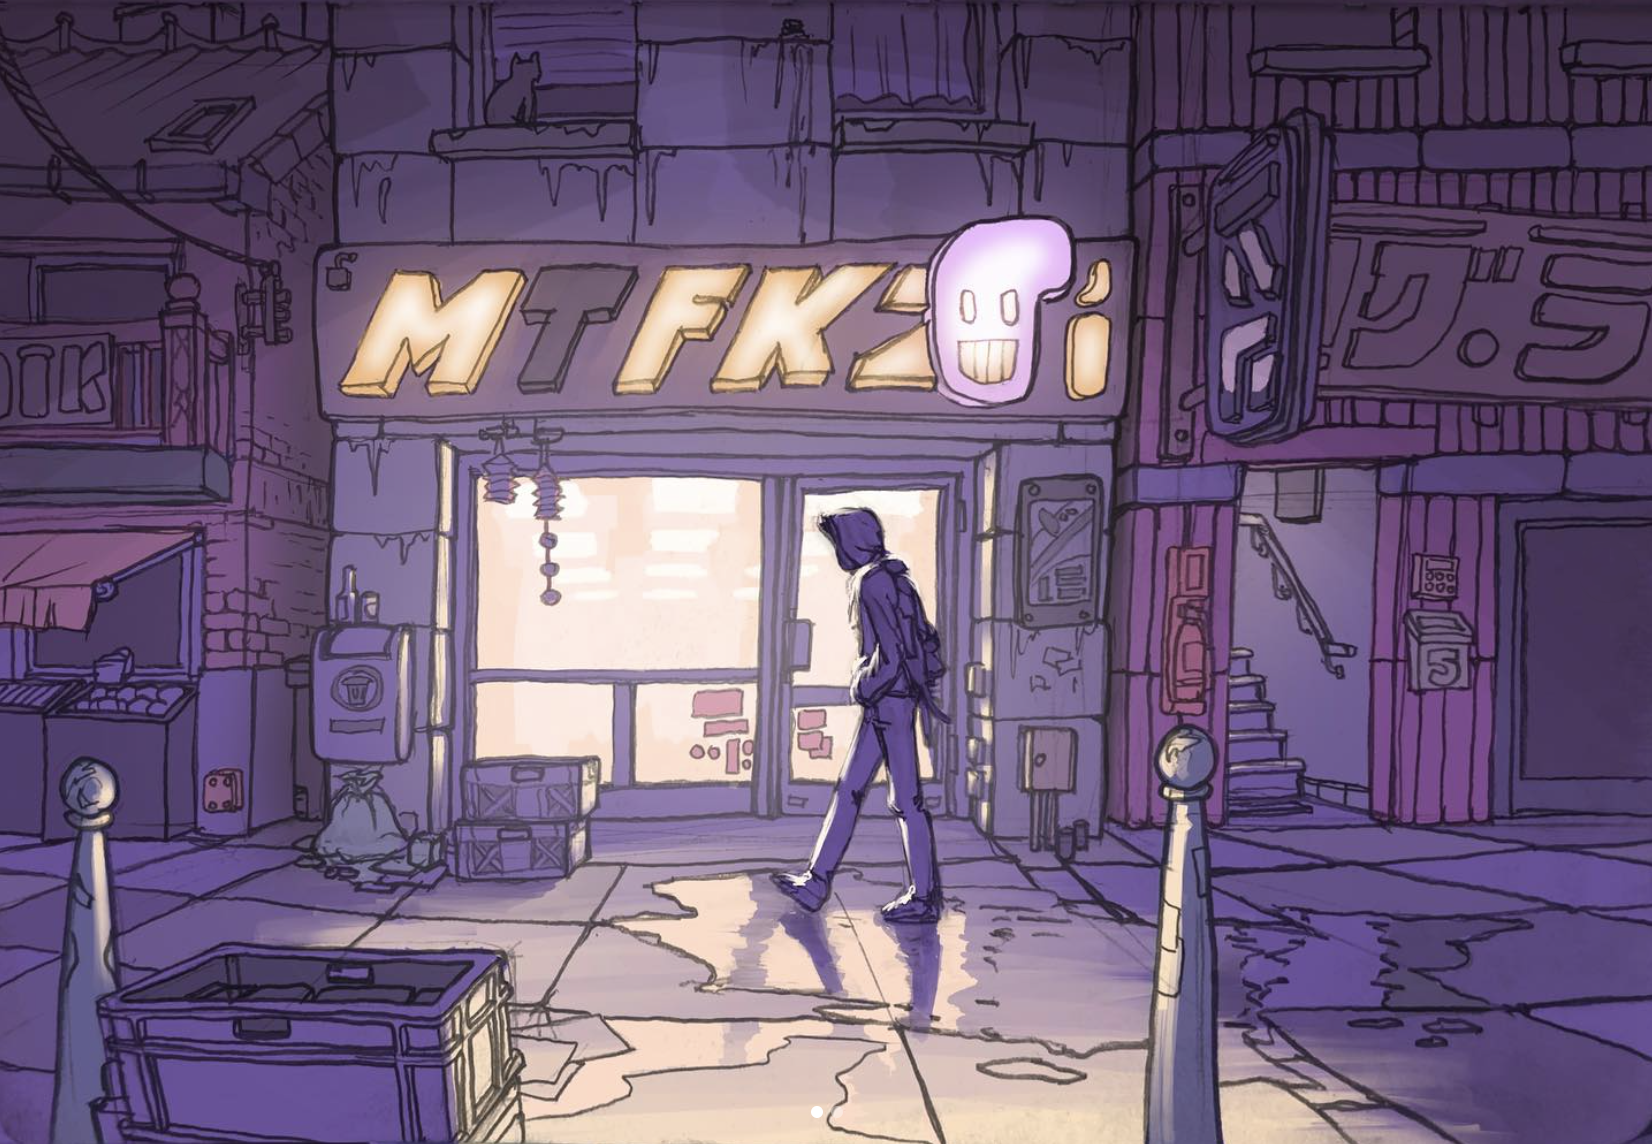
For “MTFKZ”, it all started with a small drawing I made during the 2023 holidays, heavily inspired by Guillaume Singelin’s work (especially in terms of line work for the environments, PTSD for example).

I quickly wanted to colorize the drawing, which I did using Procreate on an iPad Pro. The lighting was nice, so I shared it, and that was the end of the story.
I regularly work on side projects to develop new processes, learn more, and mostly just have fun!
By June 2024, the illustration was still on my mind, with the idea of turning it into an animated sequence. Another motivation was finally exploring Grease Pencil, which had been around for a while but I had never really played with it.
PROCESS
Grease Pencil
I started developing a scene by using simple shapes as the base for my Grease Pencil drawings.
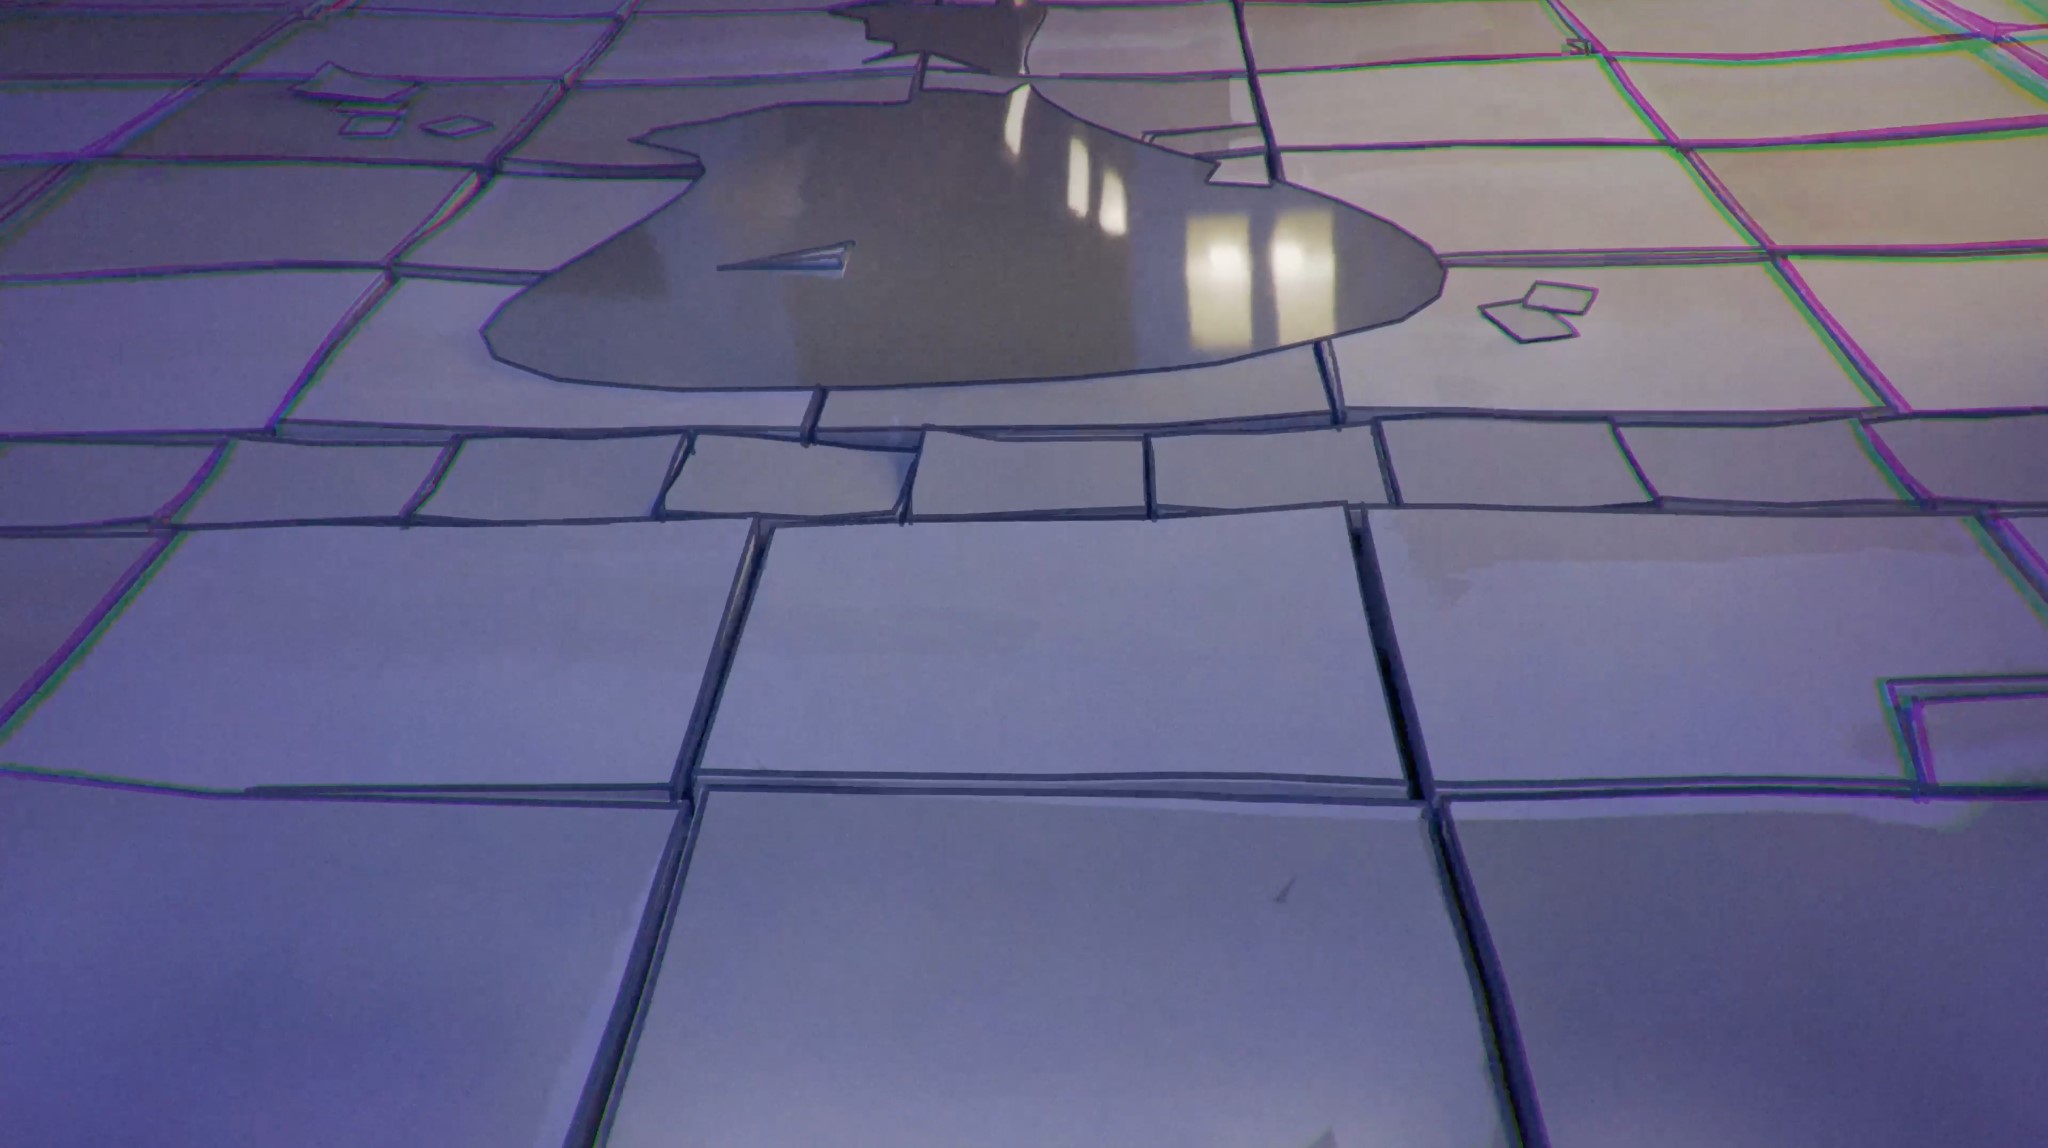
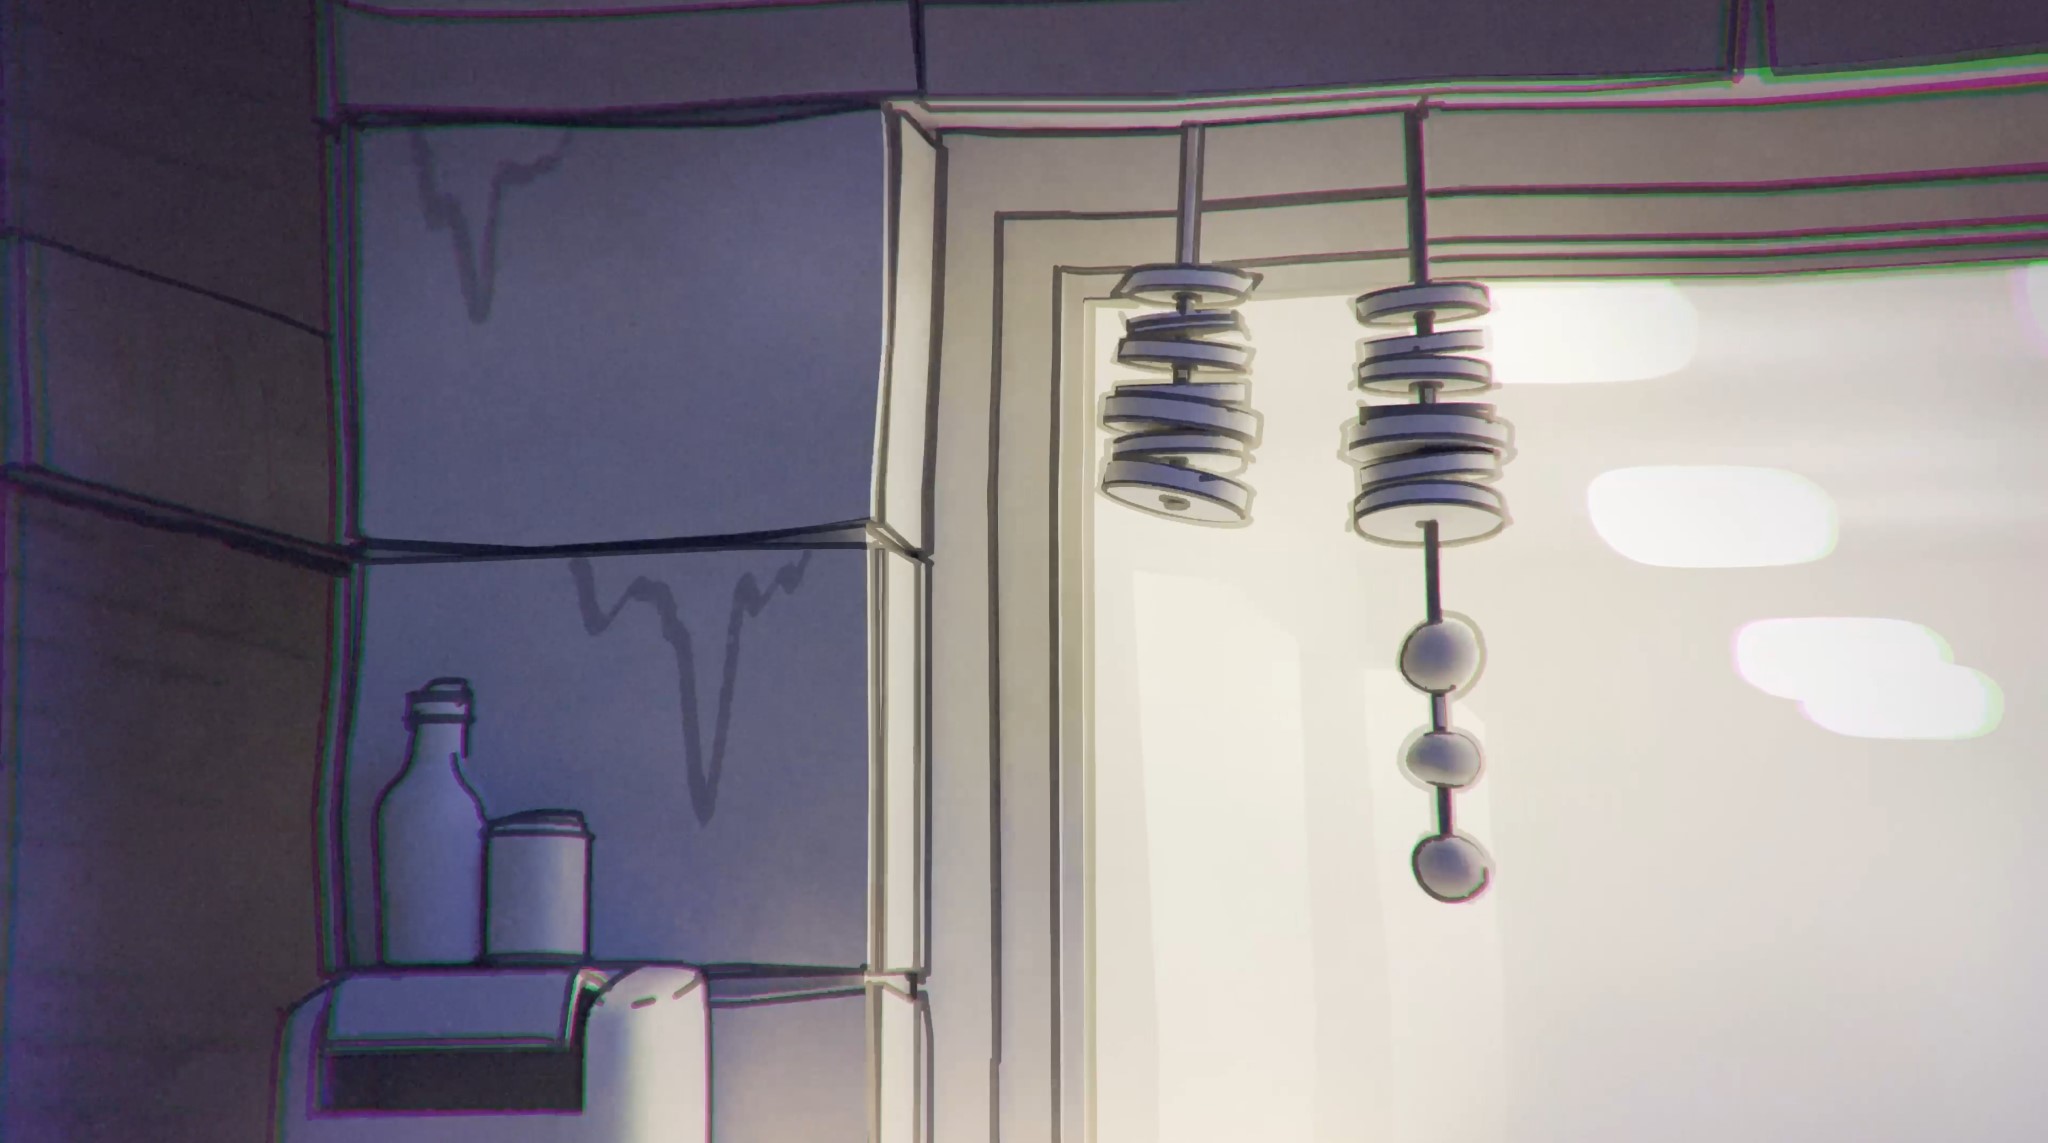
During a conversation with a colleague at the Academy, I discovered a very interesting feature in Grease Pencil: the Line Art modifier. This modifier allows you to automatically apply Grease Pencil strokes to 3D meshes.
After a few tests, I decided to stop drawing the scene by hand and instead modeled all the elements of the illustration in volume. Since the drawings mostly consisted of objects like buildings, windows, doors, etc., the modeling process was relatively simple and quick. The only specific constraint was to model as roughly as the illustration is.
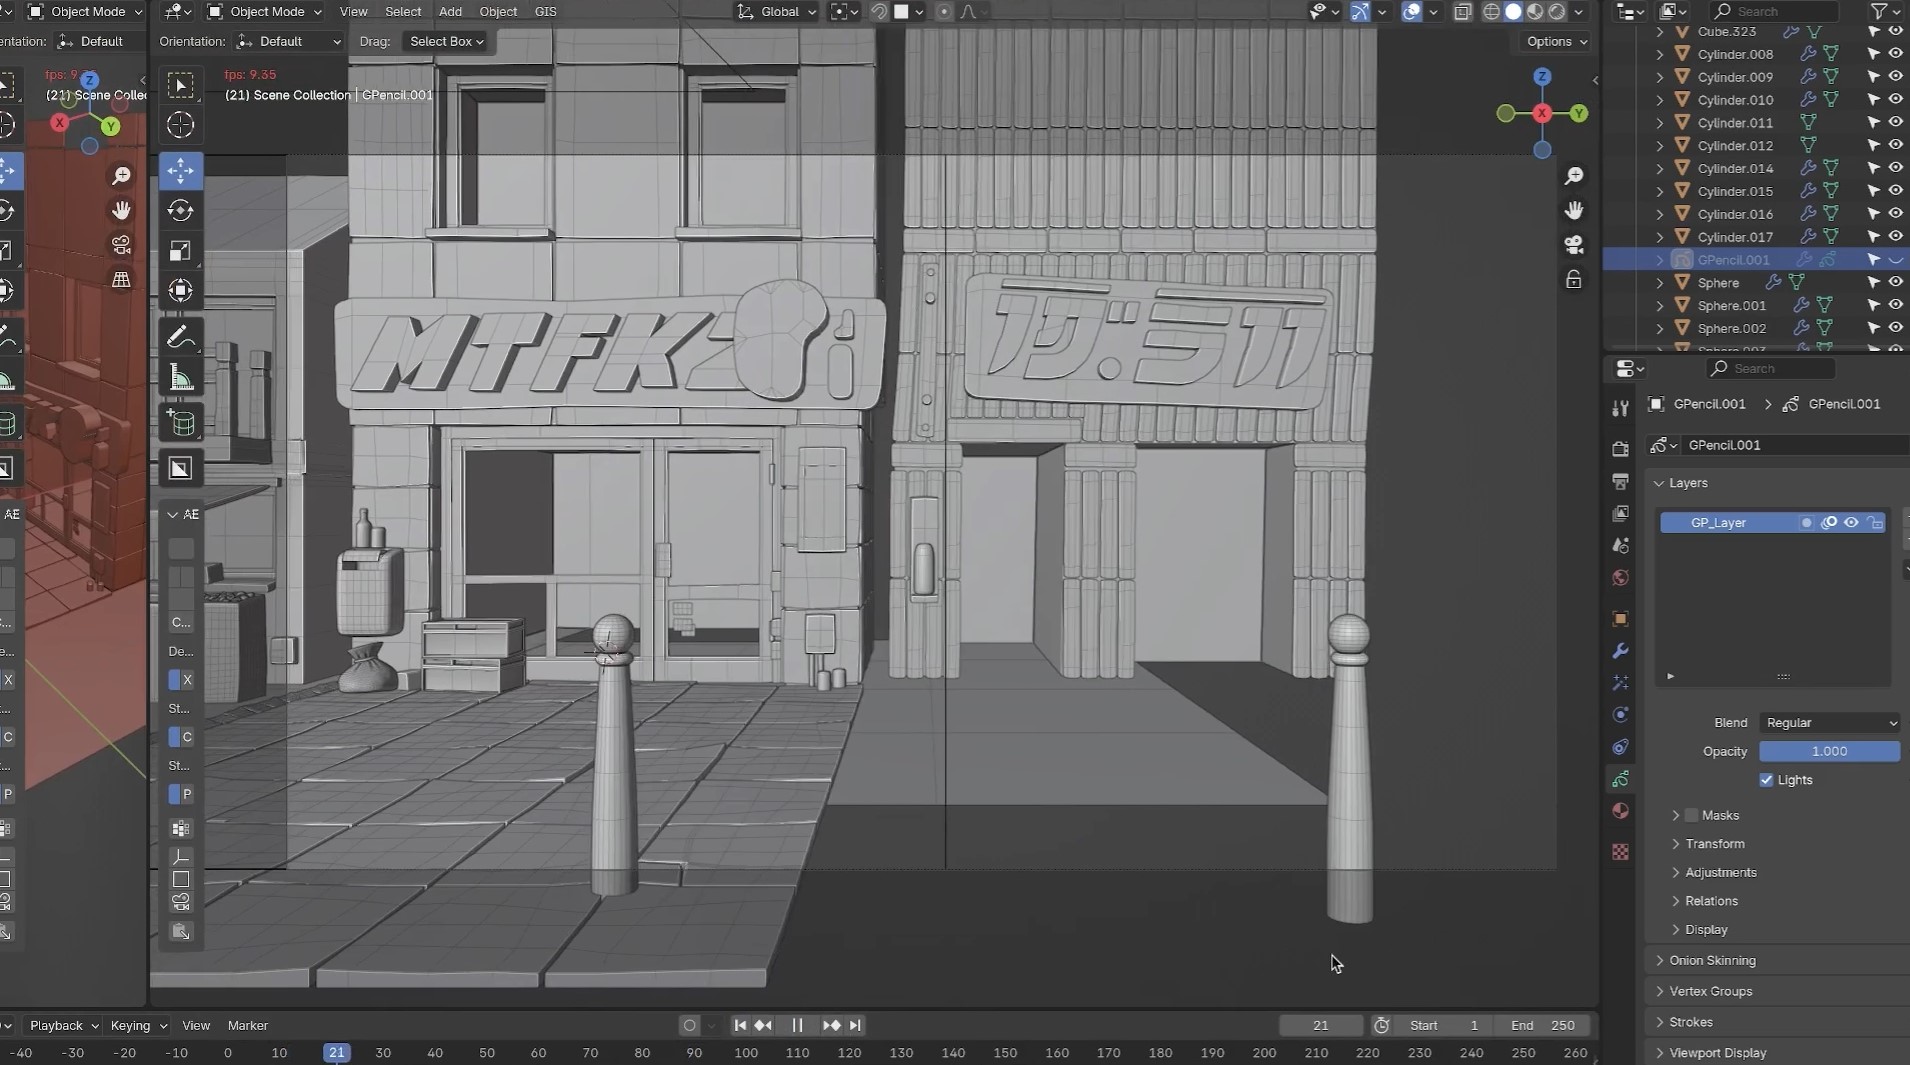
I applied Grease Pencil to my objects early on to immediately visualize how my various meshes would look with it. The Line Art modifier lets you select a specific object, collection, or scene.

I selected the entire collection during the modeling phase, with the idea of later applying different Grease Pencil strokes with varying thicknesses to different objects.
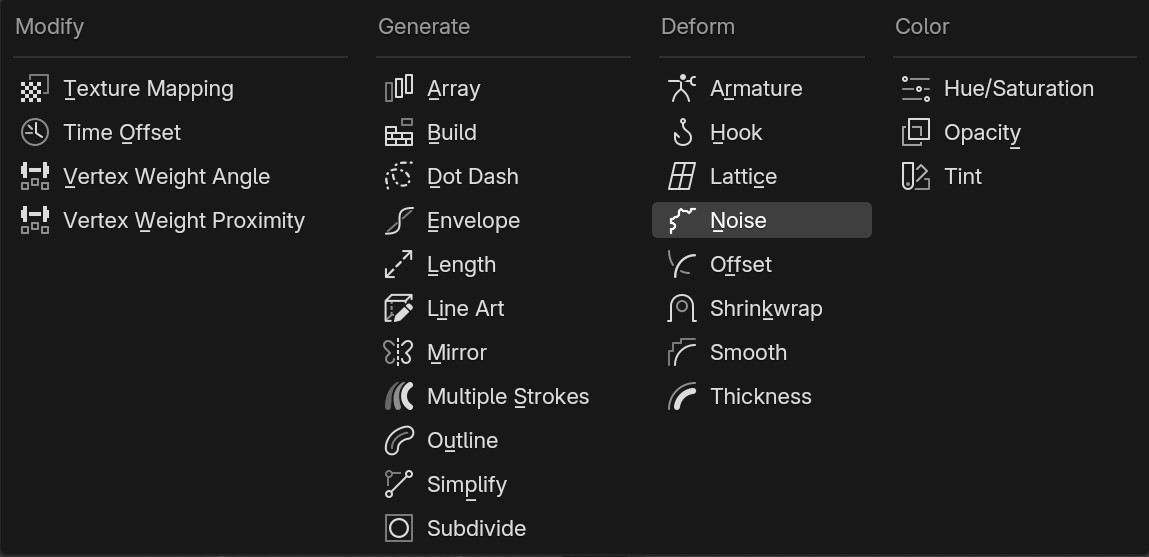
The second modifier that was very useful in developing my animation is the 'Noise' modifier available with Grease Pencil objects. It allows you to vary certain position, strength, etc. coordinates of your strokes. I used it to reproduce a slight stroke vibration often seen in traditional 2D animations.
Lighting
Another dreaded challenge was the lighting, which was an important part of the colorization of my drawing in Procreate.
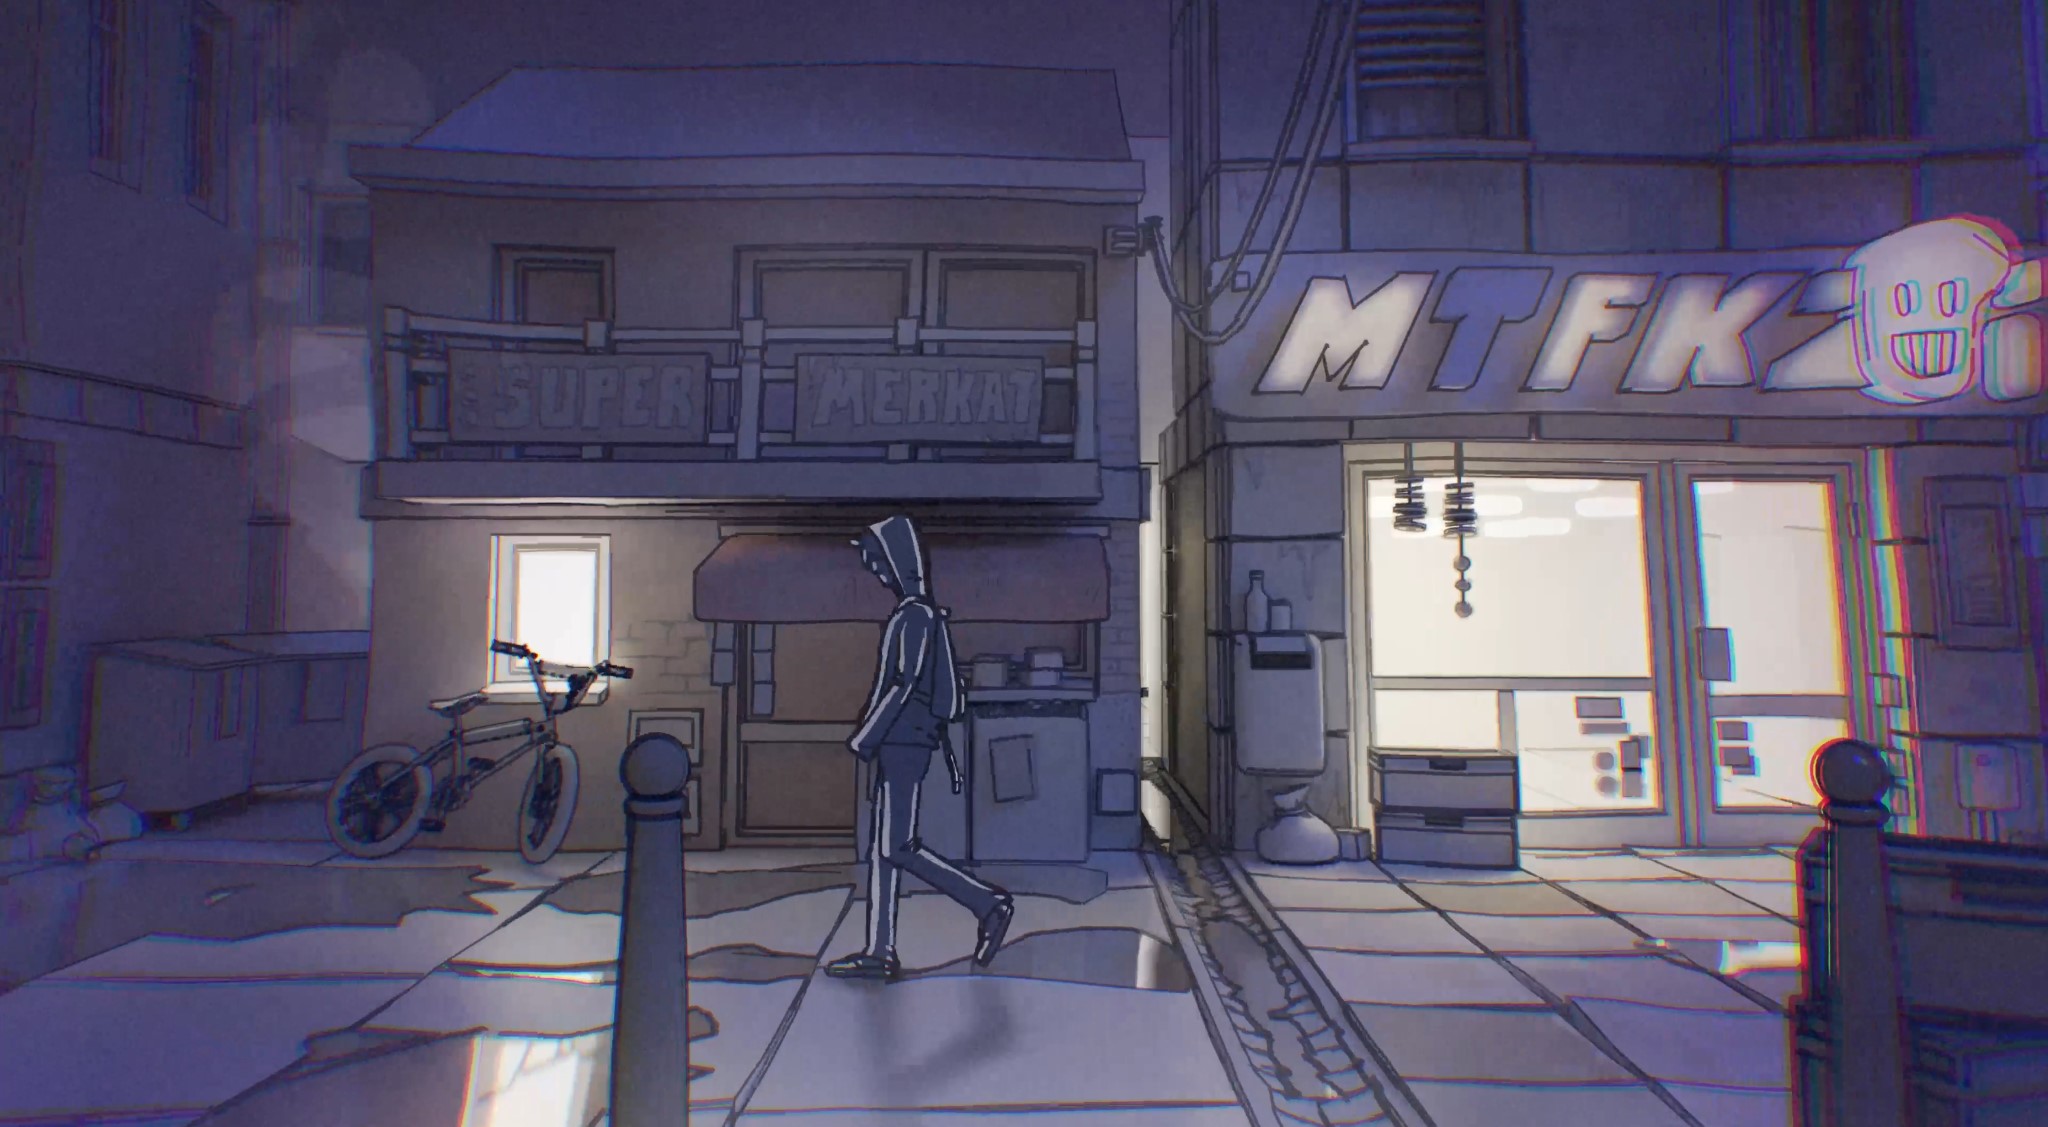
Surprisingly, by creating two main light sources—an area light and a point light (and NO sun!)—with an overall tint taken directly from the illustration, and then adding spotlights with warmer tones (oranges and yellows) for the interiors, I quickly managed to achieve an atmosphere quite close to the original image. The render turned out a bit more blue, but that could be fixed in post-production.

ProCreate Dreams
The character walking in the scene was created in ProCreate Dreams. It could have been done in Blender with Grease Pencil, but I chose this approach because I animated it during my evenings on the couch with my iPad. The “splash” fx has also been made like that.


Neon Signs
The neon sign was modeled as hollow boxes in the shape of letters. I then modeled thin letters inside and gave them an emissive shader. The outer letters were given a translucent shader so the light would diffuse, similar to the illustration. This technique resulted in less intense lighting than what the image suggests, but I decided to leave it that way and adjust it later in post-processing too.
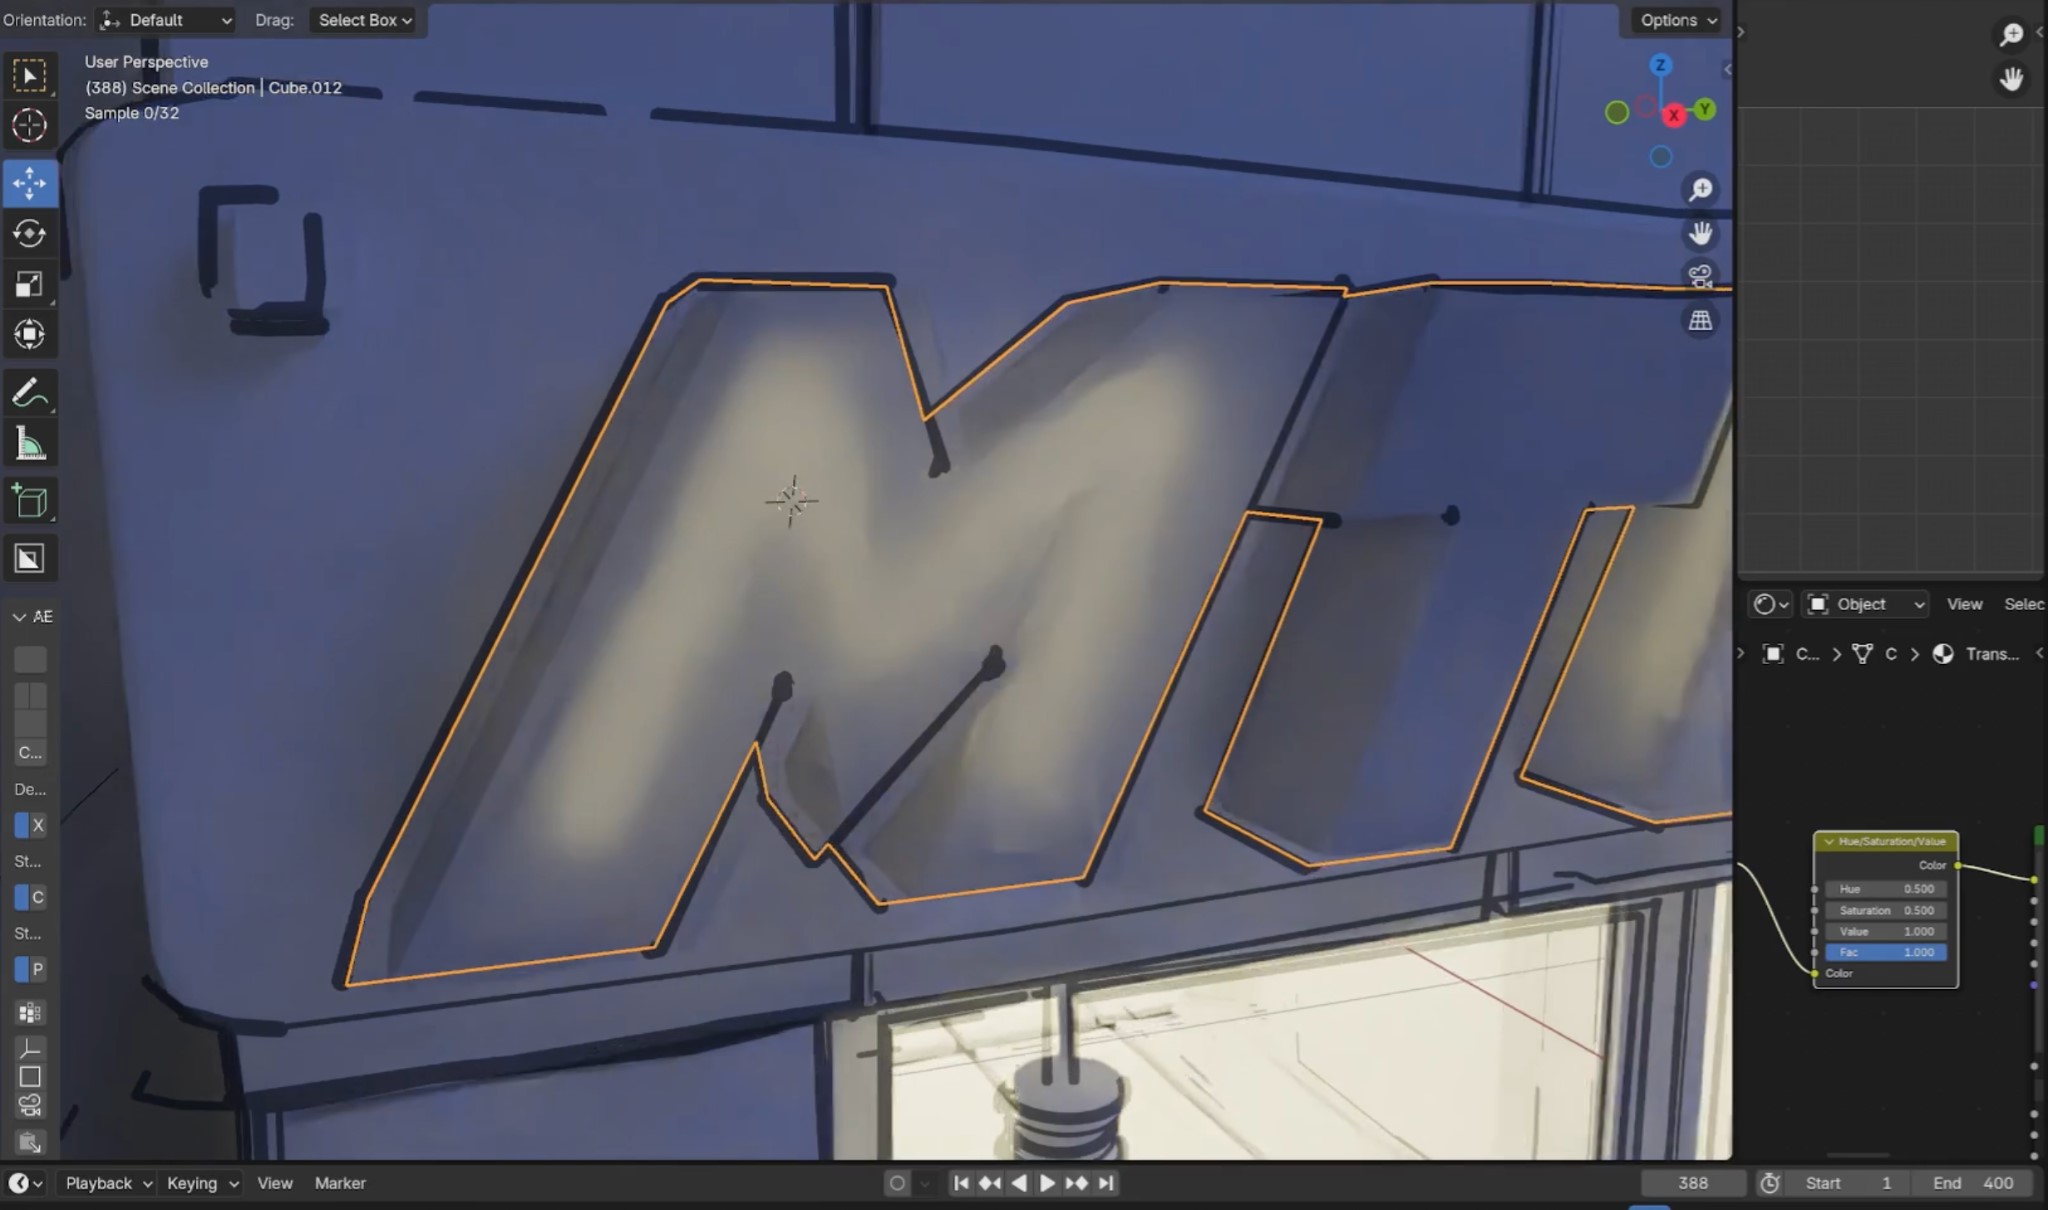
Some secondary lines and flat areas of color in the scene were added with Substance Painter in a classic way.
After effects
To finish it all, I combined the traditionally animated elements with the 3D scene in After Effects (once again, it could have been done in Blender, but I have my habits!). It was the perfect opportunity to make color, brightness, and contrast adjustments. I also reduced the animation to 12 frames per second (time posterization). Both the background and the character were originally set at 24 fps, but the 12 fps render gives a much closer feel to the original illustration. The final touch was the addition of a slight deformation layer on all the animation.
After finishing this shot, I took advantage of the scene to render a few additional shots very easily.
Unfortunately, I didn’t really keep track of the time I spent on these different phases (the idea was mainly to explore the process). The least I can say is that this kind of project really requires staying true to the original concept; otherwise, there are countless opportunities to deviate and do something else (more precise, more complex, etc.) but often less personal and specific.
RENDER: MTFKZ - Bringing 2D Art to 3D Life
Still renders:


And here's a bonus shot I did just for fun:
Thank you for checking out my article. Don’t hesitate to ask any questions on my social media. Have a great day!
About the Artist
“LIO” (Lionel Cloërec) is a Belgian 3D artist and animator with a passion for 80’s cinematographic moods and comics. He is currently Art Director and motion designer at WAAAW studio, WAAAW's Youtube Channel.